This post is a paid partnership with Lowe’s Home Improvement, but I’m responsible for all of the opinions expressed here as well as the horrific state of my garage when this all started.
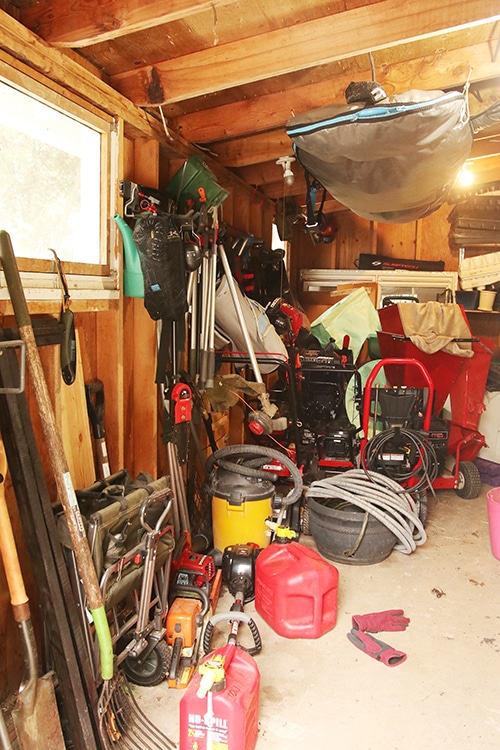
One of the last garden-related tasks of the year is the annual cleaning out of the garage. Well, not the entire garage. We manage to keep the car-parking part well organized, intent not to be those people who park their cars outside their stuffed garages and have to scrape snow and ice off the windshield every morning. But the lean-to portion of our little garage serves as storage central for everything we use outside and by the end of a busy summer, it’s a mess.
I’ve actually wanted to show you this annual cleaning process, if only for the sheer clown-car aspect of it, but I’ve avoided it out of an abundance of caution. I just didn’t think it was a great idea to publicize on the Internet all the stuff we were keeping in an unlocked garage. And for that matter, it’s probably not a good idea to keep that much semi-valuable stuff in an unlocked garage regardless of how much of it ends up on the Internet.
So this year’s garage organization project included another little job: Getting a proper lock on the door.
But first we had to make enough room to get to the door. Yep, it was a busy summer and it was that bad.
There’s really only one way to tackle this job: Drag everything out and then put it back in systematically, pitching the stuff you don’t need. (I find that it’s easier to part with excess stuff if you are faced with moving it multiple times.)
Enjoy this absurd time-lapse video of us trying to get everything out.
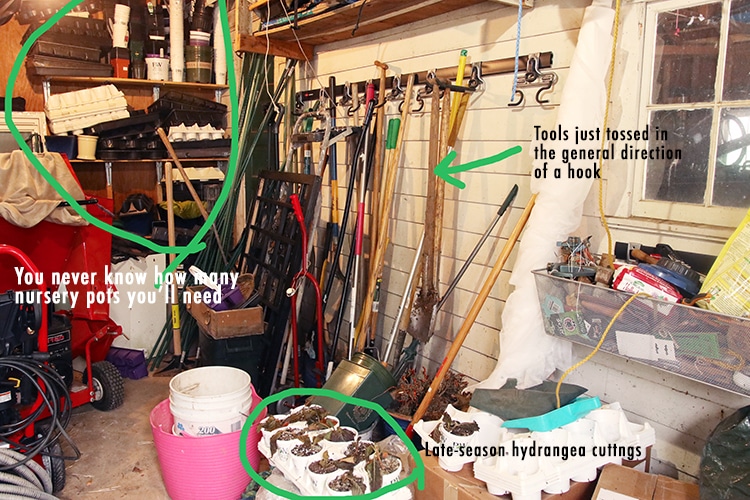
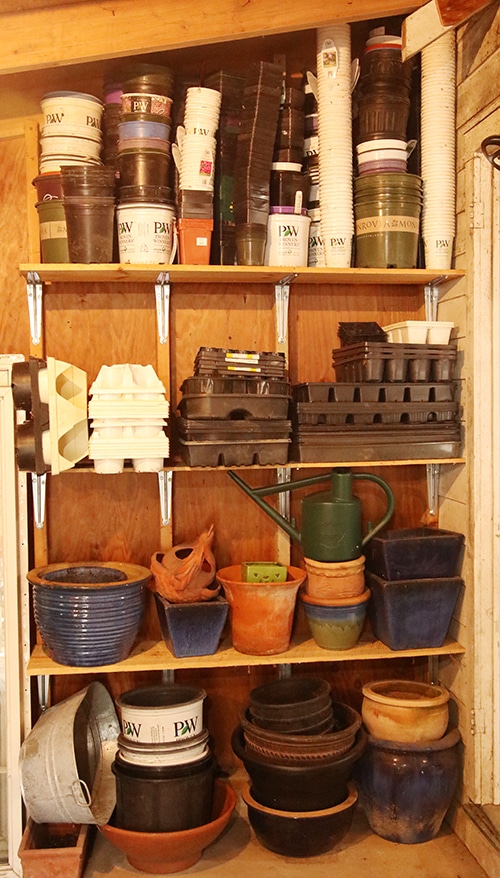
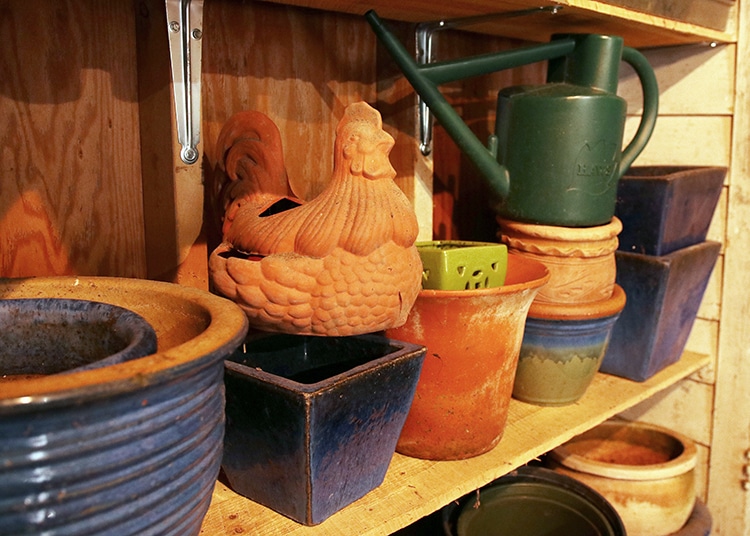
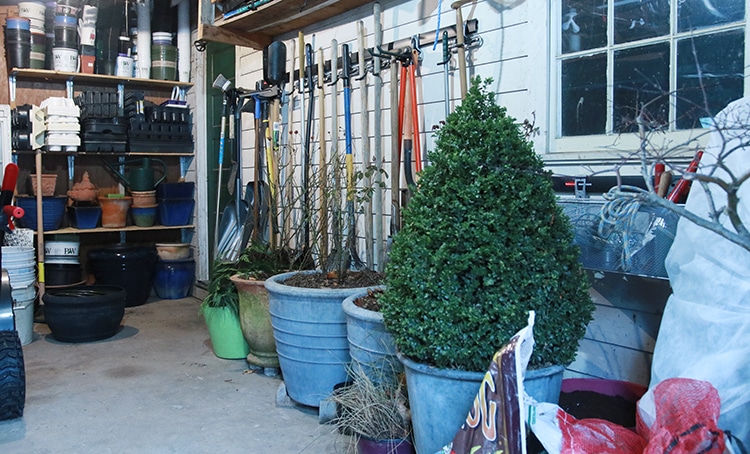
When it comes to putting things back in (after a thorough sweeping), I start at the back, where I stack containers, both decorative and nursery containers that I reuse. I probably save far too many, but I would kick myself if I ever had to buy a nursery container after throwing a bunch that I already had out.
Mr. Much More Patient usually takes this time to winterize the equipment and put the lawn machines in the back and the snowblowers in the front.
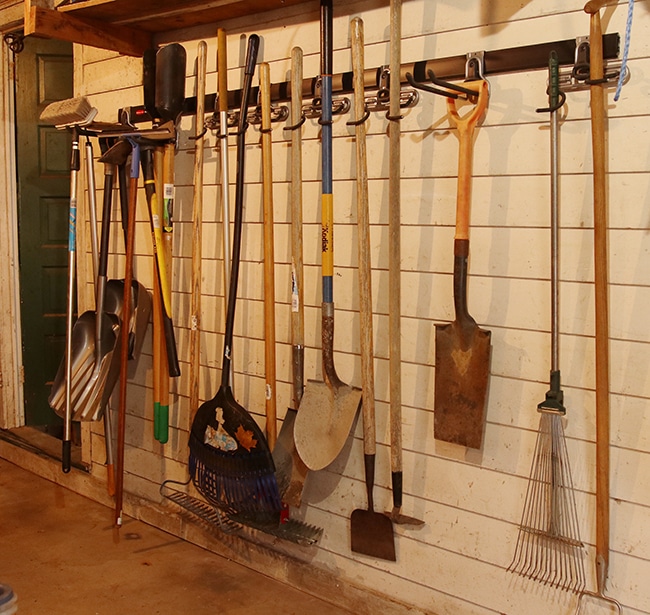
I finally pitched all the duplicate garden tools I had too. A bunch of cheap rakes, shovels, cultivators and more came with the house and I’ve kept them around all these years, but everything I didn’t use in the past year went off to find a new home.
We keep only one shelving rack in the garage due to the universal rule that horizontal spaces attract clutter, but I love the Rubbermaid Fast Track Garage System (here’s a good starter kit but you can customize it to fit your space) to hang all the tools and a basket for pot feet, gloves, hose nozzles and other garden bits and bobs.
Do you do the same thing I do when I clean out a space? I just stare at it in awe, usually wondering why I lived it with any other way. After allowing myself a little moment of satisfaction I moved the containerized shrubs in along one side. I’ve had great luck overwintering hardy shrubs in this unheated garage, and they get moved in after several hard freezes.
Two climbing roses that never got in the ground last year will also winter here wrapped in fleece row cover fabric, not to protect the plants, but rather the people from their thorns.
But now that we had everything back in and orderly, it was time to put a lock on that baby.
One of the reasons we haven’t bothered with a lock (well, a new lock as there was one on the door when we bought the house but there was no key to go with it) is because having one more key to keep track of seemed silly. Think about it: We need to get in the garage when we’re working outside, but we’re not going to walk around with our house keys. So undoubtedly what would happen is that we’d end up leaving the garage unlocked because it was easier than running inside to get the key every time we needed to get in there.
Enter the keyless smart lock! Not only do these locks have the obviously advantage of using a code instead of a key, they also allow you to credit additional codes to give out, so if a neighbor wants to borrow a tool or we’d need to let someone else in the garage when we weren’t home, we could give them a code specific to them, and then deactivate it later if we wanted.
But the Yale Security Assure Smart Lock also has the ability to add in a module that allows you to connect to it via an app and a wi-fi network, so you can lock or unlock the door remotely and you’ll know when it has been unlocked or even if the door has been left open.
In other words, it was perfect for this situation.
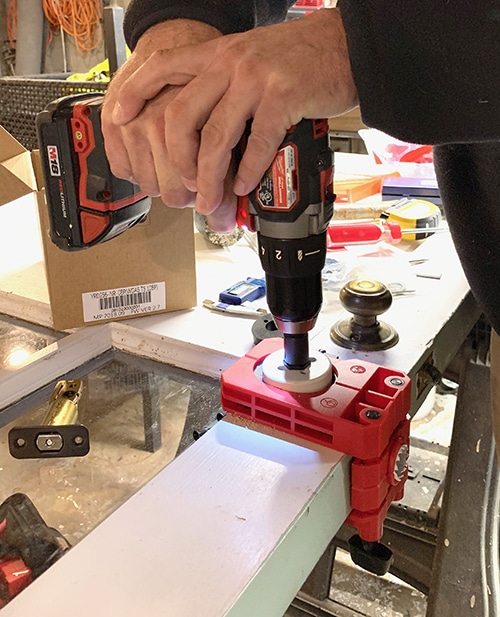
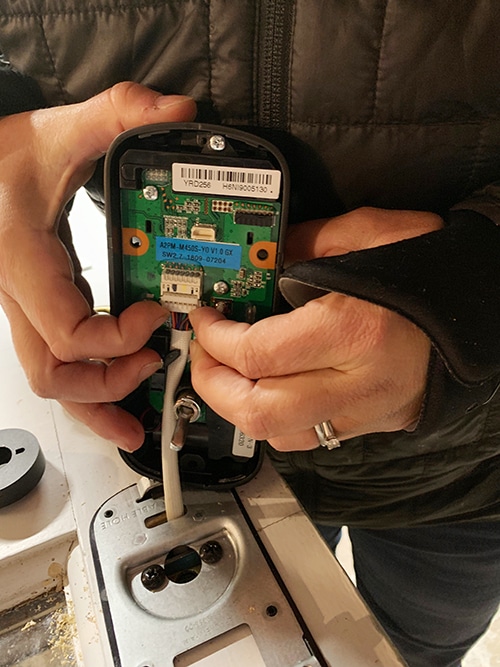
Although we started installing the lock outside, once it became clear that we’d need to enlarge the hole on our old door, we moved it inside to work on sawbucks. Newer doors should be good to go, but everything around this joint is ancient so we’re used to an extra step every once in a while.
We got a key hole jig to make sure our hole saw stayed centered using the included paper template.
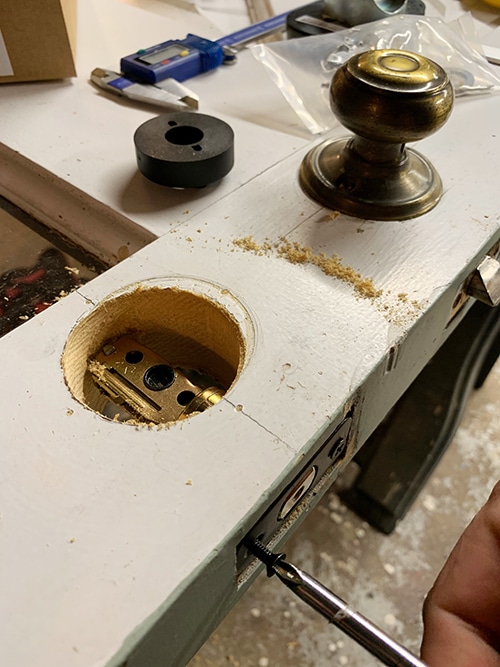
From there, the lock installation was simple, which is good because the one nit I’ll pick is that the included instructions lack words. This is a pet peeve of mine, I mean, what’s wrong with adding a few actual instructions to the very helpful diagrams in the instructions?
I usually like to throw in a little tip on installation, but unless you run into something funky with your door like we did it’s very straightforward.
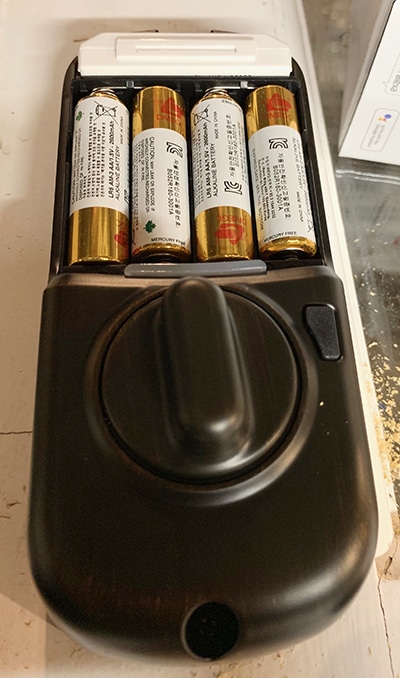
To get the lock working we needed to get the door back on the garage, and then there was a short amount of setup on the keypad. We put in a master code and two other codes (just in case we’d need to give them out) right away, but you can program up to 25 codes in it.
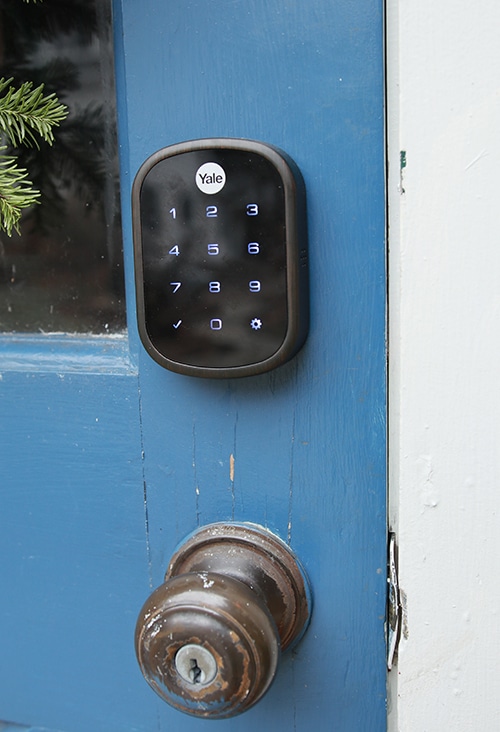
To use the keypad, you just wave your hand to turn the keypad on, then enter the code and open sesame!
We also opted for the Yale Network Module for app access (it also works in HomeKit), which required mounting a small sensor on the interior door frame.
It turns out there is something even better than a clean and organized garage: One that actually is secure as well.
This little garage has come a long way since we considered tearing it down because it looked so bad. Here are some previous garage projects we’ve done:
4 Responses
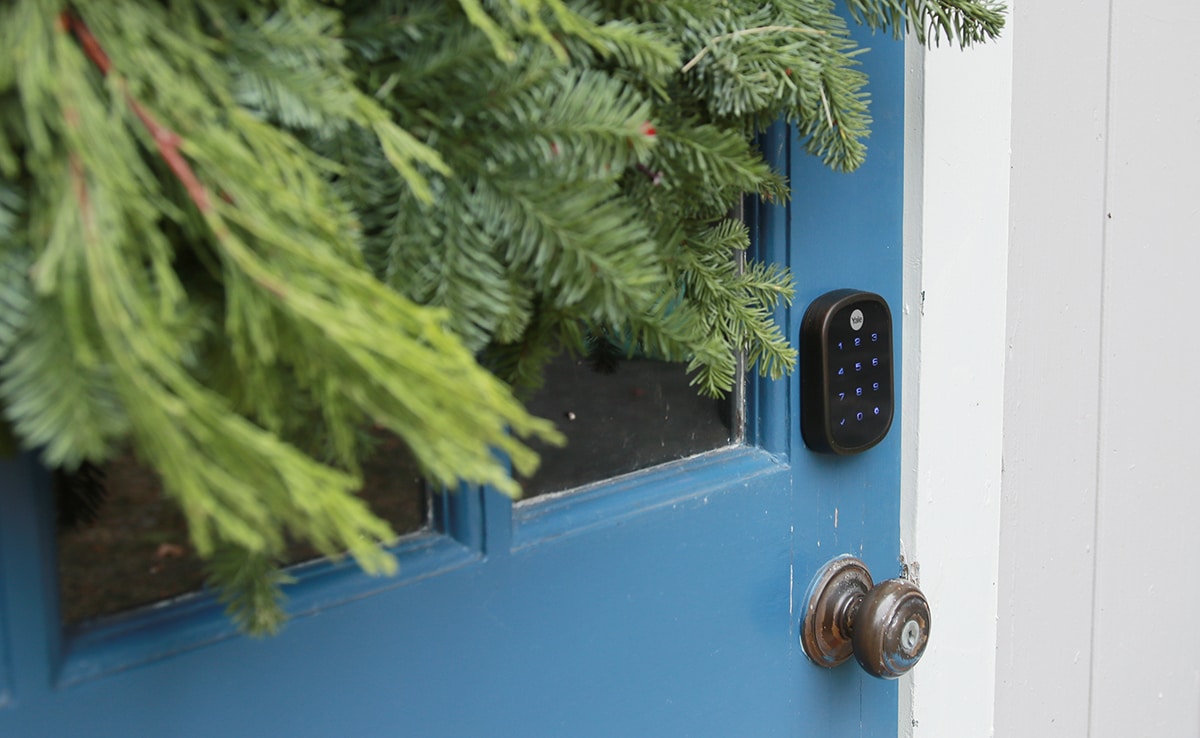
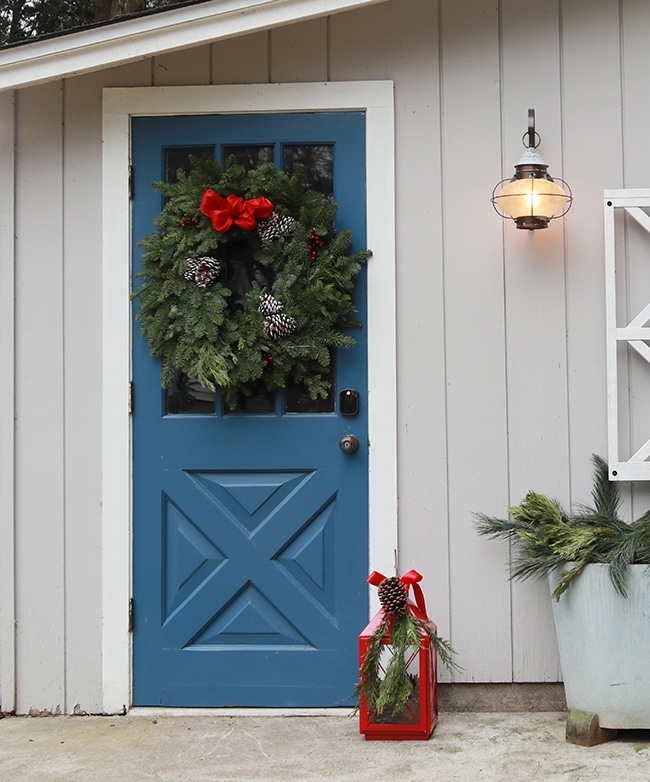
Hi. Do you mind telling me the paint color on that garage door? Thanks!
I had to look it up! It’s Benjamin Moore New York State of Mind (I wrote about it here: https://www.theimpatientgardener.com/yet-another-blue-door/)
Our garage is in pretty good shape because Mark cleaned it. But all the stuff i was supposed to do is still mostly undone. And I got rid of lots of plastic pots because they drive him crazy. This last week I was annoyed at myself for only keeping a few of one size which was not the size i needed for an indoor display.
We put a keyless lock on the side door to the garage four years ago – best garden tool ever! And I’m going to show my husband the picture of your stash of pots so that he can stop complaining about my more modest collection.