We interrupt your frantic season-end gardening for a quick message. This post is sponsored by 3-IN-ONE® Multi-Purpose Oil and Lava® Soap, but all words and opinions are entirely my own. This post may also include affiliate links. Thanks for supporting the brands that support this blog.
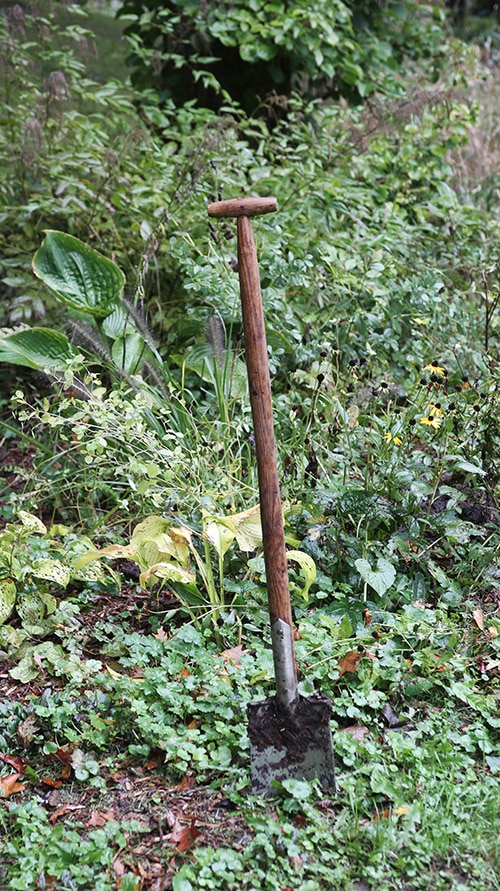
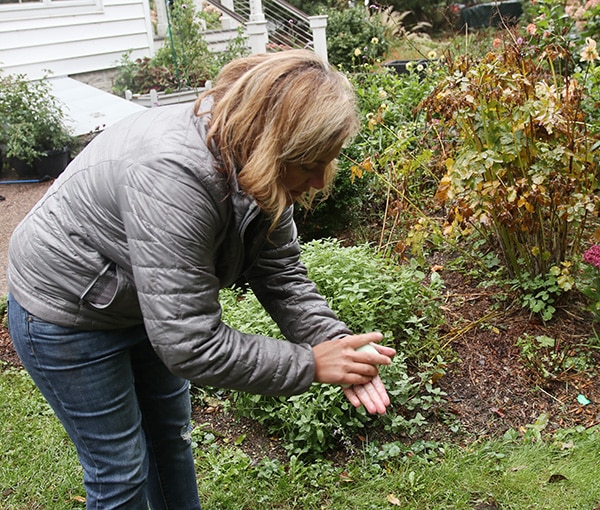
There is a “right” way to store your garden tools over winter: clean, sharp and ready to go the second you need them in spring. Now raise your hand if you’re really going to do that this year. (Note that my arms are firmly at my sides.)
The more I garden, the more recognize that although I’m always filled with good intentions (i.e. I will not let any vegetables overripen in the garden, I will mulch promptly after planting, I will never put my garden tools away dirty …), reality in the garden is a different thing entirely. Let’s be honest: A good day in the garden is one in which I don’t accidentally plant a tool that will be unearthed three years later when I’m dividing something.
I’m going to tell you the optimal way to manage your tool storage at the end of the season, but I’m also going to give you an out. A way-better-than-doing-nothing option that’s perfect for those of us who either run out of time in the rush of the season or are just plain burned out and ready to sit in front of the fireplace for some off-season recuperation.
There are three steps to putting your garden tools away in an ideal world: cleaned, sharpened and protected.
Cleaning is easy. I like to work soil off the metal bits with a brass-bristle brush. For handles, use a solution of mild soap and water and stiff nylon-bristle brush and then rinse and dry them well.
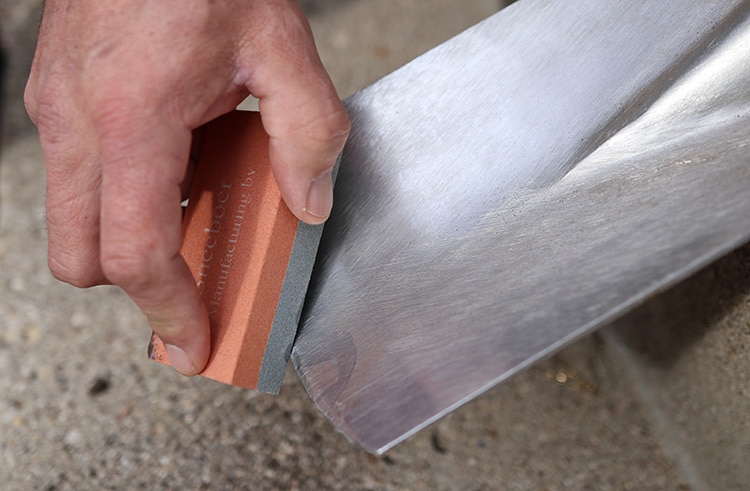
Sharpening intimidates people and it really shouldn’t. The key is to match the angle of the blade, and use a lubricating oil like 3-IN-ONE® Multi-Purpose Oil. For larger blades I like to use a whetstone (as I demonstrated here) and for smaller blades like on hand pruners, I like to use a small handheld sharpener (like I did here).
Of all the steps in the process, protecting your tools is probably the most important because storing them improperly for months will cause any existing problems to get worse. Keep rust at bay (and yes, even stainless steel tools can rust), by coating the blades with a thin layer of 3-IN-ONE® Multi-Purpose Oil (as demonstrated here).
Give wood-handled tools a quick sanding with 120-grit sandpaper (I have also used 150-grit; but you should use whatever medium-grit sandpaper you have on hand), then rub in some linseed oil.
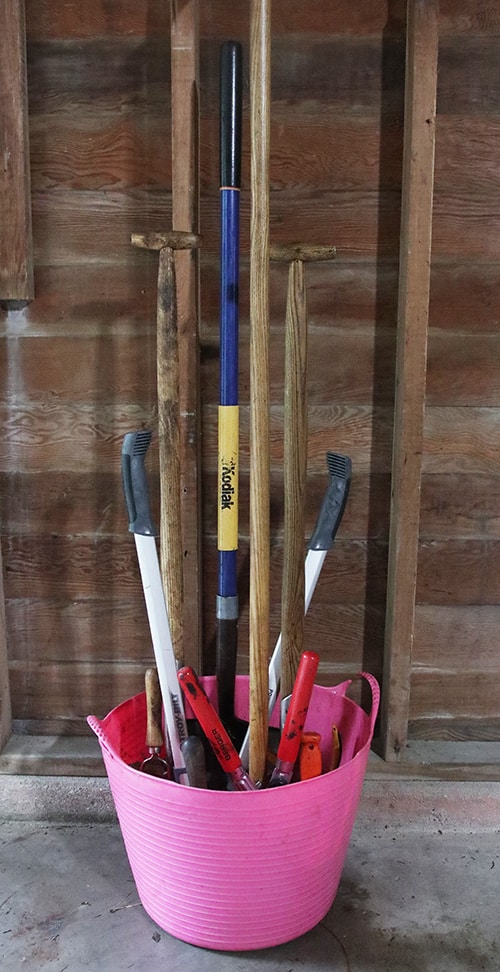
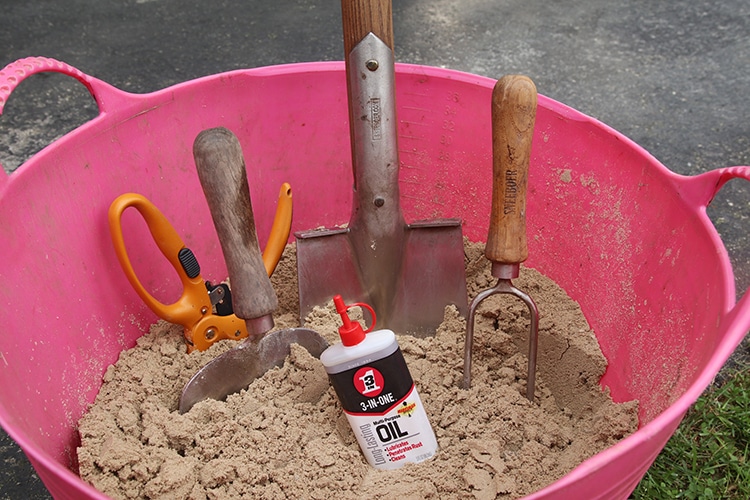
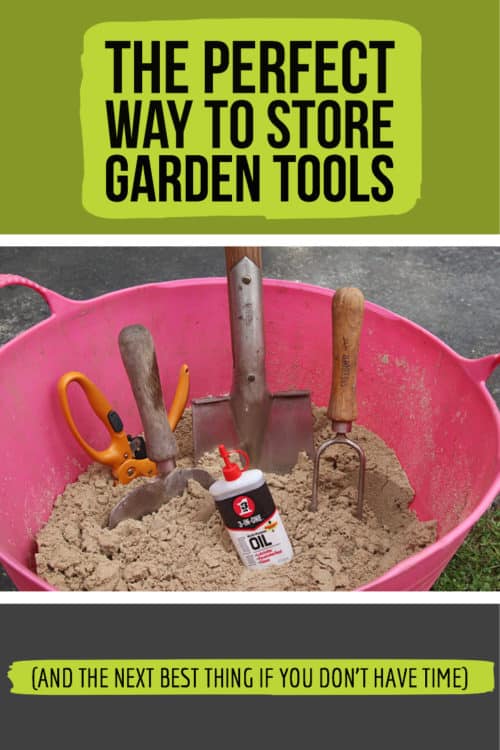
When you’re finished, you want to make sure you store them properly and the worst thing you can do is set them on the floor of a damp garage or shed. A good method is to fill a bucket with sand with some 3-IN-ONE® Multi-Purpose Oil mixed in. The sand should be moistened, but don’t turn it into a grease pit.
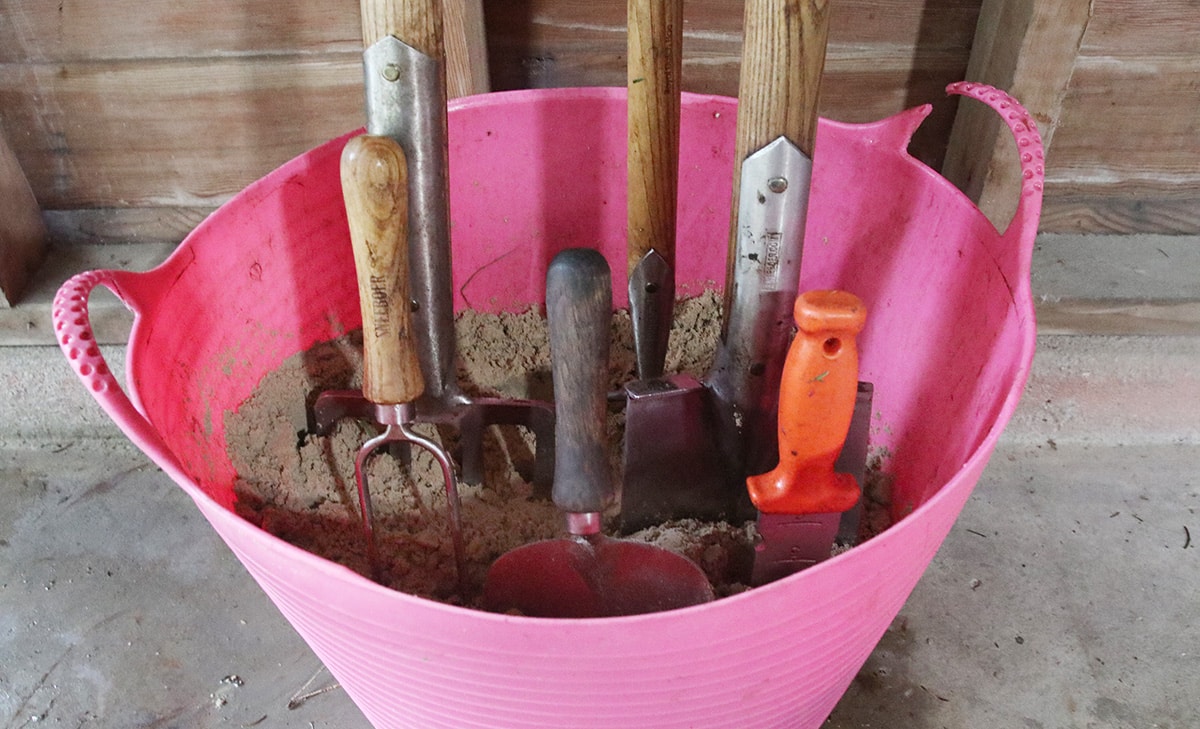
Then just plunge your tools in the bucket. They’ll be protected all winter and ready to go.
If you can manage this option, I applaud you and so will your garden tools. But let’s just say you don’t have the time for all that or you just don’t feel like doing it in fall. Don’t worry, I get it.
I actually like to delay the big tool maintenance project until late winter on one of those unseasonably warm and sunny days when I’m looking for an excuse to be outside. It’s fun to be able to do something garden related even if the garden is still covered in snow.
Well this next plan is for you.
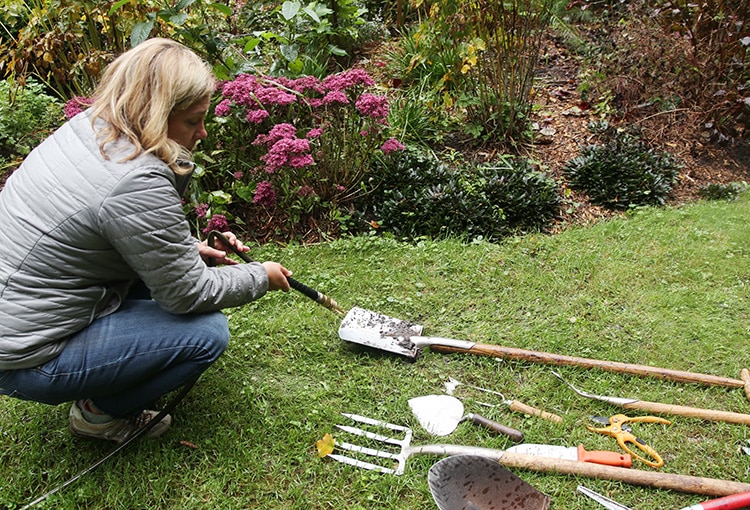
For this method there are only two steps: clean(ish) and protect. I’m giving you permission to skip the sharpening step until later but you are going to to want to do it before you start up again in spring.
As far as cleaning goes, just get the dirt off, even if that means just giving it a sharp spray with the hose. Make sure it’s dry.
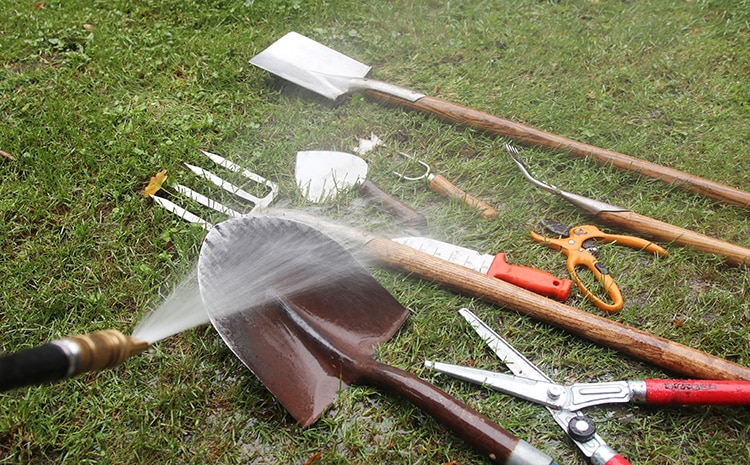
Cleaning: Check.
Now grab some of that 3-IN-ONE® Multi-Purpose Oil and give the blade a rub-down with it, wiping off any excess with a rag. In the case of pruners or anything with a hinge, make sure to work some oil into the joint.
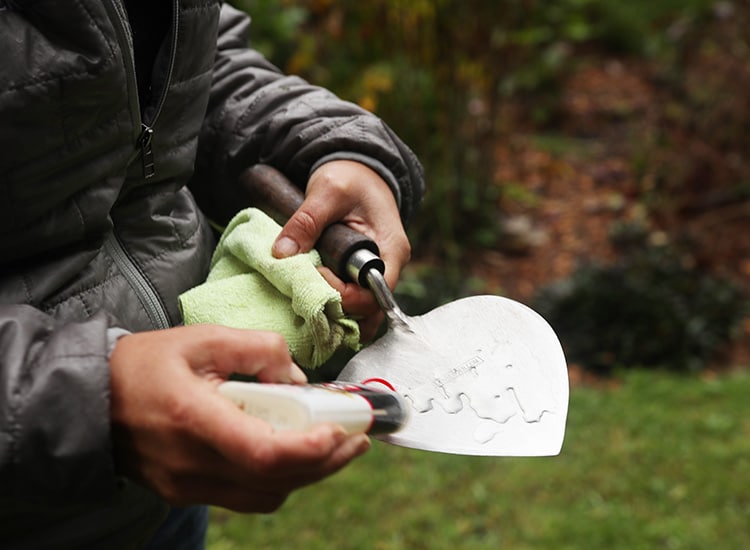
Protection: Check.
The storage plan should be the same no matter which approach you take, although I’d argue that the bucket of sand method is even more important when you’re cutting a few corners because it will help protect tools that might have bit of damage along the blade (because they’ve not been sharpened yet) from rusting.
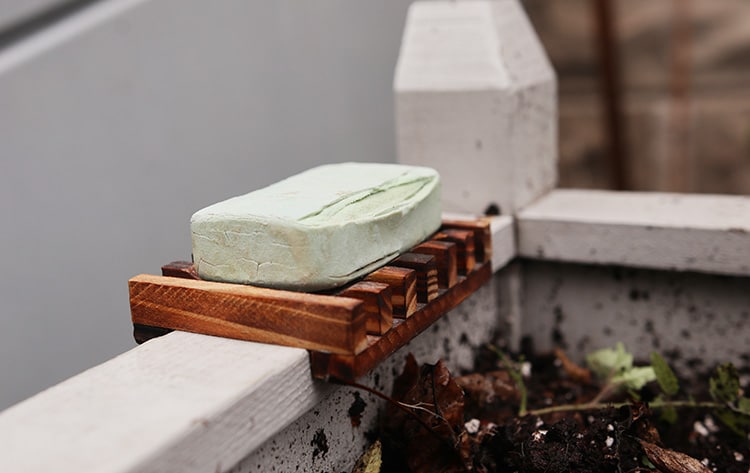
Speaking of saving time, here’s the little secret I’ve been hiding under the patio tomato plants this summer: a bar of Lava® Soap. Washing my dirty gardening hands in the kitchen sink (the closet one to the door) was getting a little gross and constantly stranding my gloves on the counter was getting old. I just tucked a soap dish on the tomato planter and grabbed the Lava® Soap for a quick clean up at the end of the day. And it was handy for this project too because the pumice in the soap removes any oily residue.
If you have a little more time, you can do as much of the “perfect” option as you like, and maybe you have time to do the full process on some tools but not others. The nice part about taking the cheater approach, is that if you get a nice day late in the season, you won’t feel bad about grabbing a tool out of the sand to go do some work in the garden. When you’re finished, give it a rinse, a drop of oil and stick it back in the bucket.
[custom_code name=”amazon”]
Be sure to follow 3-IN-ONE® on Facebook and Instagram, and Lava Soap on Facebook. To save on Lava Soap at retailers like Walmart, visit: bit.ly/LavaSoapCoupon.
9 Responses
“Thanks for sharing these helpful tips! Rust can be a real nuisance for gardeners, but with the right techniques, we can easily revive our trusty tools. I particularly appreciate the emphasis on safety precautions like wearing gloves and protective eyewear.
I’ve found that soaking rusty tools in a vinegar solution overnight works wonders. The acidity helps break down the rust, making it easier to scrub away with a wire brush or steel wool. After cleaning, a light coating of oil can prevent future rusting.
Thanks for this blog post and I’m committed to treating my garden/lawn tools with much more respect/care that they deserve this year 🙂 Always love your IG, Youtube and blog Erin!
I got sand to make this solution, but the sand that came in the bag isn’t dry. Can I still use it or will that rust my tools?
Happily the kids no longer pull my tools out and leave them until I find them. Sadly, I gave up on repairing them each time. I have a lot of tool repair to do this season. I’m starting with the bucket of sand 🙂 At least I’ll get started until the right direction.
We need to take care the tools that we are using, nice insight thanks for sharing this informative article of yours.
This is something I always put off but this post reminded me how important it is. Thanks! Is there a certain sharpener you recommend? I use the 3-in-1 oil too.
For my pruners I like a little thing called a handy sharp. For the big stuff I use a whetstone that came as part of a set from Sneeboer, but I don’t think there’s anything special about that particular whetstone other than that I like the size and shape.
Nice read. Love options!!
Thanks, Anne!