A quick note: This post is a partnership with Lowe’s Home Improvement. But you know that all words and opinions are my own. I also apologize for the messy basement visible in this post.
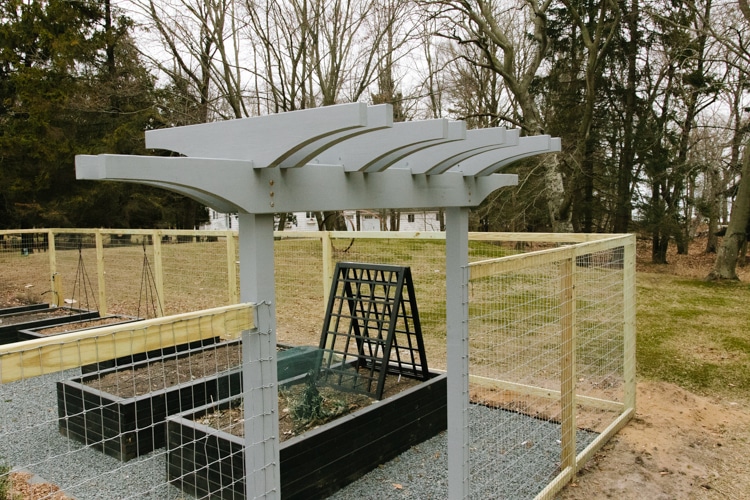
Imagine a vegetable garden full of orderly but abundant raised beds on a bed of charcoal-colored gravel. At its entrance is a charming gate under an arbor covered in climbing roses.
Now you know the picture that’s been in my head since I started dreaming up the vegetable garden many years ago. Because yes, it’s about growing delicious food, but it’s definitely also about being beautiful.
Last year’s growing season was cut short because it took much longer than I expected to build the garden, and I don’t plan on letting anything interrupt my growing time this year, so I’m working hard to crank out every project that’s possible this winter, even if it’s garden related.
In other words, when your dream veg garden needs an arbor but it’s the middle of January in Wisconsin, you build it in your basement.
 This isn’t a difficult project, but it has a lot of steps, so don’t be scared off by all the words that follow.
The first step, of course, is to set your upright posts. When we had the fence built around the garden, I had the posts at the main entrance made to be 7½ feet tall (the other posts are 6 feet tall). This height allows plenty of clearance once the arbor is installed.
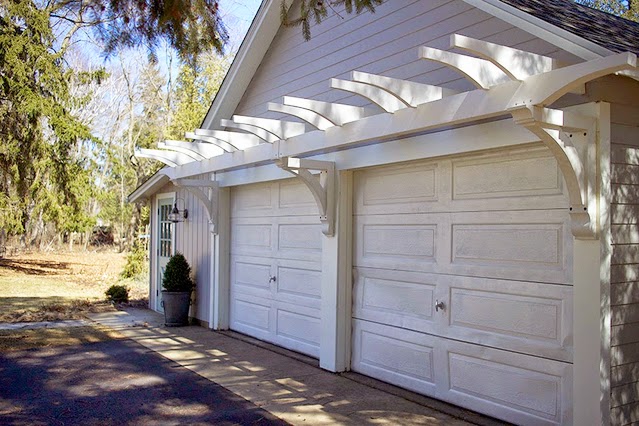
The next step is to decide on a design. We copied the design of the pergola on the deck and the garage for this design. The curves complicate the process a little, but I love that design and I liked the idea of a tie-in with the house.
We used 2x8s for both the cross braces and the top pieces. Measurements will obviously vary in every application, but we made the cross braces 106 inches long for posts set at 61 inches apart, measured from the outside of the posts. This allowed us to make a long curve detail and have a couple inches of straight board that extended out from the posts.
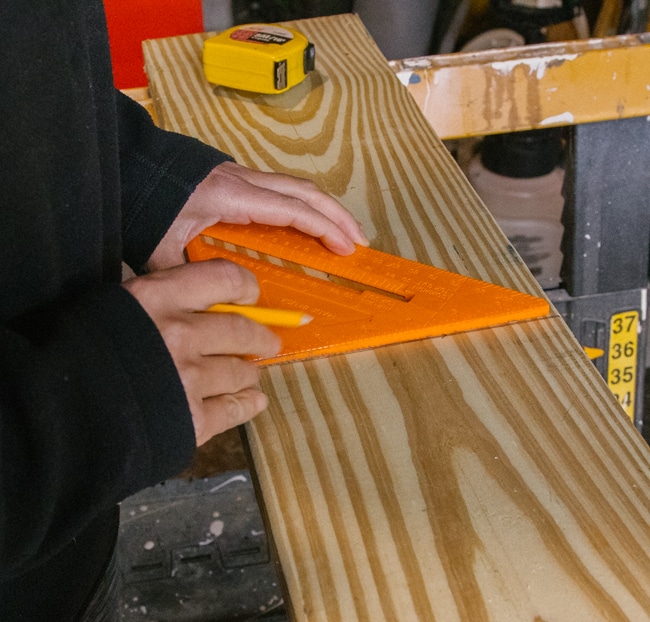
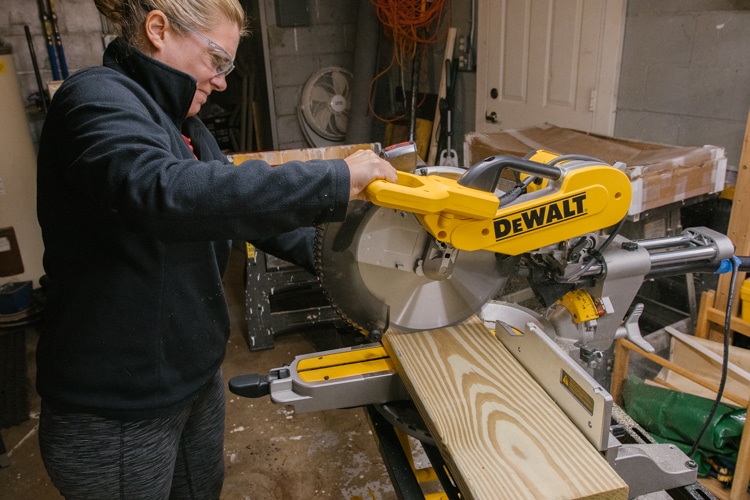
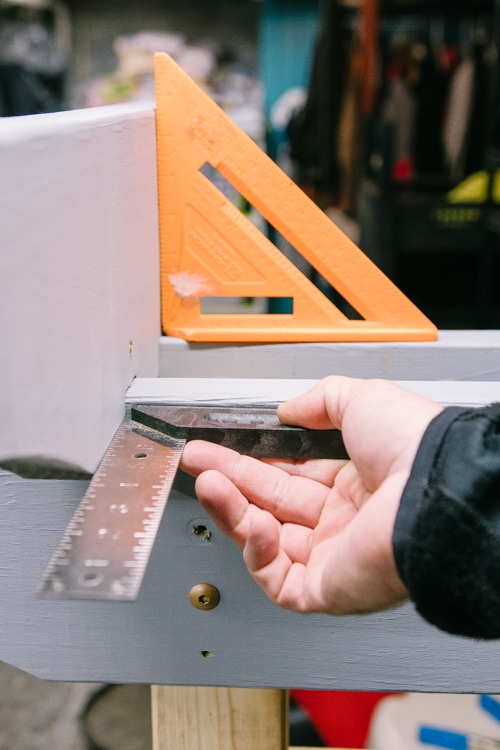
We cut the top pieces at 42 long out of 8-foot boards. Before cutting, measure each cut and mark the cut with a pencil using a speed square so you have a clear guide when cutting.
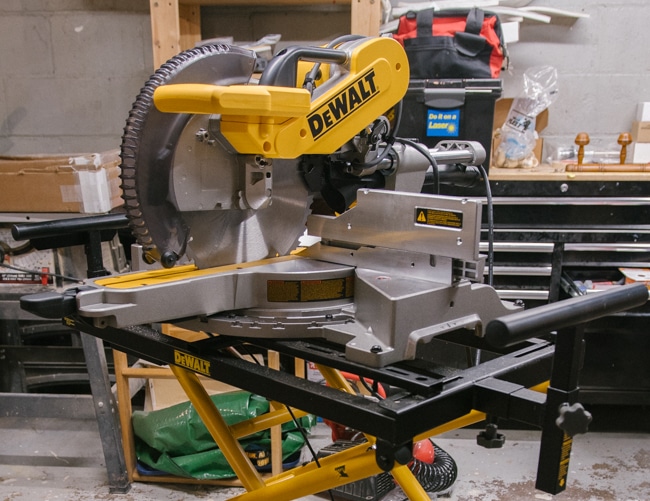
There is a lot of cutting in this project so it was wonderful to have a Dewalt 12-inch miter saw to crank it out quickly. I’m a power tool lover and it was fun to have a nice big-bladed saw to cut everything cleanly.
I’ve used a few miter saws before and this was is just more refined than others I’ve tried. Everything operates really smoothly, from the pull-out knobs that adjust for angle cuts to the blade guard (I’ve used some saws where that guard is a little sticky and that is just scary). The blade also extends out (I think this is called a back fence design, but in my head it’s sliding in-and-out blade), which means you can cut up to a 2-by-16 board! There’s also a sawdust collection system that really helps keep the mess down. We connected the outflow to the shop vac and there was very little clean up to do after cutting.
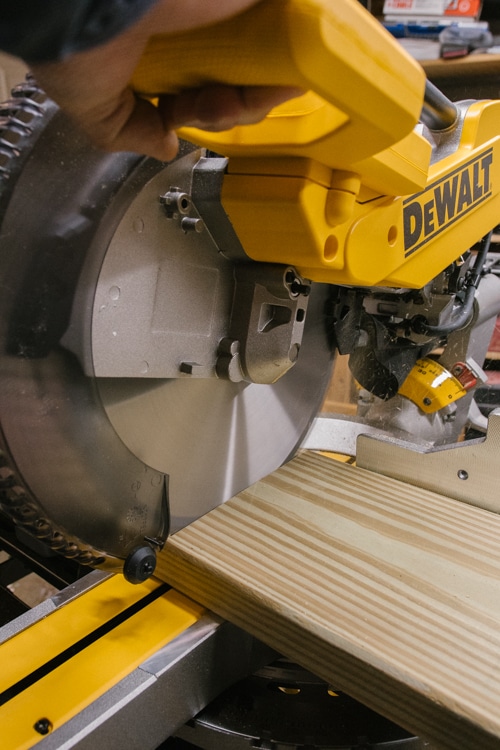
 If you’re new to using a miter saw, just make sure that you have your board tight against the back and brace it there with your left hand well away from the blade while you’re cutting. Before you fire up the saw, pull the blade down to see where it will cut and check to make sure it’s in the right place, taking into account the width of the blade.
When you’re ready to cut (with eye and ear protection on, of course) turn the blade on before you make contact with the wood, cut slowly (the saw will do the work) and pull the blade up slightly out of the board before turning it off.
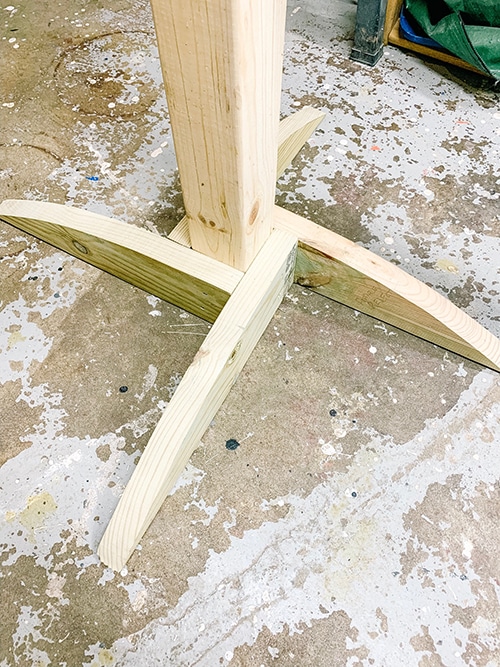
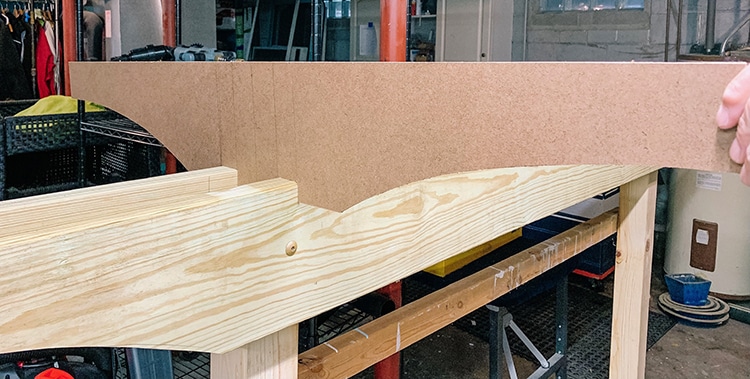
 With quick work made of the job of making all those cuts, the next step was to transfer the design for the end cuts. Because we were doing a curved cut, we used a piece of fiberboard to create a template by tracing the design from our existing pergola and using a jigsaw to cut it out. I then transferred the pattern to ends of each board.
I got a little fancy with the curve design, but you could simplify this project by doing blunt ends, angle cuts or a combination of the two for the end detail. All of these could be easily done on the Dewalt miter saw, which has a long list of functions and uses that go well beyond just cutting boards.
But you know my motto: Why do something the easy way when you can complicate it and make a project take longer? I kid, but it does seem like I have a habit of doing that sometimes.
The next step was cutting that curve, which could have been done with a jigsaw. However, we had a friend who allowed us to borrow his band saw to speed up the project. In seventh grade we had to use bandsaws to make plastic pen holders, but since that’s the last time I used a saw like that, I let Mr. Much More Patient lead the charge on the curve cutting. With the detail cut, we strapped all the boards together and used a belt sander to smooth everything out and make sure that all the curves matched.

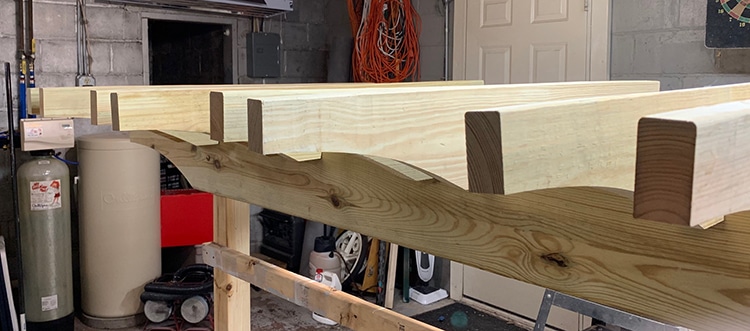
We used the off cuts from the end detail to brace a couple of 4-by-4s (leftover from the raised beds) to create a mockup of the posts, allowing us to build the arbor inside and without standing on ladders, a step I would have skipped hadn’t been the middle of winter in Wisconsin.
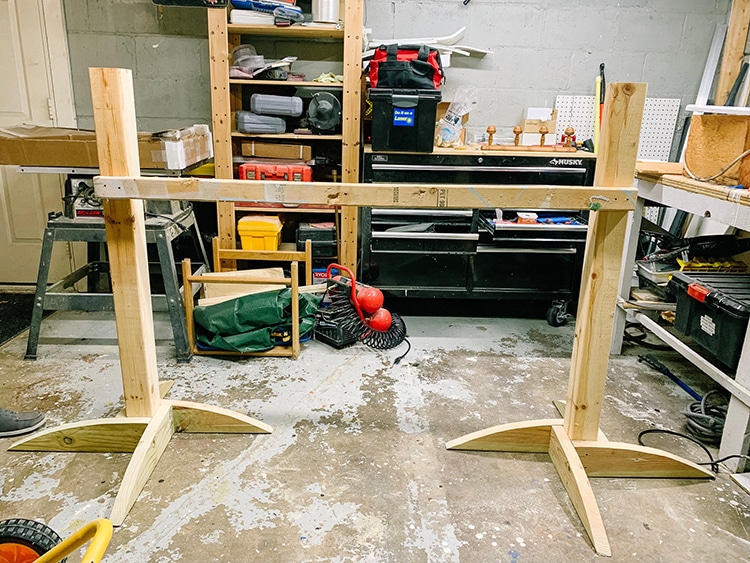
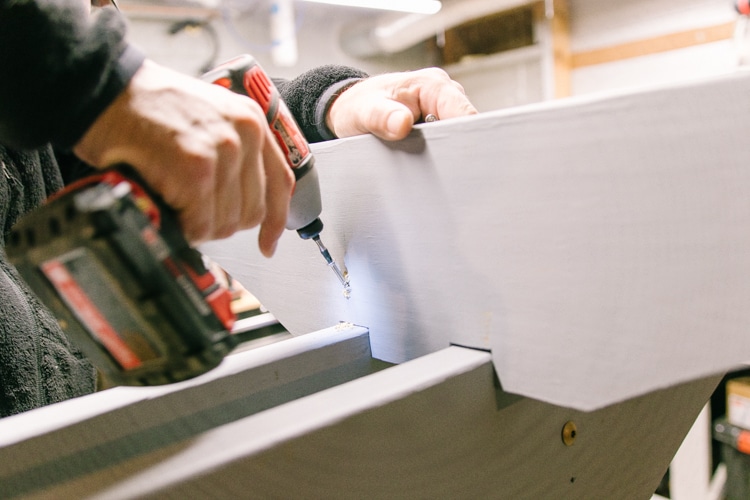
Regardless of where you build it, the next step is to mount the cross pieces, one on each side of the posts. Pre-drill the holes for the lag bolts—we used three 3-inch-long 5/16-inch lag bolts on each end—but make sure to set them slightly off center so they don’t hit the bolts screwed in from the other side. Because we were temporarily constructing this in the basement, we just used one lagbolt for the time being.
After the cross pieces were mounted, I made a final decision on the placement of the top pieces. This is strictly a matter of personal preference, so do what looks right to you.
The top pieces need to nestle onto the cross pieces for structural integrity as well as aesthetics. In order to do this, cut notches in each top pieces so it fits on top the cross boards. We cut these at 1½ inches deep by 1½ wide (the width of the 2-by-8, after again making a template to ensure that we cut all the boards exactly the same.
To cut the notches, use a jigsaw (you could also use a coping saw if need be), cutting diagonally across the notch in one direction, then the other and finally cutting straight across the top of the notch. This part gets a little fiddly, but take your time and work slowly.
Then double check to make sure the board fits on top the cross pieces. Sometimes you may have to go back to do a little more cutting or a touch of sanding, but don’t get too caught up in getting the fit perfect; no one is going to see a small gap on top the arbor.
With everything dry fit, we used a razor blade to mark the top of the cross pieces where the top pieces were placed so that we’d be able to refit everything after it was stained (pencil marks would have been covered).
Take the whole thing apart to make it easier to stain. I used the solid Valspar One-Coat Exterior Stain and Sealer tinted to the color Stonybrook. The stain can be applied in temperatures as low as 35 degrees (the reason I was able to get a coat on the gate posts outside on a relatively warm January day, but I’ll stain the rest of the fence when temperatures rise), but it was nice to be able to stain inside. Before staining I gave everything a quick sanding, more to remove mill glaze (which can interfere with the stain) rather than actually smooth the boards.
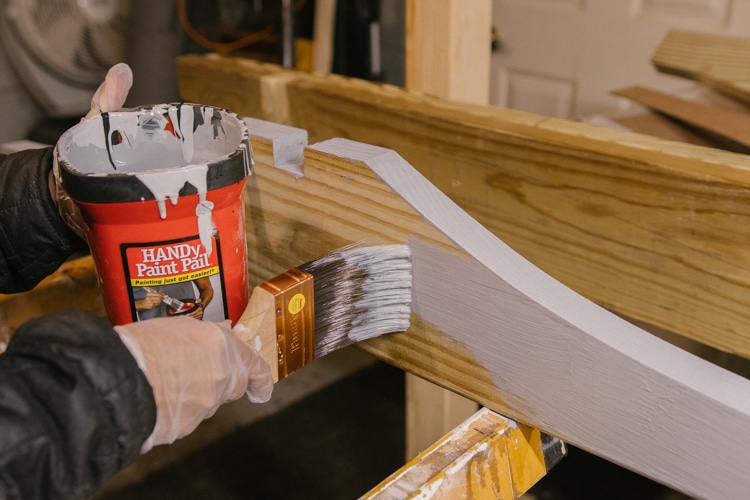
Solid stain looks and behaves like paint, but the Valspar stain went on really quickly and a little bit went a long way. I used a 3-inch flat Purdy natural bristle brush with soft, flexible bristles for a smooth application.
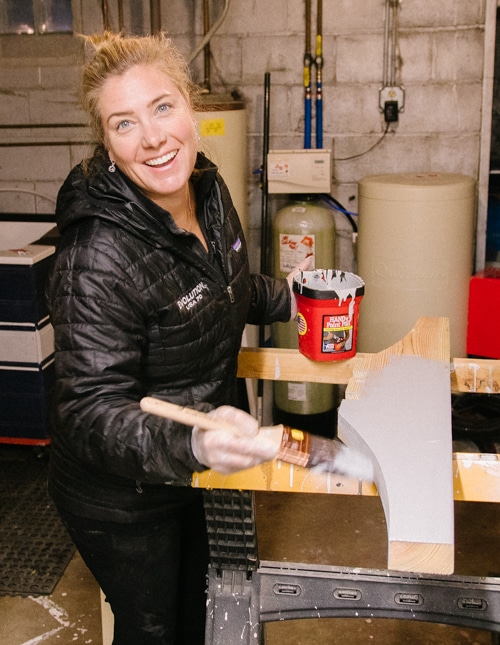
Clean up was just soap and water (thank goodness; cleaning brushes is the worst). Speaking of cleanup, I have two paint and stain application tricks: 1. Wear cheap disposable gloves, and 2. Use a Handy Paint Pail with the disposable liners. The pail has a really nice handle to slide your hand into and a magnet on the inside to hold your brush when needed.
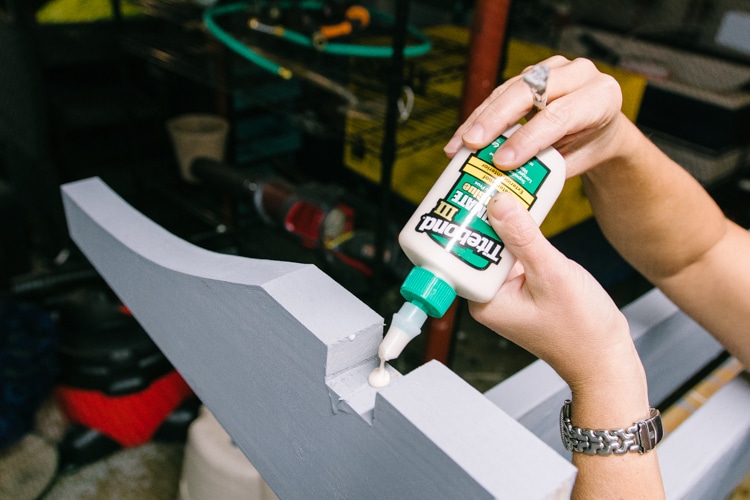
True to its name, one coat did the trick, so we were able to get right back to assembly. To affix the top pieces permanently to the cross bars, coat the notches with Titebond III Ultimate Wood Glue, then place them in their spots (the razor blade trick works great). Then drill 2-inch stainless steel screws in at an angle to secure the boards. We used one screw on each side of every notch, with the exception of the end pieces, where we only used a screw on the inside of the board so you wouldn’t see a screw from the side.
After letting the glue dry for a day we were able to move the arbor outside. In order to keep the cross pieces from moving around too much during its trip to the garden, we cut off the tops of the scrap 4-by-4s (we just pushed them out once it was on top the real posts).
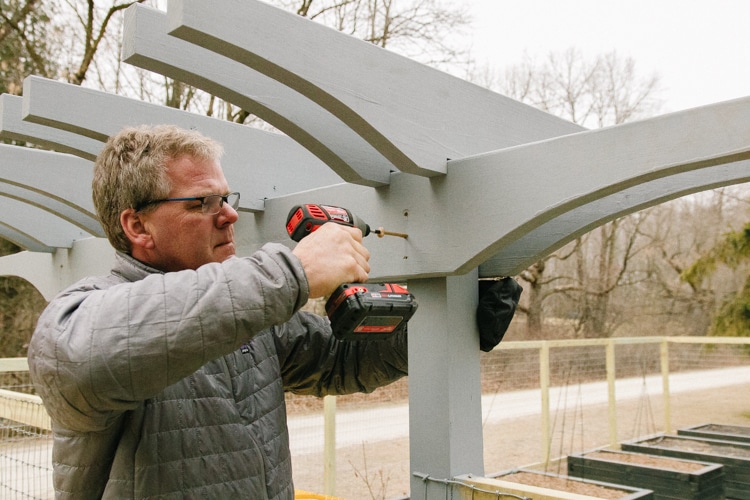
The whole thing was pretty heavy so we called in a friend to help get it up there. Once it was perched on top the posts, we checked it for level and, maybe more importantly, measured the distance from the top of the fence panel to the arbor on each side of the gate. Then we just came in with the lag bolts and bolted it onto the posts.

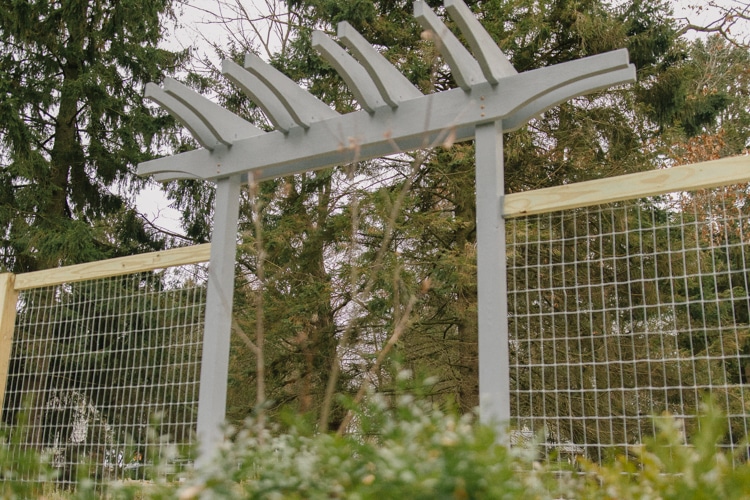

A gate will follow soon and come spring, so will climbing roses that will someday drape themselves over the arbor. Just like I imagined.
Products and tools used in this project:
- Lumber: Two pressure-treated 10-foot 2-by-8s and four pressure-treated 8-foot 2-by-8s
- Dewalt 12-inch, 15-amp dual bevel miter saw
- Fiberboard (for templating)
- Jigsaw
- Titebond III Ultimate Wood Glue
- Valspar One-Coat Exterior Stain and Sealer
- Purdy 3-inch natural bristle paint brush
- Handy Paint Pail and disposable liners
- Lag bolts
- Stainless steel screws
- Belt sander
- Drill driver
6 Responses
I’m so impressed with your construction skills! I wanted an arbor but I always thought it was hard to build one. Maybe that’s something I can deal with (after the kids take a few steps; and with some help! Oh, and I think I’m going to be begging for this meter. I can physically handle a project like this. I may have to bribe my sons with browns and cakes.
Love that arbor. My husband is not the handy-man DIY type, and I don’t think I could physically handle a project like that on my own. I might have to bribe my sons with brownies and cake.
What roses are you planning to use?
I love it! I’m so impressed with your building skills! I’ve wanted an arbor but I always thought they were too difficult to build. Maybe it’s something I can tackle (after taking some baby steps…and with some help! Oh, and I think I’m going to beg for that miter saw! 🙂 ). I really love your new and improved vegetable garden and I’m looking forward to see how it looks over the growing season.
Well done! You will be so happy when you can sit outside and sip a drink instead of working so hard.
I may have to jump on the ferry this summer to get a look at that project!
It looks fantastic! Can’t wait to see the gate. So wise to work ahead since your growing season is somewhat short.