A quick note before I get into this epic post on an epic project: Troy-Bilt sponsored this post and the Flip the Yard challenge and provided products for my use.
It’s funny how projects that start as one thing end up being something else.
If you followed me on Instagram last weekend (you can catch up in my archived Instastories here), you saw Mr. Much More Patient and I bust our butts creating a new garden in one weekend. You know how we ended up doing that (something I think we’ve realized we are perhaps on the line age bracket-wise to be doing)? My friends at Troy-Bilt asked us to take on a project as part of their Flip the Yard campaign. Actually it wasn’t so much asking as it was challenging us to do it. Sorry folks, if someone challenges me to do something, it’s almost certain that I’m going for it, unless the odds are high that it will kill me or get me arrested.
So, yeah, challenge accepted.
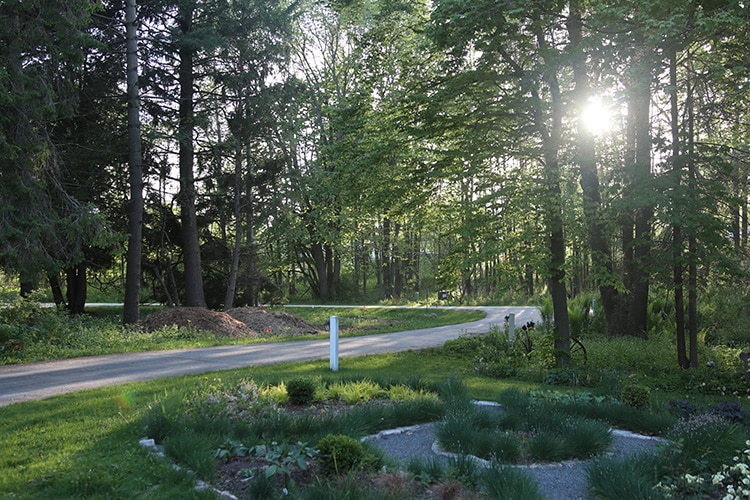
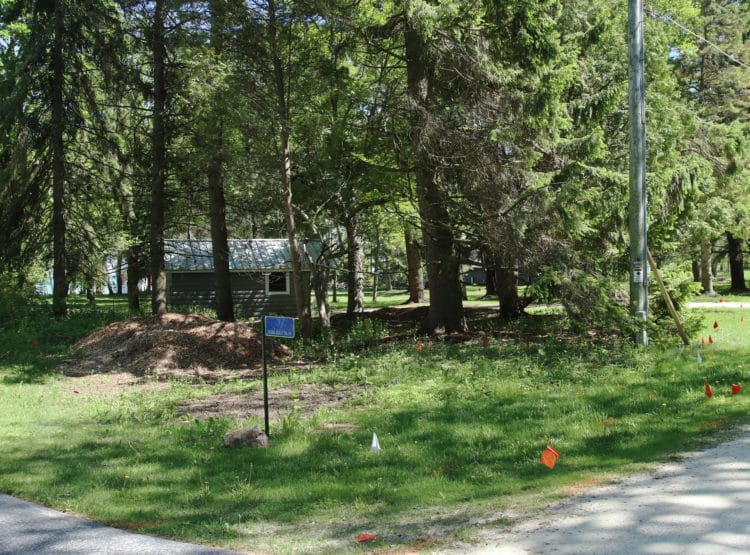
Our mission was to create some much-needed privacy using plants for screening from passing cars. Ever since we took down a big tree at the end of the driveway we’ve been feeling a little bit exposed when we sit on our patio. Don’t get me wrong, we love our neighbors, but they don’t have be a part of our cocktails hours on the patio unless we invite them over. Troy-Bilt provided us with some equipment to get the job done, a little seed money for supplies and the word “challenge,” which kept us going come hell or high water.
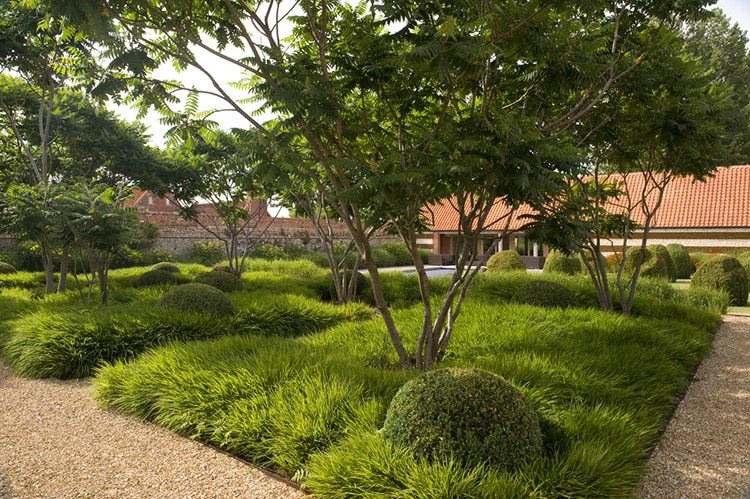
The goal was to obscure the view, not obliterate it. Think frosted window, not a wall. I wanted to do this with planting and I’ve had the inspiration for this garden in my head for a year or so. Tom Stuart Smith designed this garden and I drew heavily on it for inspiration: islands of boxwood in a sea of grass, and multistemmed trees. I added in the evergreens for additional screening. And although I very uncharacteriscally stuck to a planting plant using just four types of plants (I can’t keep to that number in a container, so this was a real feat), choosing those plants was maybe the most difficult and time-consuming part of this.
The site requirements—part sun—and deer resistant (I know better than to say deerproof, because very few things are, but that’s the idea) are obviously the most important criteria for plant selection. It would be impossible to patrol deer browsing here like I’m able to do in gardens right next to the house. I also wanted very low maintenance plants; things that don’t need messing with more than once or twice a year.
The grasses were easy. I’ve been looking for an excuse to use Hakonechloa macra for some time. This is the all-green variety of Hakonechloa ‘All Gold’, which I’ve used extensively in my garden. It grows a bit taller and larger than ‘All Gold’, but gets the same yellow to brown foliage in fall and winter. The boxwoods weren’t difficult either because they are one plant I’ve never had a deer even think about going near. If deer resistance weren’t a factor I might have thought of a different evergreen for this spot, just because I’m getting a little boxwood heavy in my garden.
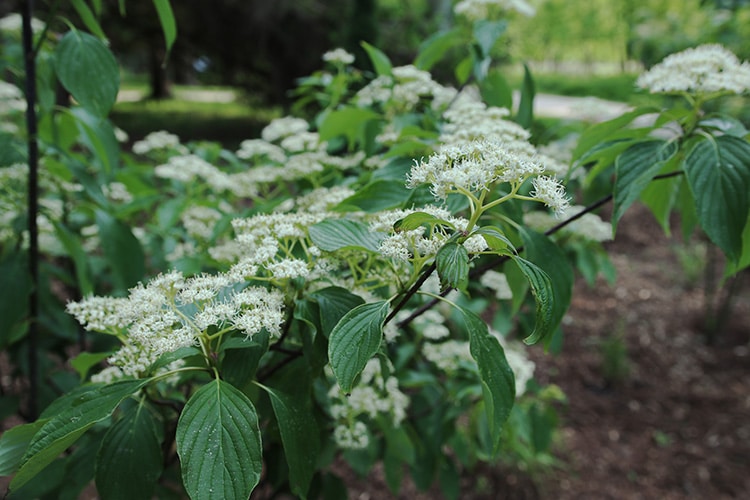
Smith uses a variety of staghorn sumac in the inspiration garden, but that gets a bit rangy here, so rather than have to constantly keep it in check I searched for another multistem tree. I wanted something that was wider than it was tall and had some fall color. And I didn’t want it to get too big. I landed at Cornus alternifolia (pagoda dogwood), although I had considered Amelanchier (serviceberry). I like how the dogwoods have a tiered growing habit and lovely flowers in spring.
As for the evergreens I wasn’t fussy about the kind as far as color and texture go. But the part sun location was highly problematic and quickly ruled out a lot of options. The other limiting factor was height. We don’t really want these to get much taller than 12 feet or so in maybe 10 years. There are power lines to contend with and we like the sun to be able to stream in late in the day. I spent weeks searching for the right tree. Certainly there are some out there, but finding them locally at any decent size (and decent price) was impossible. In the end we went with a tree that is scorned by many because it’s a ubiquitous foundation planting: Dwarf Alberta spruce. These are not particularly special trees. They grow to about 10 feet by 6 or 8 feet wide (although I’ve seen some here that are larger), and they are generally sort of blobby. But they grow in part sun and deer don’t favor them. We dealt with the height being a touch on the short side (especially at first as the biggest I could find were 5 feet tall) by planting them on the berm, a feature that ended up having other benefits down the line.
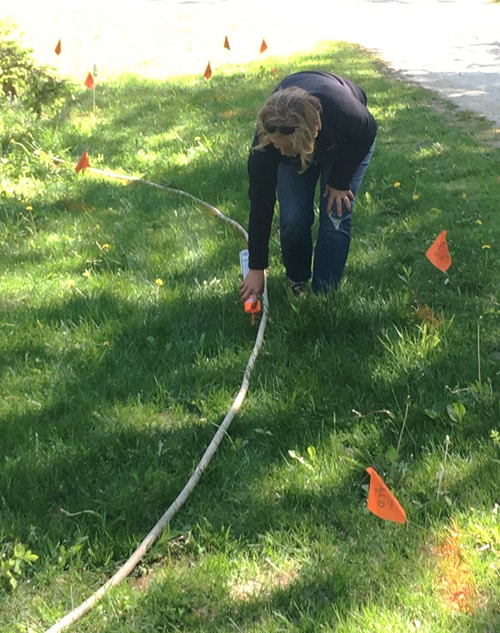

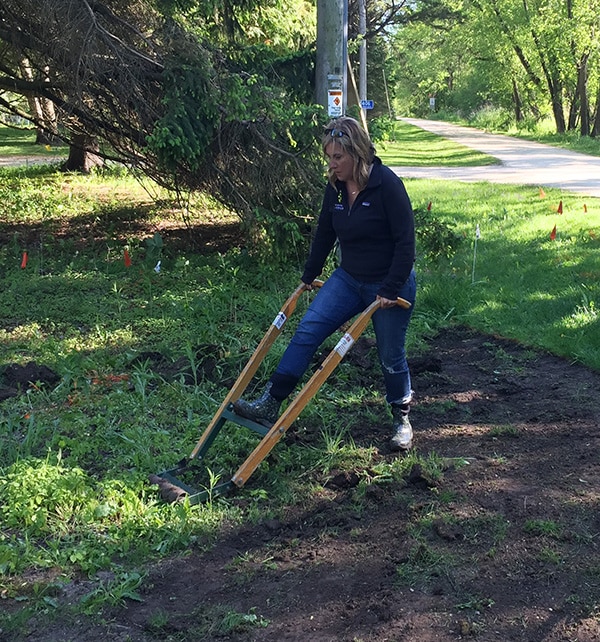
With the plants secured, we started off the project with two very different tools. I laid out the garden with a hose to get the general shape, then used my Troy-Bilt edger to cut a trench to define the area. You can read my review of it here, but this is maybe my favorite power tool in the garden. I’m an edging freak and it makes a boring and slow job of edging by hand, quick and easy. Juxtapose that with the old-fashioned sod cutter I rented from the hardware store. We didn’t have a lot of grass to remove so I opted for the manual sod remover ($10 for four hours) vs. the nice powered sod remover ($40 for four hours). Basically this thing has a metal strap that you sort of dig under the sod, two big wooden arms and a spot to kick it to “slide” it under the sod. Whatever. It wasn’t pretty, but it got the job done and I got a good leg workout.
We used the sod to create the foundation for the berm and that worked out great. We had to get rid of it anyway and it saved on soil later.
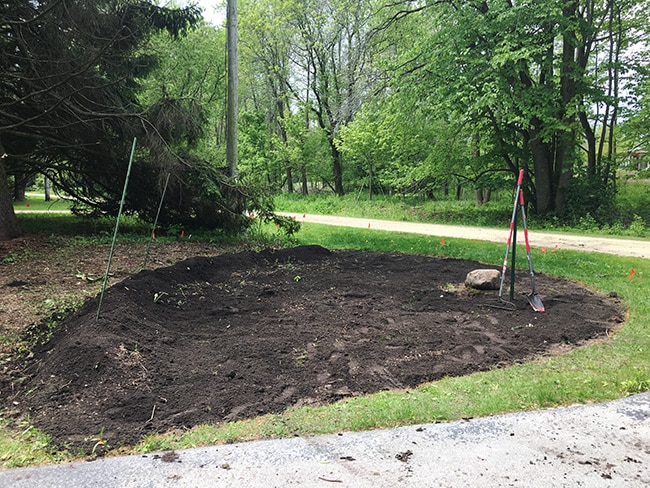
This was a day, let me tell you. First we brought in some compost-rich soil to both amend the entire planting area and create the berm. It was sad to use such good soil for the berm, but when you buy soil in bulk, much of the cost is in delivery and we would have had to pay for two deliveries if we had bought two kinds of soil. Then we used the TB146 EC 4-Cycle Cultivator to work the amendments into the soil. Using a cultivator was a new one for me, in part because I don’t love disturbing soil if I don’t need to. But I do believe in getting the soil right from the beginning, because it’s the easiest time to do it. A cultivator is NOT a tiller. It’s meant to work already broken up soil, not to do the breaking up. I loved that the cultivator worked with Troy-Bilt’s Jump Start system (which I love because I don’t have to pull the damn cord!). What I learned is that the cultivator worked best when just worked one area thoroughly at a time, rather than trying to walk with it like you might with a tiller.
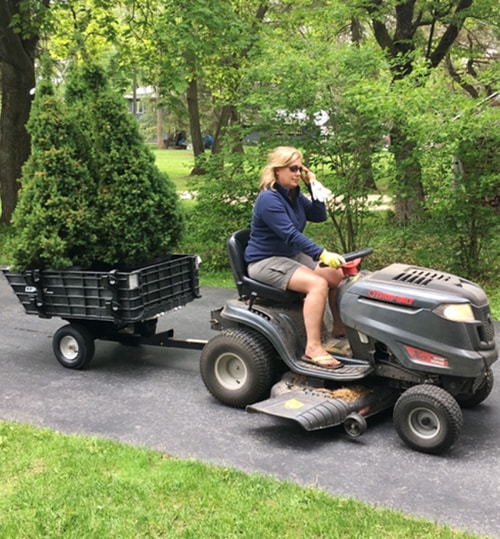
Then we laid out all the plants, which might have been a chore if it hadn’t been for the EZ Stow Trailer that hooks up to our Horse lawn tractor. I won’t lie, I covet some sort of utility vehicle/golf cart on steroids to haul all my stuff around the yard, but this trailer is pretty much the next best thing. Every since it showed up at our house I’ve been hauling plants, mulch and anything else I can find with it. There’s even a tool holder for it and a handle to use it when it’s not attached to the tractor (although I see no fun in that whatsoever).
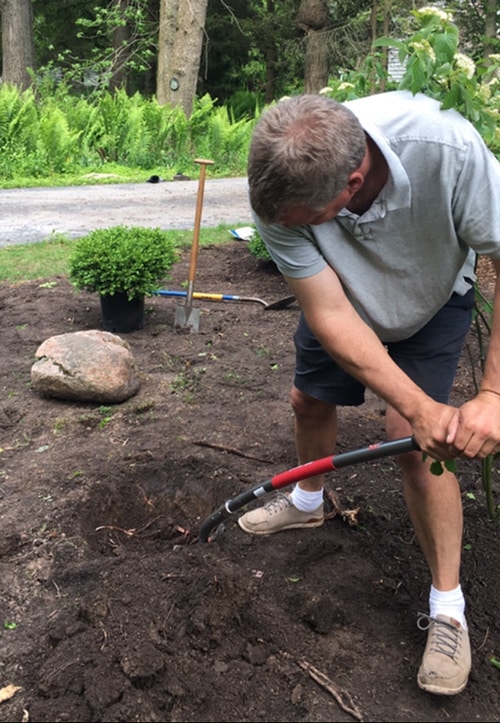
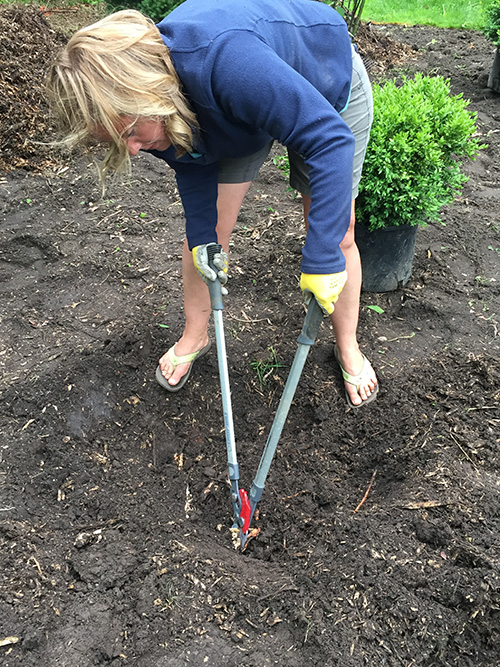
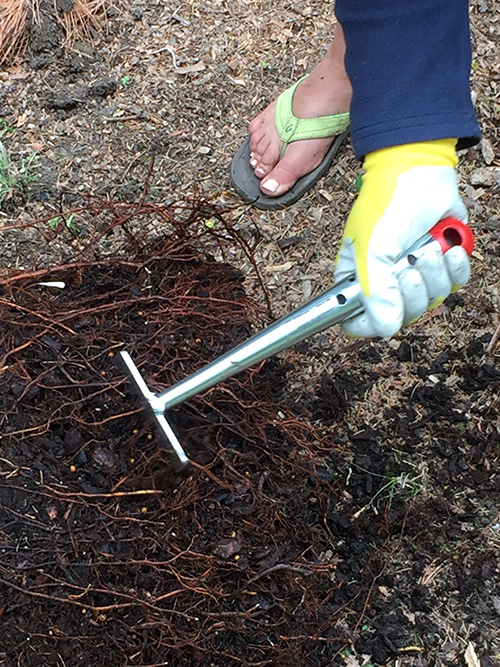
At this point I was feeling pretty good and thinking we might wrap this project up well ahead of schedule. And then came the roots. Deep down (hole depth, not surface depth, which is why we didn’t notice them when we were using the cultivator), roots from trees that had been removed (and maybe a few from nearby trees) thwarted us at every turn. In fact we ended up moving almost every plant because it became easier to just find a spot with fewer roots than to dig and chop and dig and chop. In other words, planting took forever!
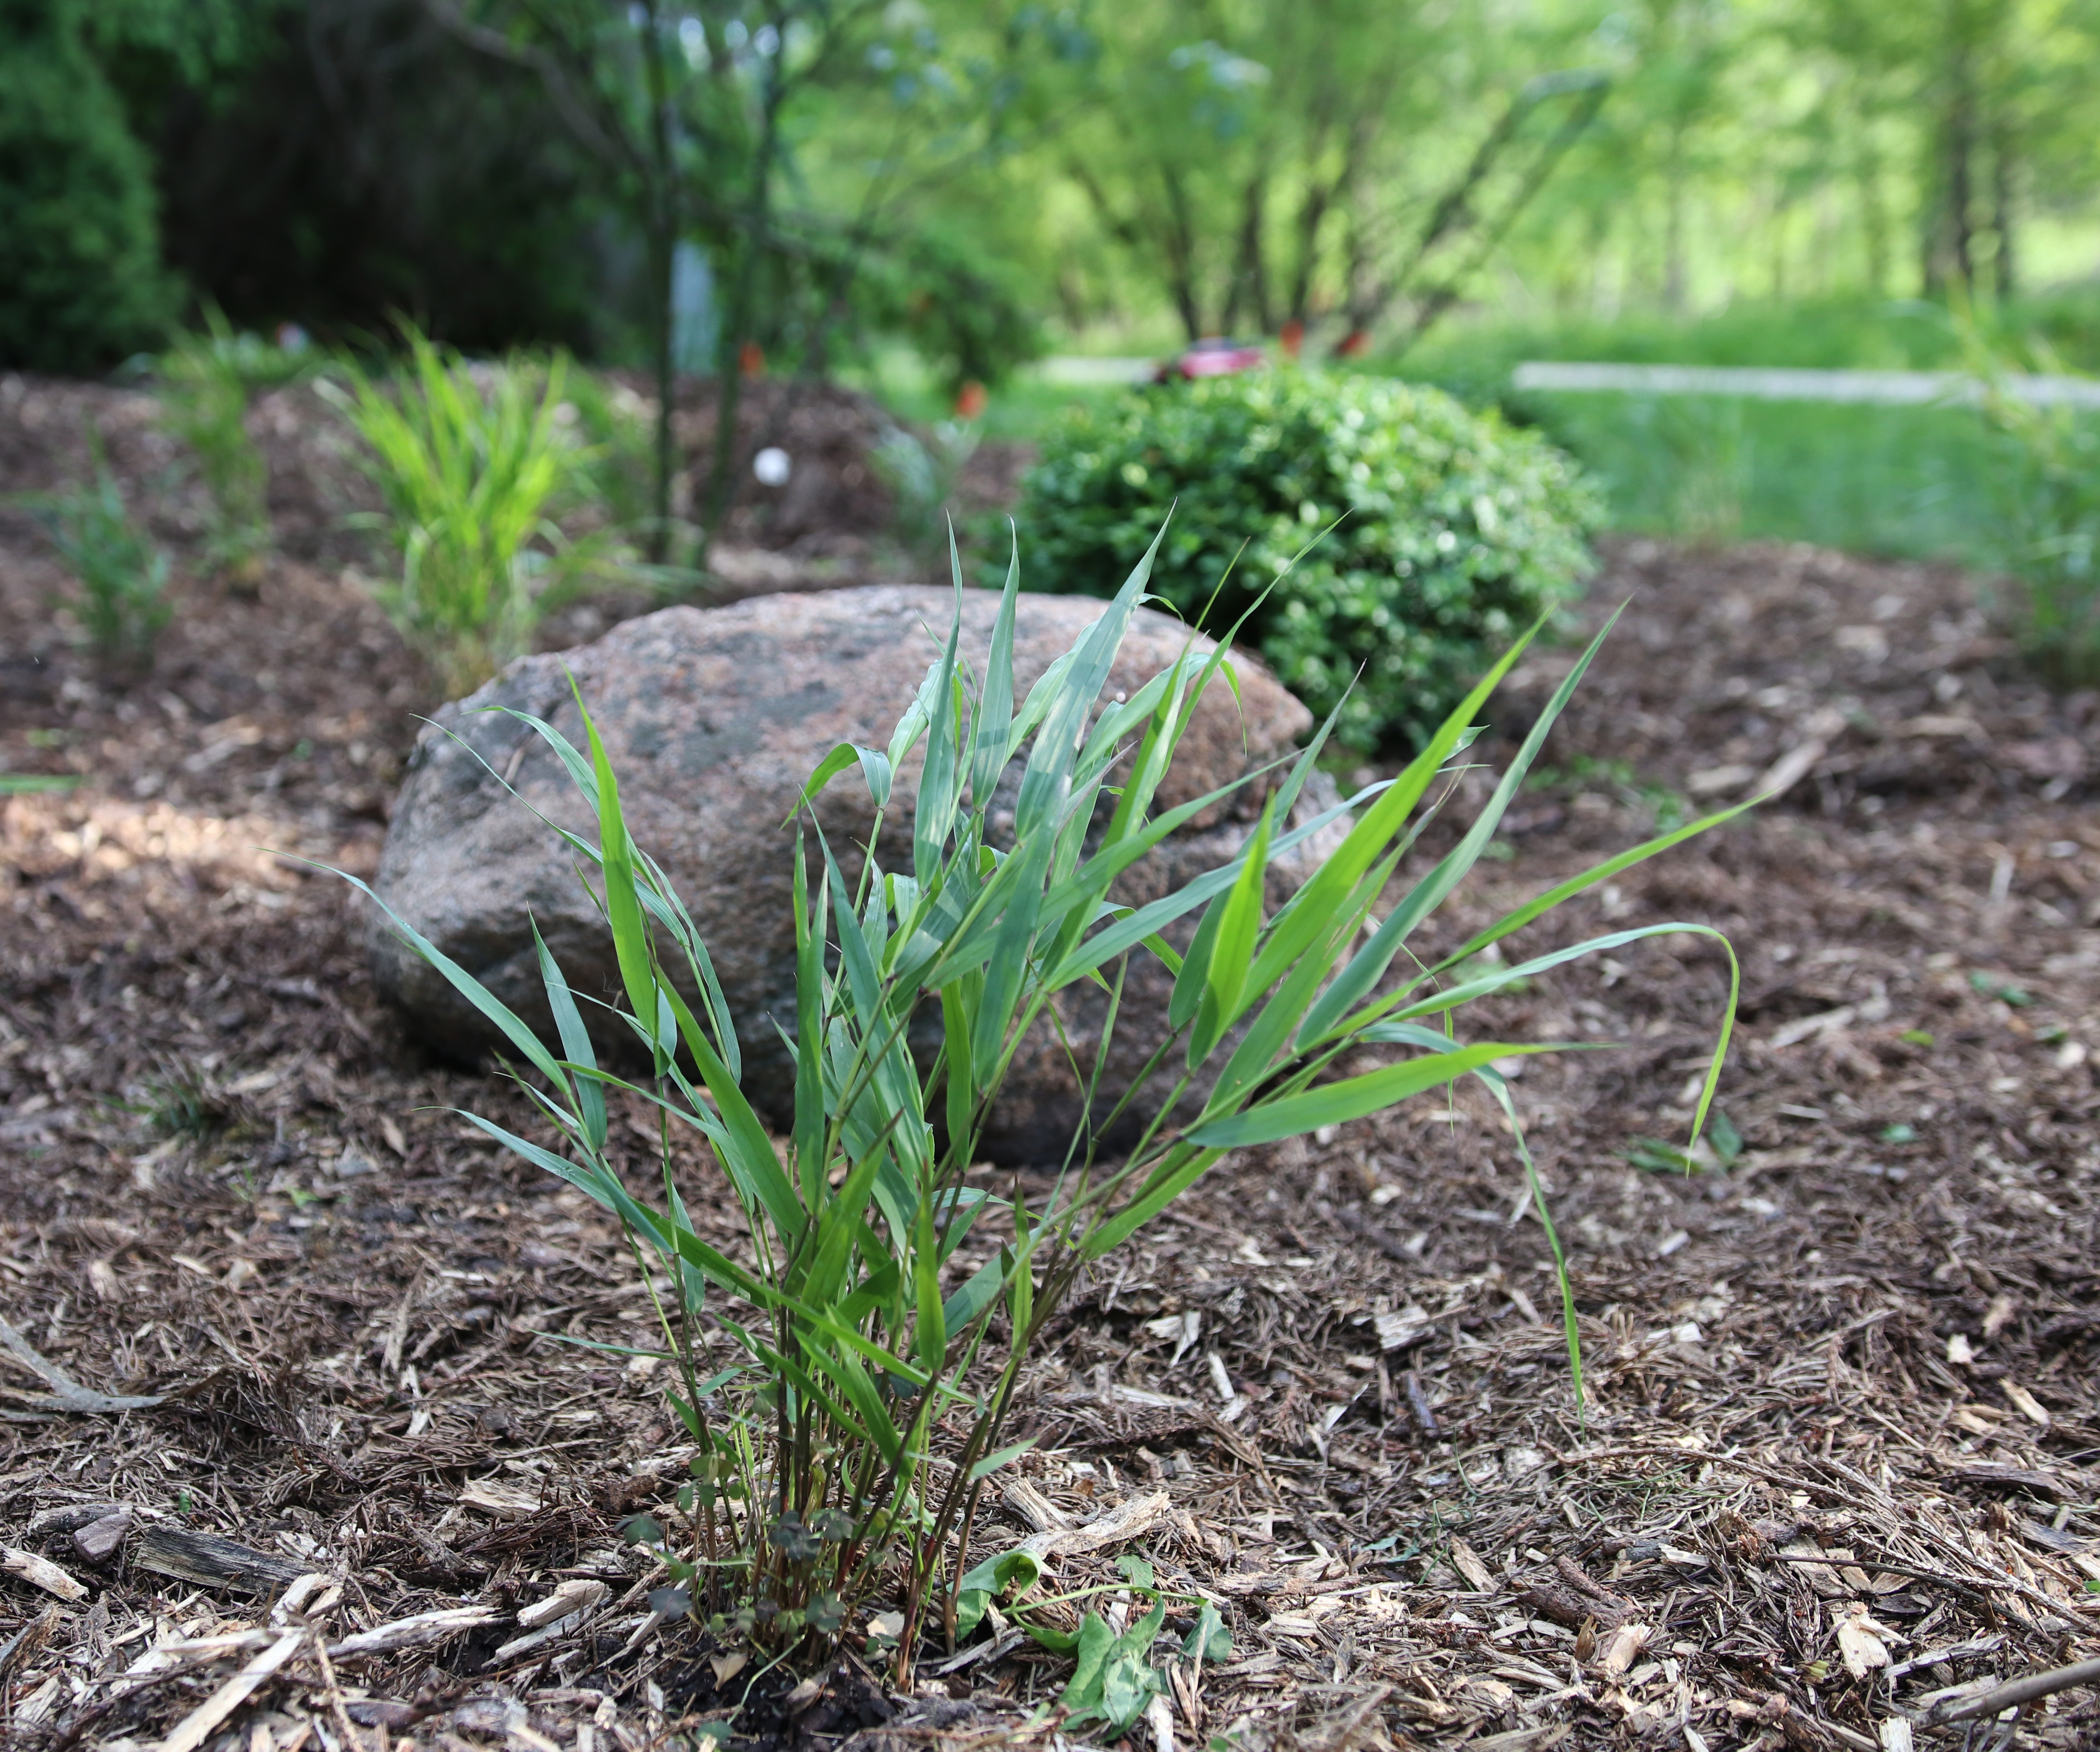
Other than the hole digging issue, the planting was straightforward. I did, however, maximize the number of Hakonechloa grasses I had by dividing the five gallon-size containers I had into about 25 (or so) plants. These grasses bulk up quickly so I got a jump start on getting them spreading by dividing them from the get-go. And it make the price per plant much more reasonable. We also mulched the garden (using the arborist chips from when we had the tree there taking down a few months ago) thickly, making sure not to let the mulch touch any of the plants.
Planting done, it was time to collapse.
SUNDAY
We had a bit going on Sunday so we didn’t get around to the final touches of the project until later in the day. Fortunately after a marathon day on Saturday there wasn’t much to do.
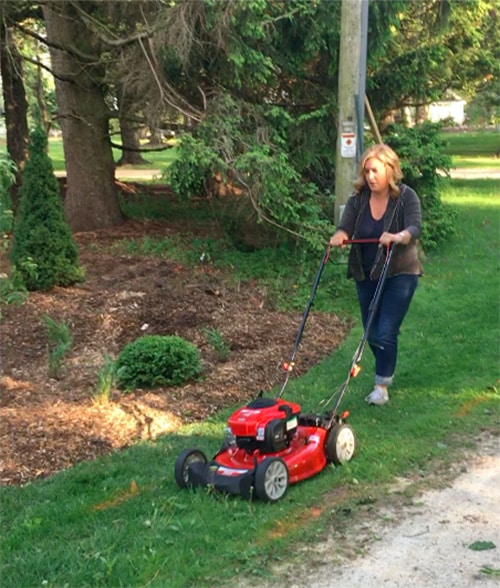 Because I’m an edging addict, I cleaned up the edge one more time. I find that if you edge a bed really well from the beginning and touch it up once or twice a year after that, it’s not big project at all. Then the lawn, which by this point was looking rather rough between the fact that it had only been cut once so far this year and that we had been stomping on it for three days, needed a bit of a trim. The TB320 Self-Propelled Walk Behind Mower is smaller and more nimble than other walk-behinds I’ve tried, which made it perfect for this small areas. It’s also remarkably peppy, in that it will quite literally pull you along. I actually didn’t use the self-propelled function (by just not pulling that handle) in the tighter areas, just so I could keep a better handle on it. I used the mulching option because the grass in that area can use as much help as it can get, but the mower also has side discharge and bagging options.
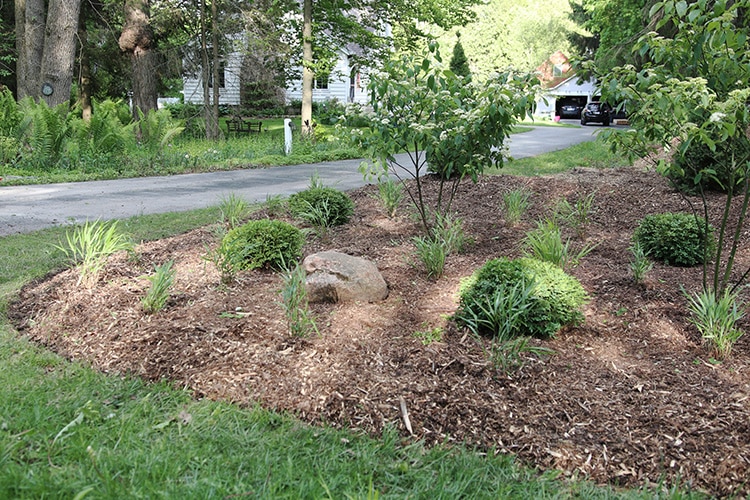
And that was it. All that was left was to stand back, and enjoy the view. Or, rather, the lack of a view.
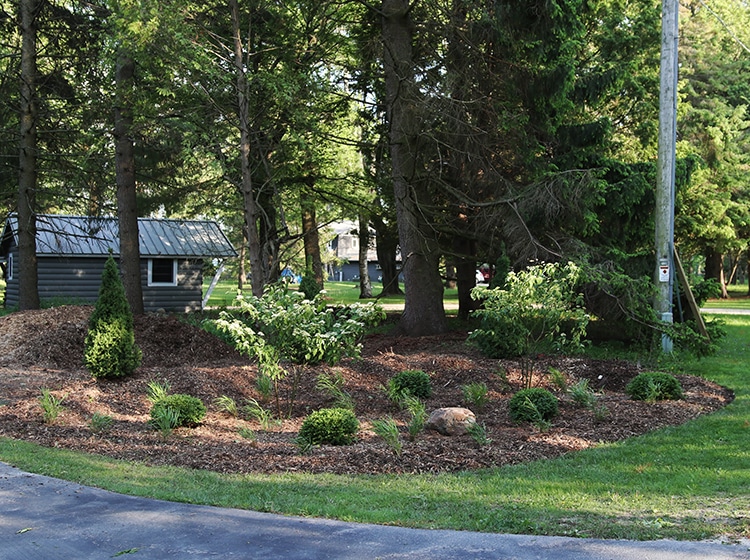
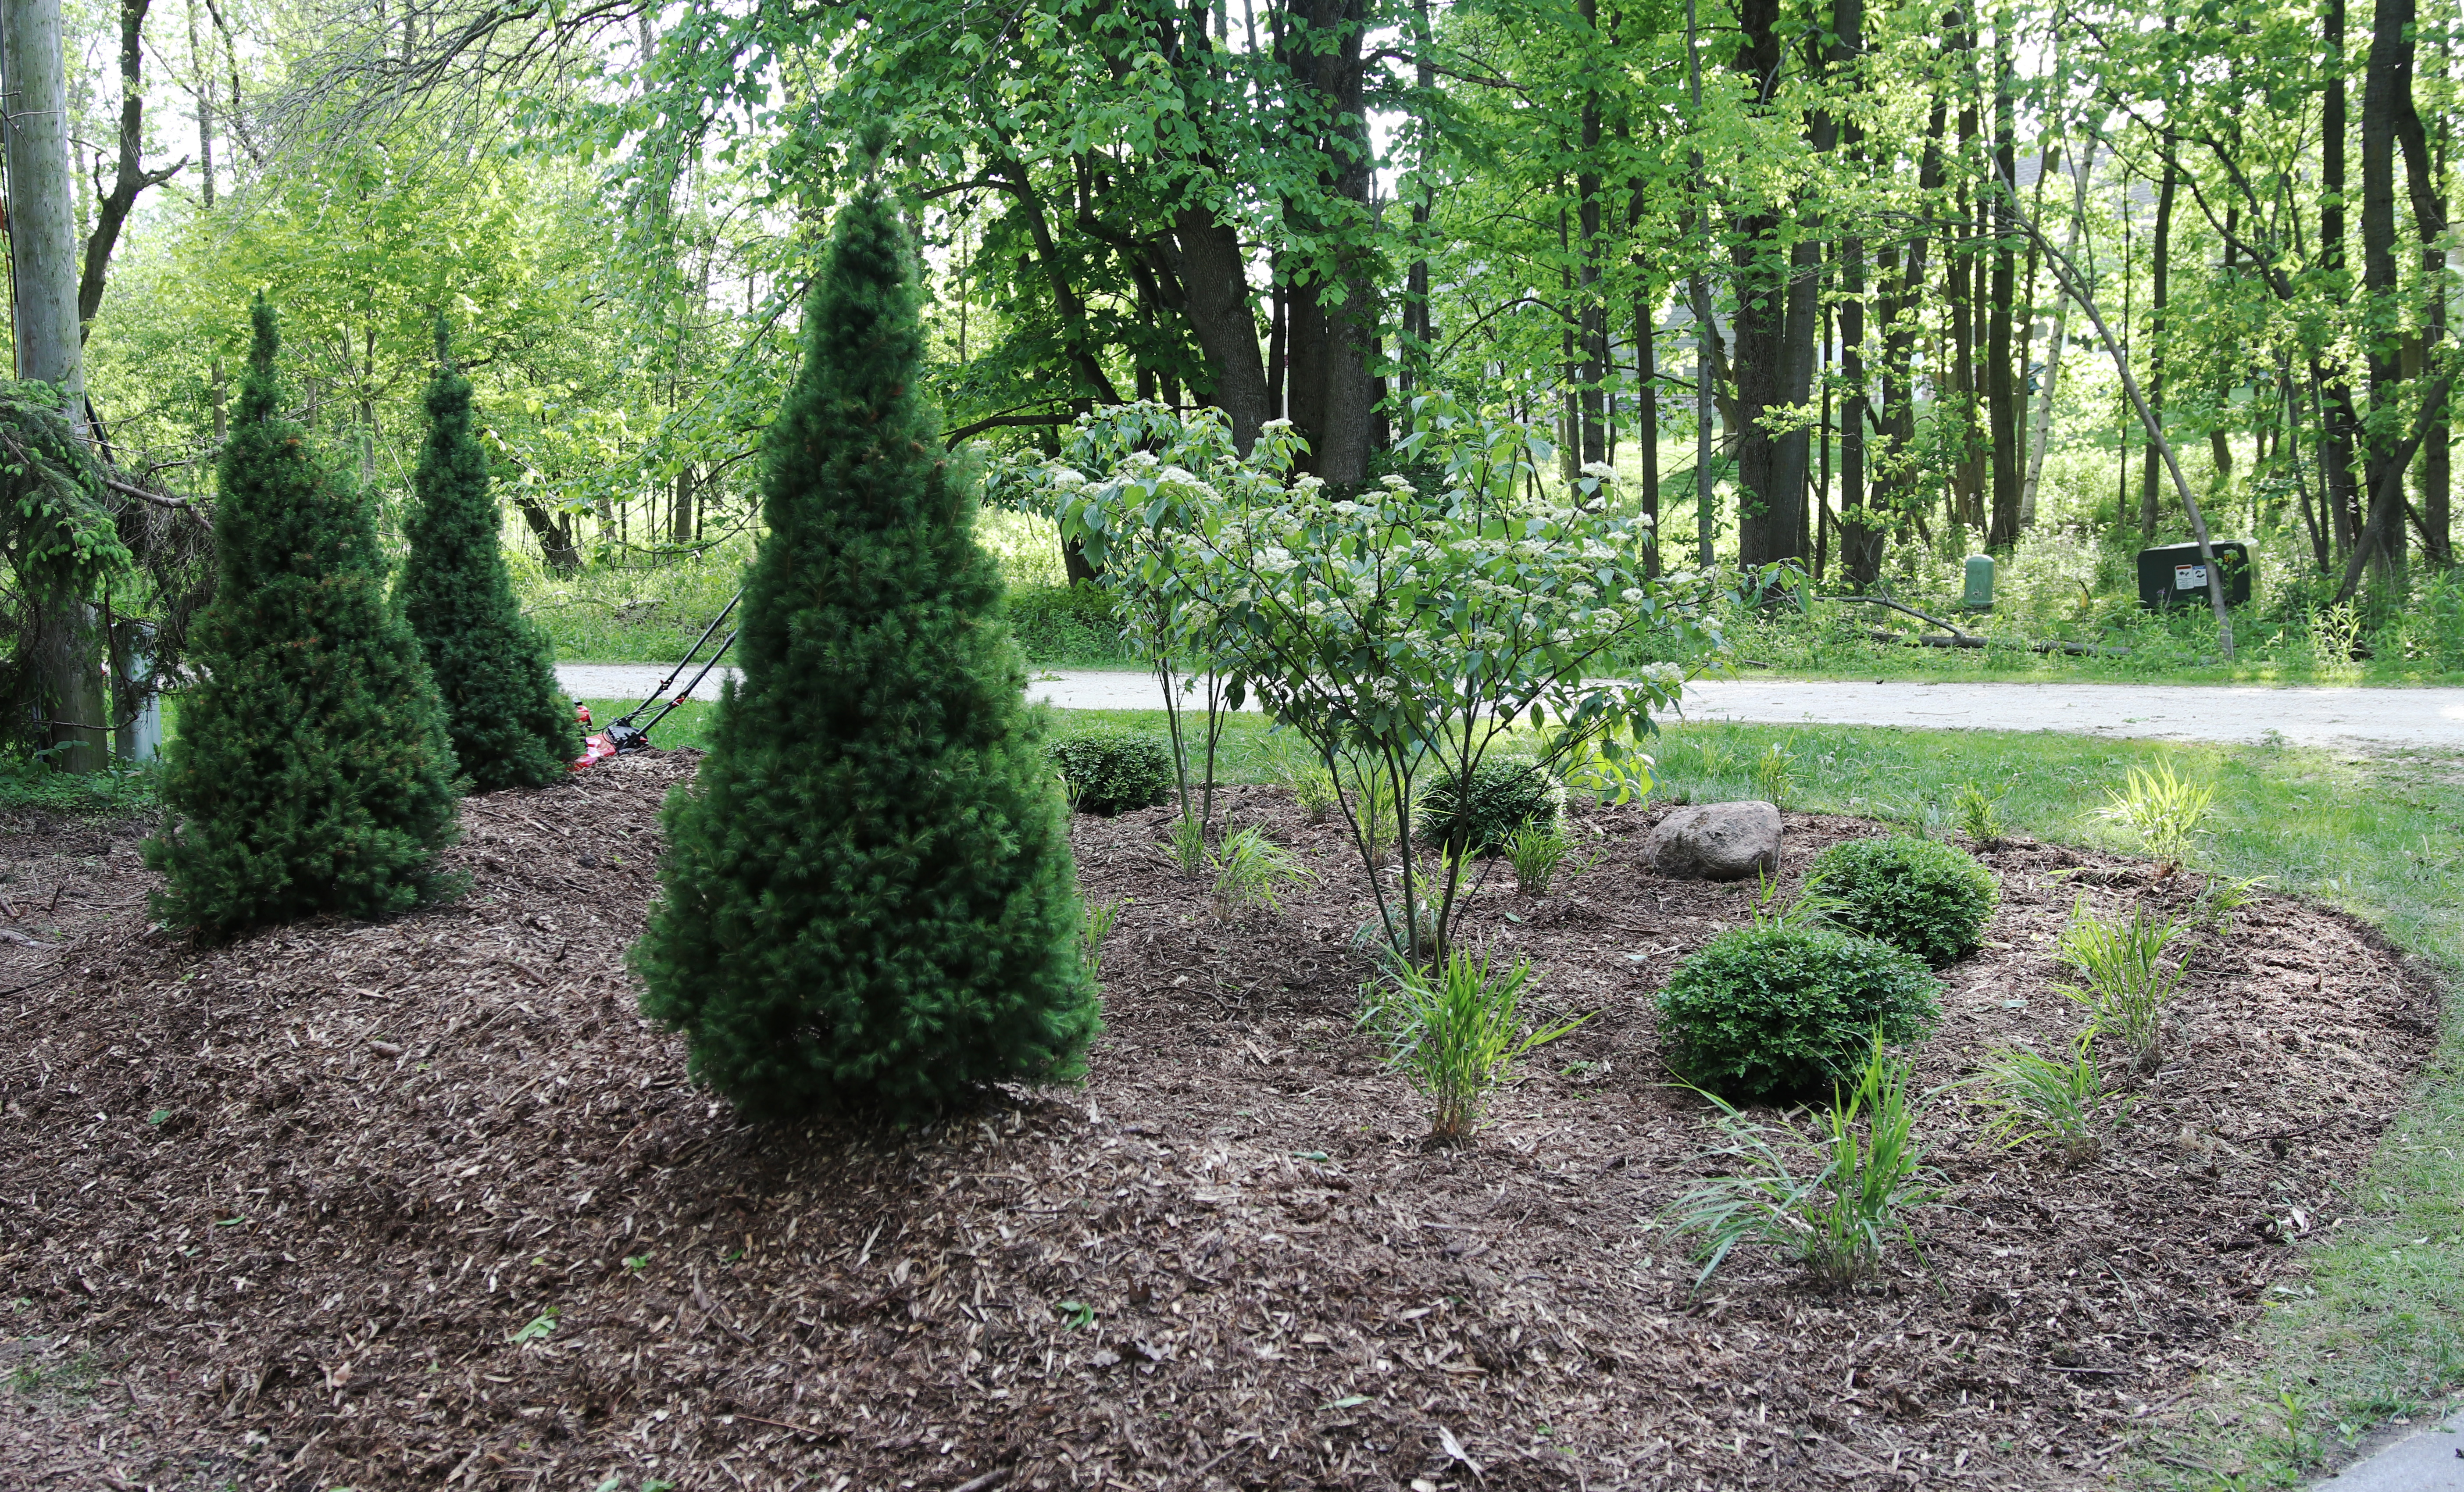
But I started this by saying that this project, which started as a challenge to obscure the view from passing neighbors, turned out a little different than I had planned. Because when I stepped back and looked at what we’d done, I realized that while we were creating a living screen, we also managed to make a welcoming entrance garden. Now when people come to our house, instead of a weedy, unkempt area at the end of the driveway, they will see a nice garden that gives them a hint that more gardens lie ahead and that people who care about their yard live here.
So I’m considering that a challenge met. With a bonus.
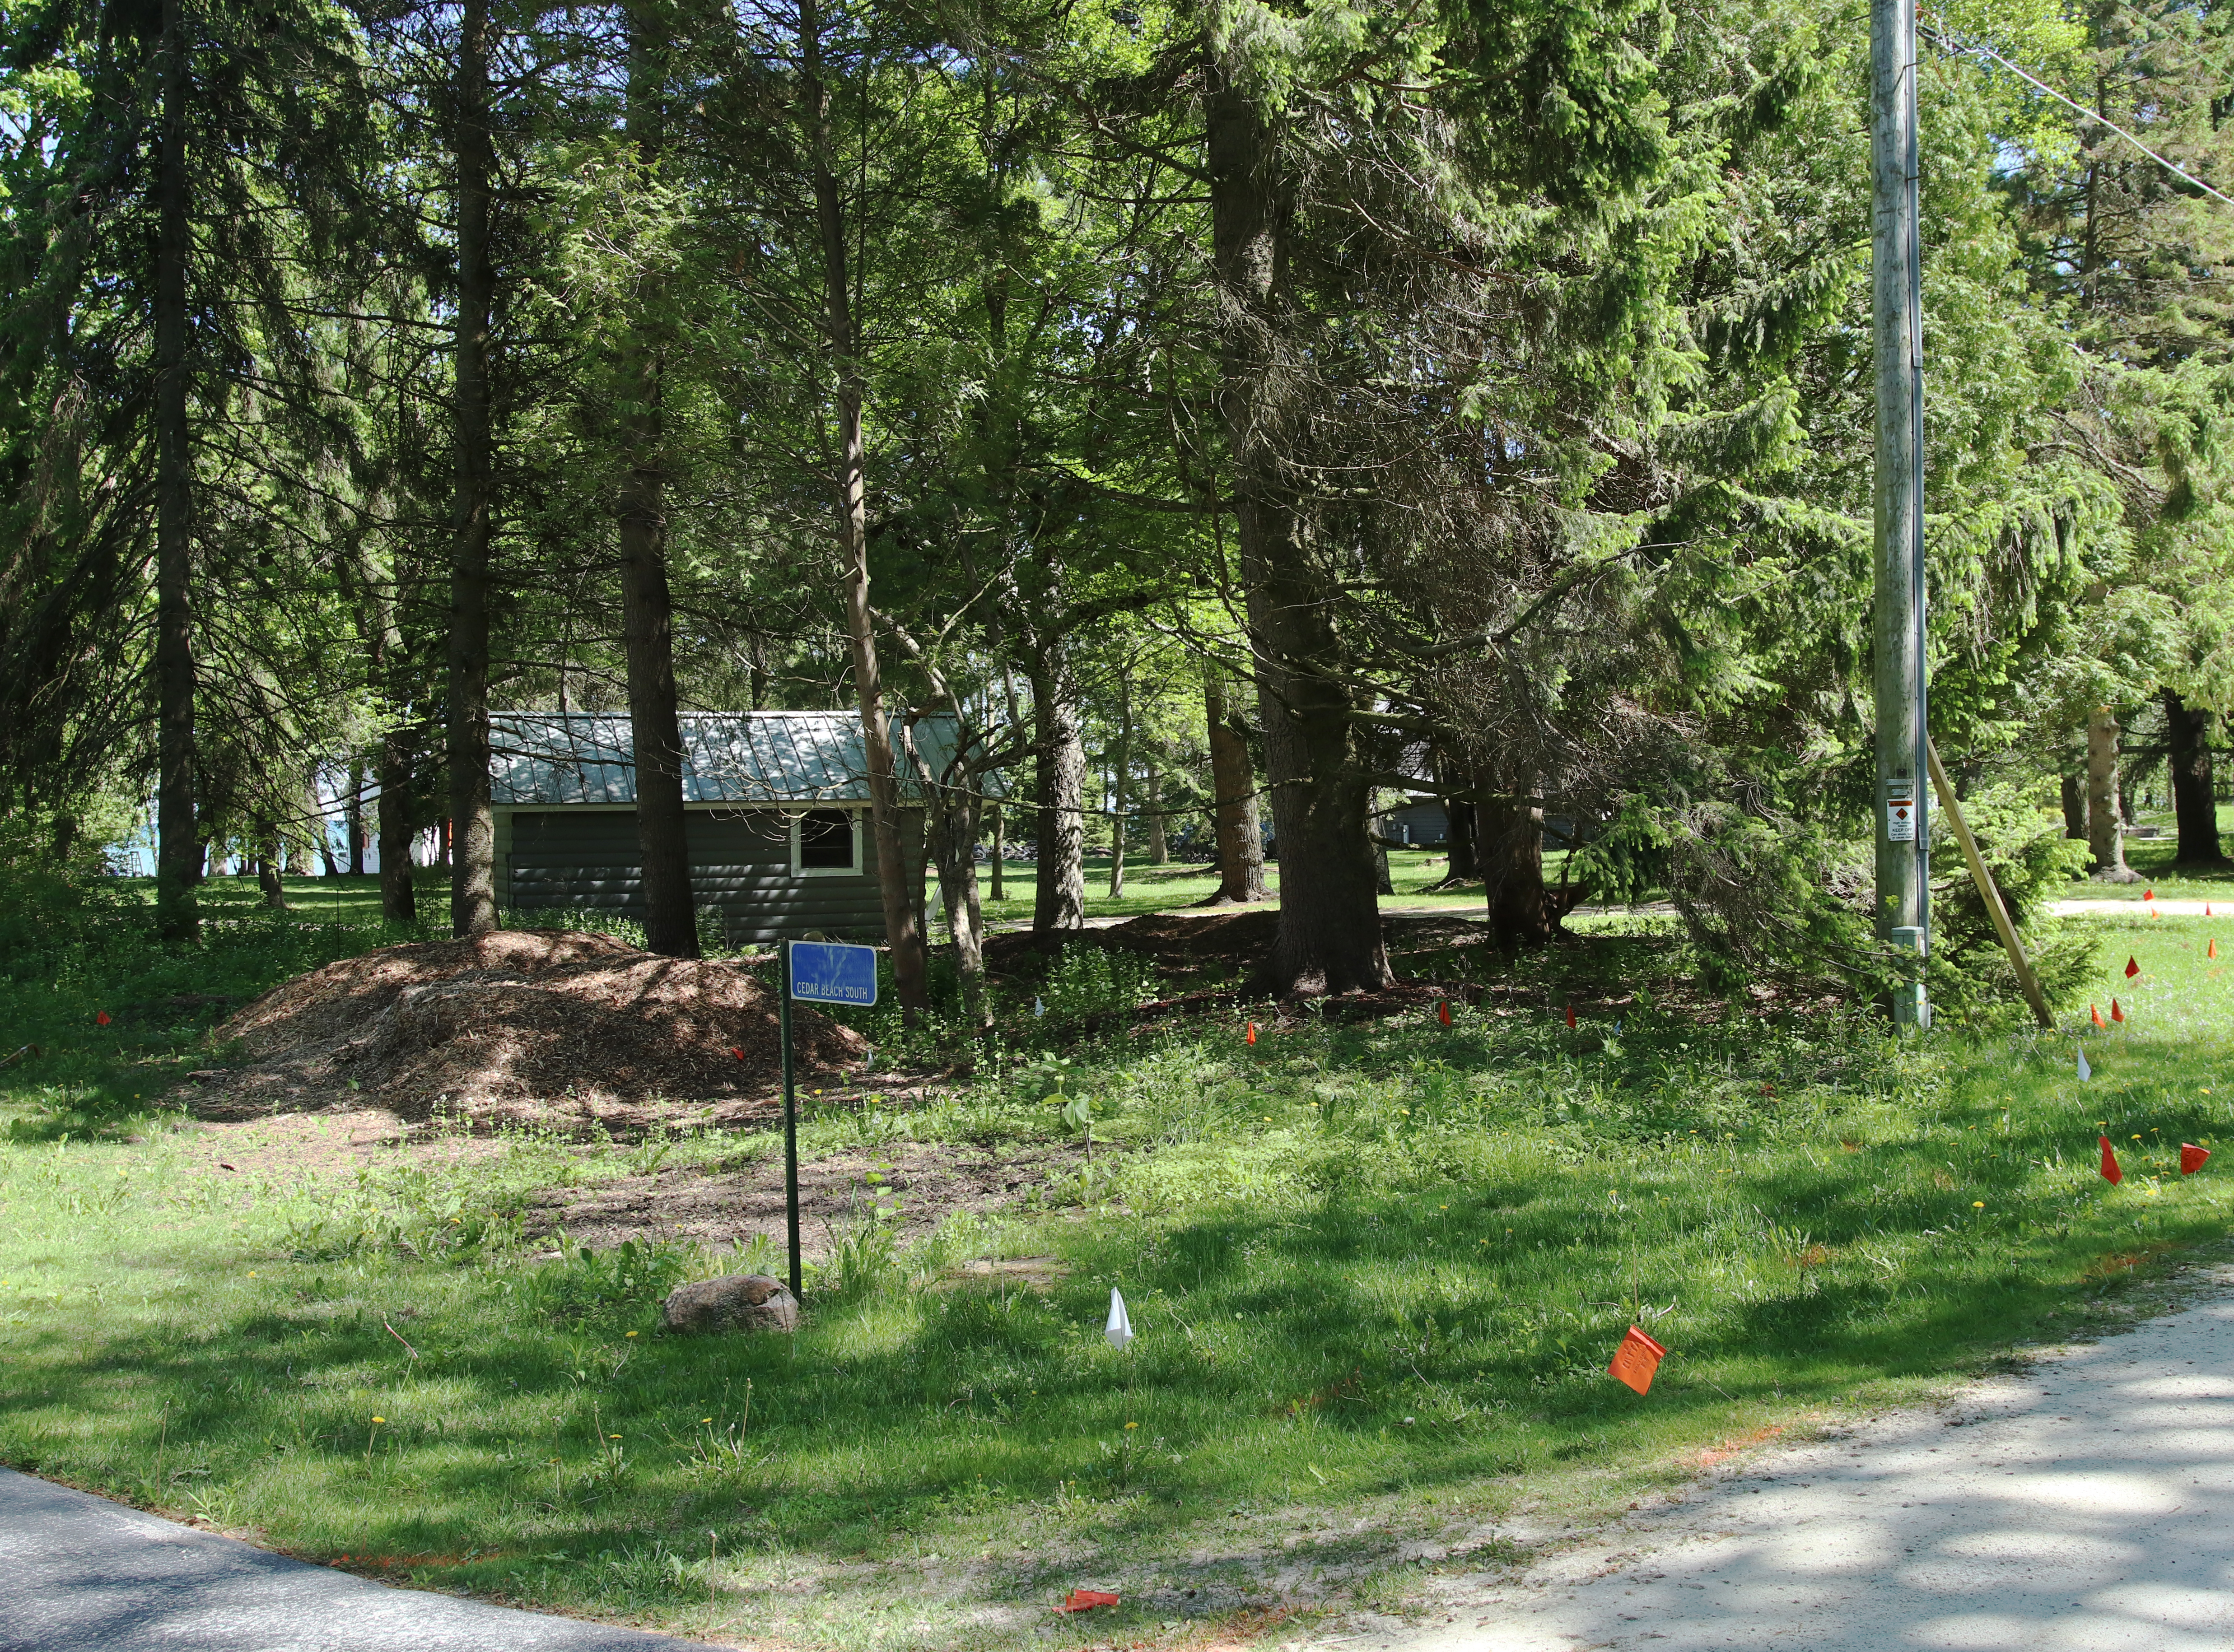
One more before:
And after:
26 Responses
Terrific, inspiriing and informative videos and blog posts for this Penn St Master Gardener, Allegheny County, (Pittsburgh).
THANK YOU!
What area of the country are you in? It’s always good to know for plant zonex.
??
I like the variety of plants you chose. wondering what the dimension of this improved area is…
Oh good question! It’s about 30×20 feet (if I had to guess).
If there’s a link for your review of the Troy-Bilt products, I missed it. Which edger were you using? End result is very pleasing!
Egads … I forgot to link it! I added above but here it is. I am a little bit in love with it. OK, a lot in love with it. https://www.theimpatientgardener.com/the-fastest-easiest-way-to-make-your/
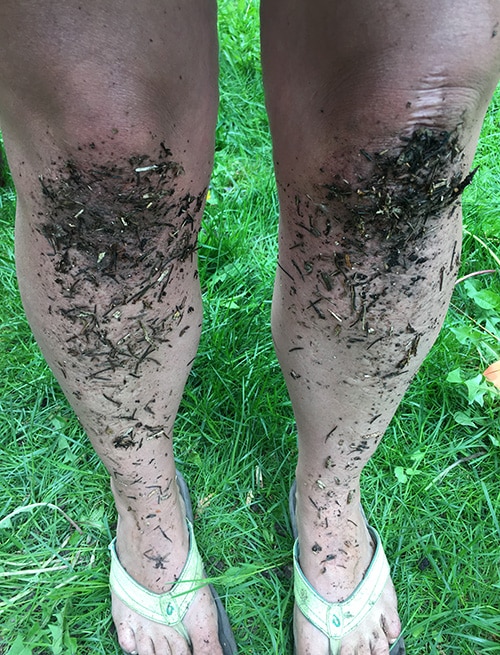
Reading your post here in Nashville. Where exactly are you located? Northern United States? I pretty careful myself about wearing garden clogs, pants, sleeves and gloves. Too many chiggers, mosquitoes and brown recluse spiders here in the South. I literally dress for battle before going outside. Last month as I was trying to mulch and trim my hostas and discovered a huge brown recluse spider nesting on the underside of a dying leaf. Believe me if I wasn’t wearing gloves it would have been dangerous!! Not to mention the biting ants that lurk in mulch as well. I do applaud your gardening efforts and finished projects but your apparel concerns me for your safety. Please be careful out there. Thanks, Debbie from Nashville.
Thanks, Debbie! I’m in Wisconsin, where we manage to complain about the weather no matter what it is, but one of the wonderful things about living here is that we have (right now, anyway) relatively few bugs/creatures that can do serious harm in the garden. I once did a gardening project in Texas and met up with some fire ants so I can state for a fact I’d never wear flip flops there. And I’ve seen brown recluse spider bites before so I certainly wouldn’t want to mess with those. (I actually think we might have those here but I don’t hear much about them.) Anyway, I appreciate the concern and I probably really should wear better footwear, at least before I drop a shovel on my foot.
I also garden in flip flops!
Beautiful job. It does look like you trimmed & cleaned up the trees nearer to your house.
Good project, well done.
Sponsors, please develop projects for us in the urban areas too. Thanks.
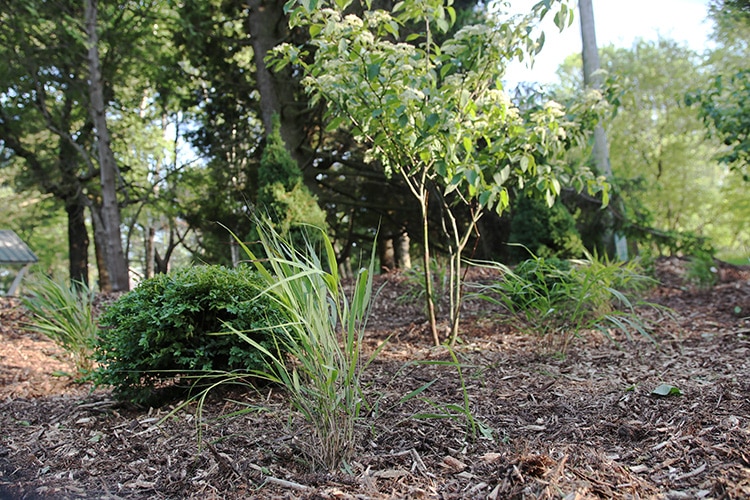
What a beautiful entryway. I absolutely love spending time in the garden, and would love to redo my privacy screen planting. I hope to see a photo of this once the grass has filled in. I will start following you!
Very nice Erin!!!
Oh yes, it is a vast improvement to the entrance of your property. It is very difficult to find evergreens that will take some shade. You probably found the best for this situation. I love the dogwoods. I also have a Pagoda Dogwood. It has had some severe obstacles to overcome and it keeps on growing and blooming. Yours will love it’s location. Well done Team Impatient Gardener.
Really interesting project! It looks great, and I bet in a couple years, it will be even better.
That turned out so well! Now you’ve got me thinking we need to put in a bed (or two) down at the end of our driveway too!
Wow! That looks great! It does exactly as you said, screens and adds beauty. Sah-weet!
So satisfying to get a project done. Your new garden looks great. We are still in the early stages of the makeover of our garden bed in the middle of are driveway. My husband has been running electric from the house to the garden for the fountain and lighting. My main job is the planning and placement. Need to find a good evergreen for winter interest and decide on a good ground cover. Love your grasses,may look into that family of plants.
It looks fabulous! But I am so glad it was not me doing it as I know full well how much hard work it was. And you know I adore that particular Tom Stuart-Smith design. I have not had good luck with those Norway spruce but we have three Pagoda Dogwoods. One thing that is really nice about them is you can always open them up and make them more layered if you want more light or just want that look. But I had to laugh (or maybe cry!) at you in shorts and flip flops. I am always in boots (or at least garden clogs) and long pants. Recently got chigger bites all over my wrists so I am now tucking my long sleeves into my gloves. I think you are right that you would not have done such a big project without a challenge (and a bit of help etc) since you are doing the veggie garden right now as well.