The first DIY project of the year is in the books. It wasn’t a big one, but it’s been awhile since we’ve done a project so it’s nice to ease into it.
This is one of many small projects within the ongoing and rather slow renovation of the finished half of the basement. (Let’s not dwell on the part where I started it almost exactly a year ago.)

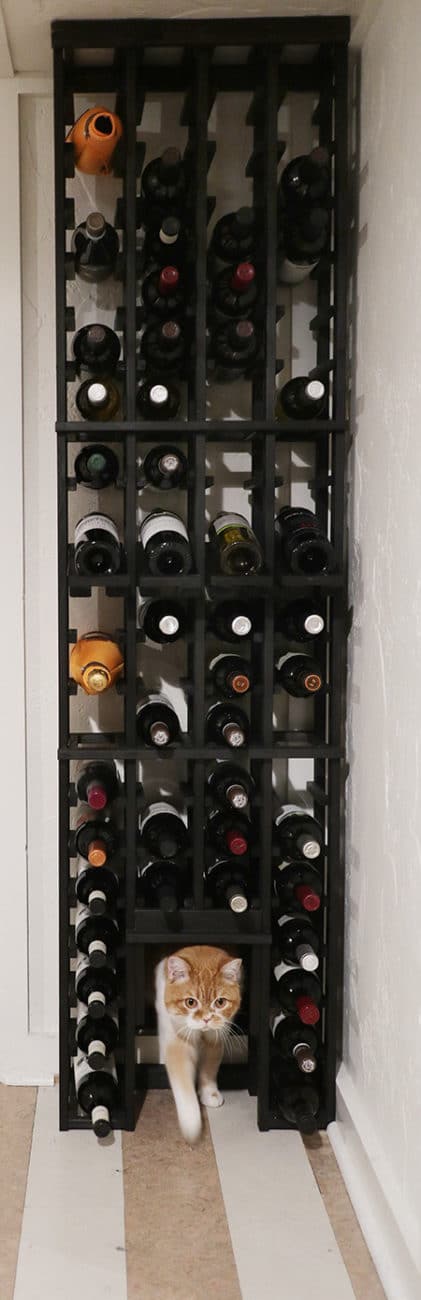
We needed more wine storage than we had (don’t judge) but space is at a premium, so I wanted something that would tuck into a corner. As it turns out though, the only appropriate corner for a wine rack was already serving an important purpose.
That’s where the kitty door to the other part of the basement, where important cat activities including using the litter box and theoretically catching mice happen. Not only was I looking for storage but I was also looking for a way to disguise the hole in the wall used for this purpose.
Why not build the wine storage around the cat door?
Some links in this post may be affiliate links, through which I may earn a small commission if you buy through them. See complete disclaimer here.
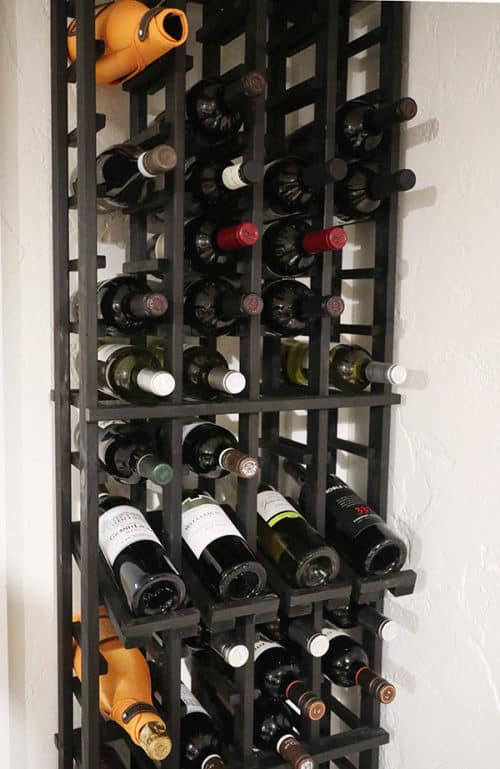
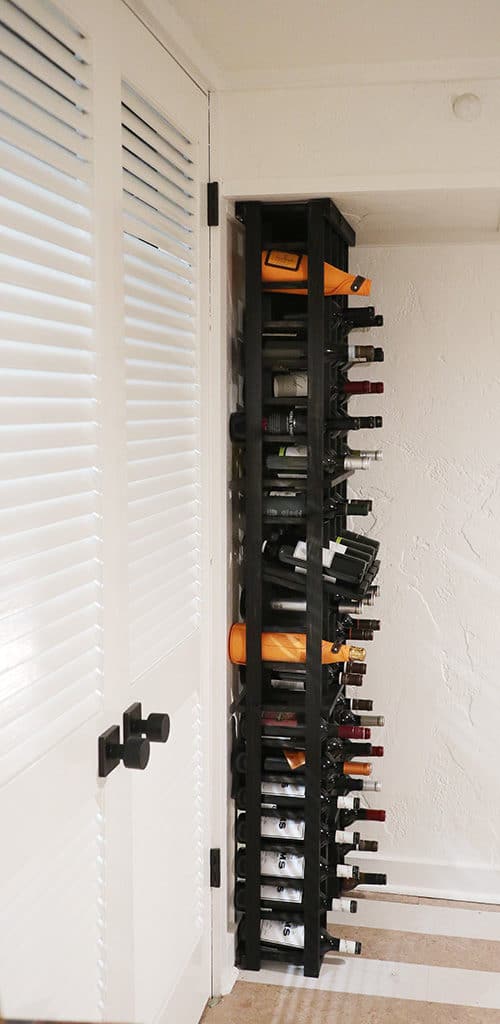
I ordered this wall-mounted wine rack for the purpose. It was exactly the right height to sneak under the soffit in that corner and narrow enough to not conflict with the doors there. At less than $100, was also very budget friendly. But this wine rack would be far better described as a kit, rather than a finished product. In other words, it’s cheap but you get what you pay for. It’s made of unfinished pine and just brad nailed together. It also comes with the four vertical pieces assembled but nothing else. So you need to put it all together.
That was fine for me, because I wanted to stain it before we assembled it. I used a new-to-me product by Minwax called Express Color Wiping Stain in Onyx, a true black. It comes in a tube and I think it’s pretty much a water-based gel stain with some polyurethane built in. It worked well, although there were a million nooks and crannies to get into, so it took quite a bit of time to stain.
Once it was stained we assembled it using glue and a brad nailer, and then I went back and filled those brad nail holes and touched up the stain. After it was fully assembled we figured out how many bottle holes we’d have to cut out to provide enough room to line up with the cat door. We were able to go a little skinnier than the original door and just get rid of four bottles in the middle two rows.
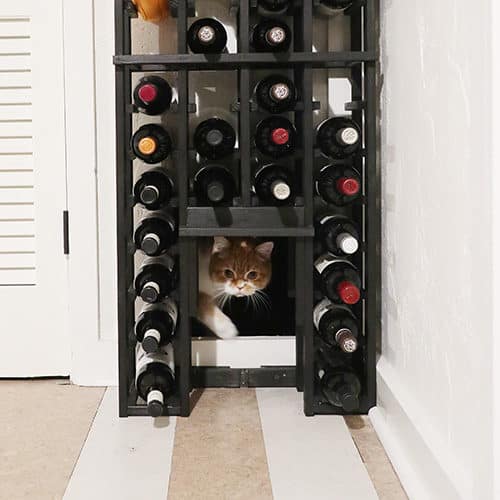 Then we used a trim piece that we weren’t using at the bottom to frame a mini header as well as a few little “studs.” Basically the process was exactly like what you’d do to frame an opening for a window or door.
After a little touch-up stain, we placed the wine rack and attached it to the wall. That’s where the wall-mounted part of this wine rack comes in. Although it sits on the floor, it’s not nearly stable enough to support any amount of wine weight, so it must be attache to the wall. We used spacers to accommodate the bottoms of the bottles sticking through a bit.
Fergus, who is a pretty big cat, is thrilled with his classy new passageway. I imagine he fancies himself part cat/king of the house and part sommelier. I’m just happy you can’t see an obvious cat door there anymore. The fact that we’re set for wine for awhile (Mr. Much More Patient insisted we fill most of the rack for the photos) is pretty nice too.
I mentioned that the basement project has been quite a while in the making, but that doesn’t mean we haven’t been plugging away at it. Previously I told you about the light fixtures I made and saved big money on, the fabulous cork floor we installed and a bit about the general plan.
4 Responses
Brilliant AND a giggle!
So cool – it’s certainly the cat’s meow!
Lucky you – orange and white boy cats are THE BEST!
This is brilliant. I bet that Fergus thinks this DIY was just for him.