It was the first garden I designed from scratch so I give myself a big pass on a lot of things that went wrong there. It was also the first time I built paths, and more than anything else that I’ve learned from my mistakes in that garden, I learned a lot about how not to build paths.
So I’m going to save you from the anguish of a poorly constructed garden path and tell you exactly what you SHOULDN’T do.
 |
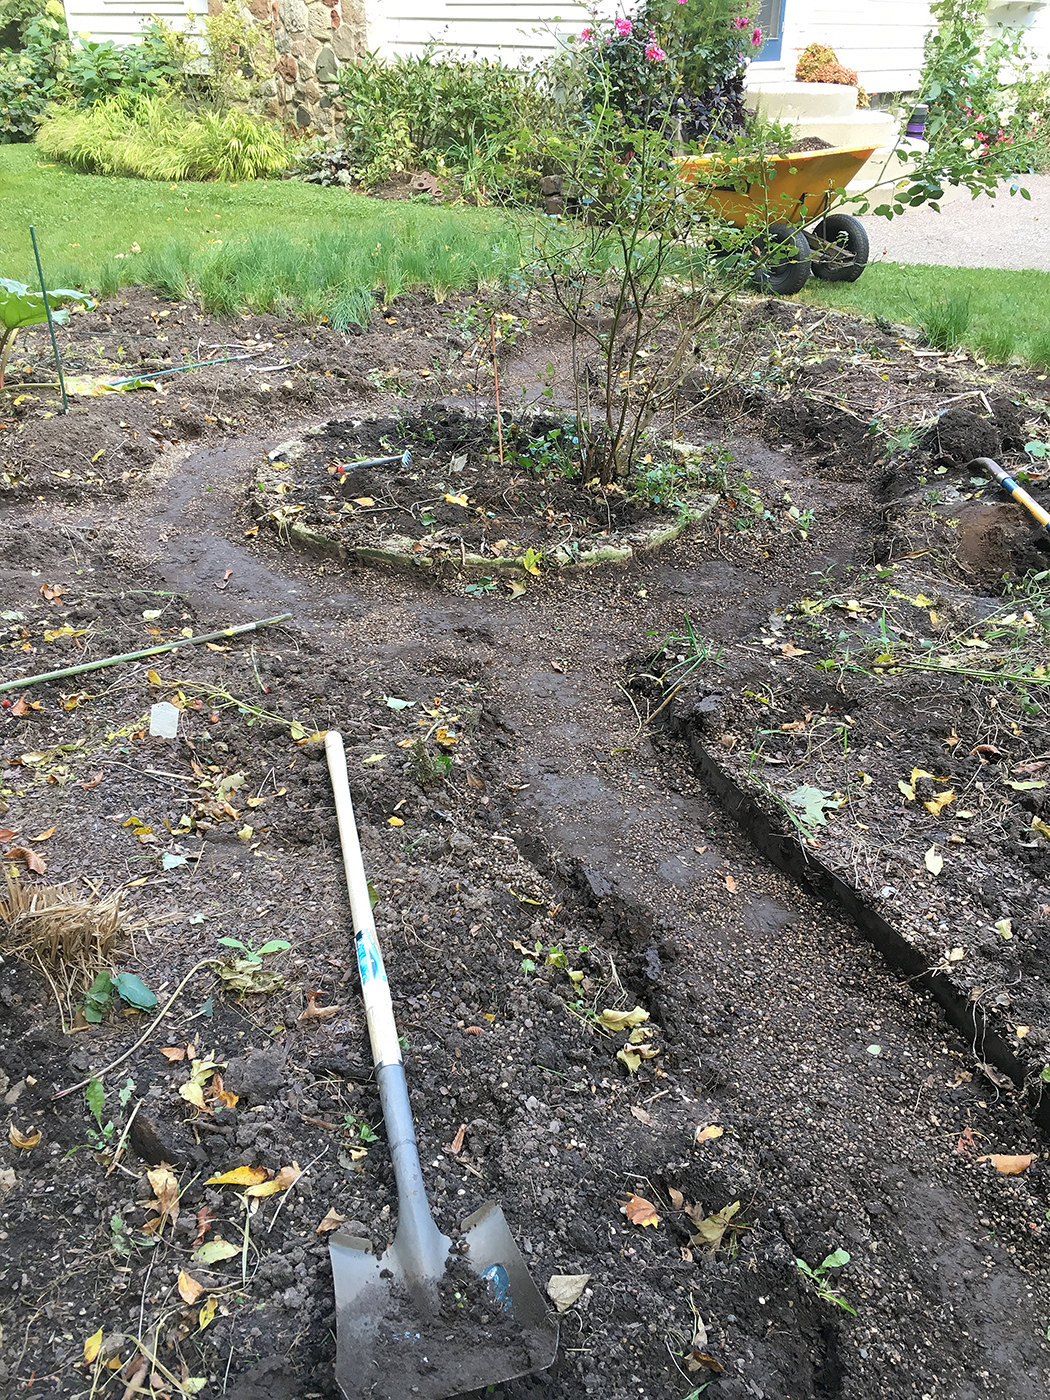
| The oval circle garden was cursed with poor design decisions from the get-go. The 16-paths were way too small and oddly curved when they didn’t need to be. |
1. DON’T SKIMP ON THE SIZE
This is a relatively small garden and when I created it, I was concerned I wouldn’t have enough room for plants, so downsized the paths, to a paltry 16 inches wide. I suspect that I was also trying to save some money on the hardscaping. In general, a path meant for one person should be a minimum of 24 inches wide. If two people are meant to walk together or it’s a longer path, go wider: 4 feet at a minimum.
Skinny paths not only just feel wrong, they also look wrong and nothing else will feel right when the hardscaping sets the wrong tone.
2. DON’T CURVE FOR NO REASON
I’m a sucker for meandering curves on a path, but they should make sense. The path should curve because it has to to get around an obstruction. When I made the path to the garage, I installed gardens that forced the path to curve, which might be cheating, but it’s a chicken and egg thing. When I did the paths in the original oval circle garden, I thought that curved paths would keep it from being too formal. For two of the three, it worked, partly because the curve was gentle enough that you could still walk straight. But the third path had an odd, too-sharp curve in it that was all wrong.
 |
| This is the remnants of the landscape fabric I pulled out of the garden. Yuck. |
3. NEVER, EVER USE LANDSCAPE FABRIC
Some people are going to think this advice is crazy. In fact, the internet thinks this advice is crazy. If you do a Google search for how to build a path, nine times out of 10, the instructions will tell you to put down landscaping fabric. And yet, many landscape professionals never put it down.
Landscape fabric is great for a year, maybe two. You’ll be applauding how well it has kept weeds out of your paths. But paths, especially gravel paths, get dirty. Soil falls in, blows in or is tracked in and then is trapped on top of the fabric. This creates an environment that is very hospitable to nasty little weed seeds, which sprout. And unless you are a gardener out there every other day on your hands and knees pulling all these little sprouts (you’re not), they get away from you. And then they send down roots THROUGH the landscape fabric, which makes it impossible to pull them out. Worse yet, it has a way of emerging in places you don’t want it to.
 |
| A wild violet was one of many weeds embedded in the landscape fabric when I pulled it out. The roots extended underneath and were also intertwined in the fabric itself. DON’T DO IT! |
Then, when you finally decide you just want to get rid of the damn fabric, you can’t pull it up because you’ve got gravel or stone on top of it.
For the new paths, I plan to take the same approach that I did when I built the path to the garage. I’ll lay down a couple inches of compacted paver base (finely crushed stone), which is in itself an inhospitable place for anything to grow. Then I’ll lay down a couple inches of gravel on top of it. Yes, soil will still get in there, but when weeds do show up, I’ll be able to dig them out properly, or, even better, hit them with the weed torch with no fear of lighting a giant chunk of landscape fabric on which I may be standing on fire.
Friends don’t let friends use landscape fabric. Be a good friend.
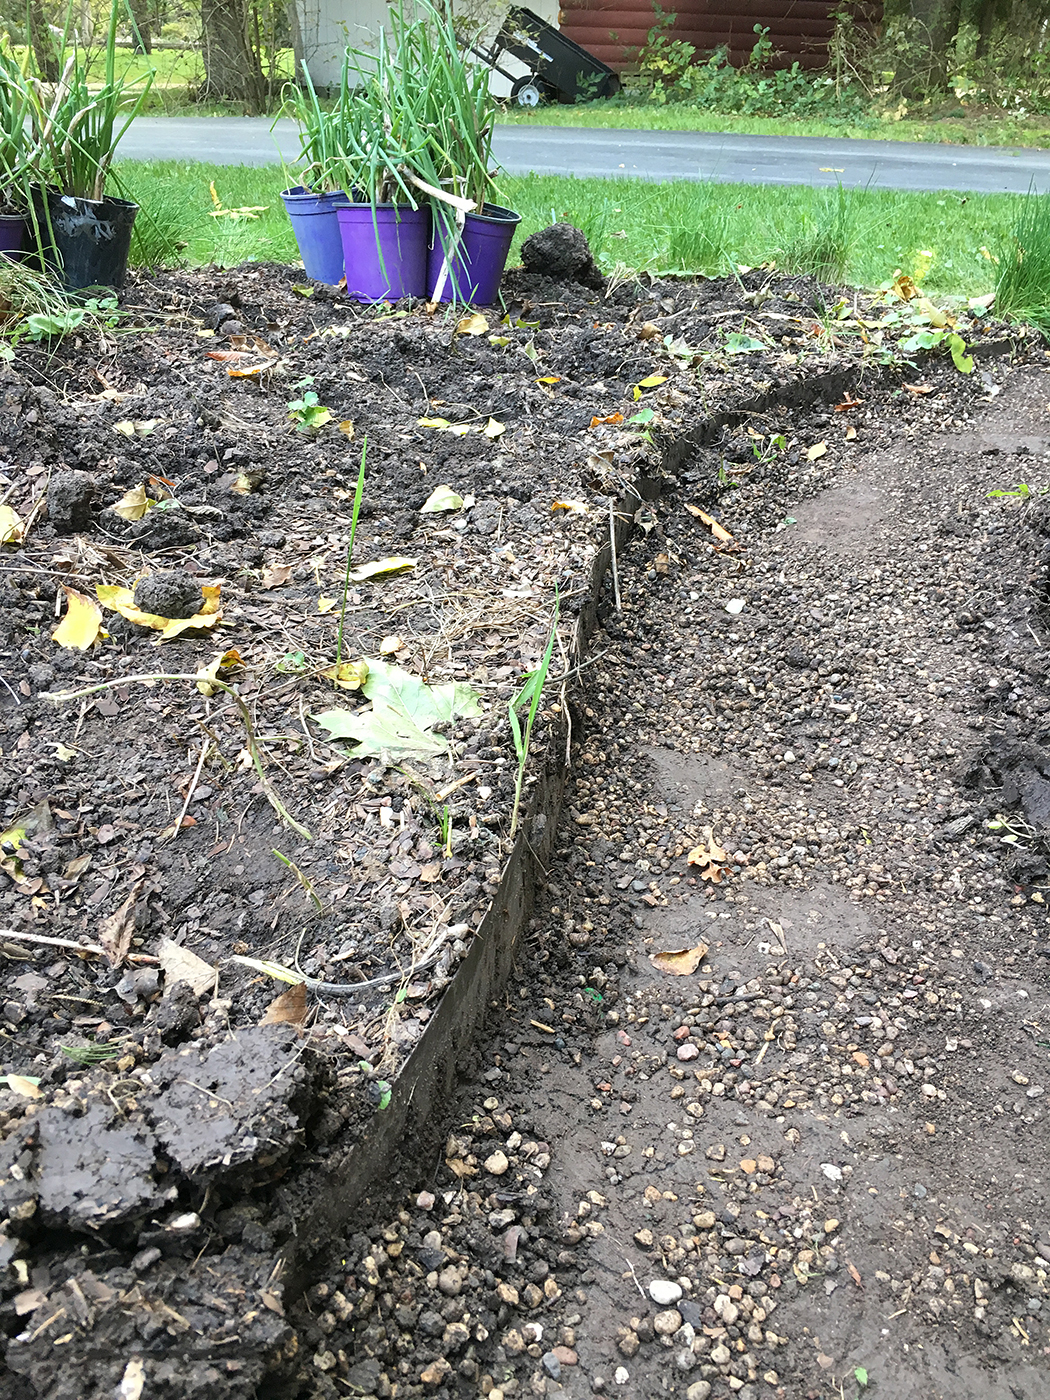 |
| Once I removed most of the pea gravel, the metal edging was still in place, but you can see that the soil was backfilled right up to the top edge of it. This just meant more soil crept over the edge into the gravel. |
4. DON’T DISRESPECT YOUR EDGES
When I made the paths on this garden the first time, I installed metal edging, although this same mistake can be made with every other kind of edging. Back then, I backfilled soil right up to the top of the edging. Then, on the other side, I backfilled gravel damn near to the top. As you can imagine, there was plenty of soil that ended up in the gravel and vice versa. Keep materials below the top of edging to make sure they stay where they should.
 |
| With the gravel dug out, even though I backfilled too high on the metal edging, 13 or more years after I installed the metal edging, you can see that it was still doing it’s job (there’s still some on the right side of the path) before I pulled it out. |
AND ONE DO
There are a lot of options for edging materials to divide a path from the grass or a garden, but I’ve been thrilled with how metal edging has worked out. Generally, I prefer steel over aluminum and a 4-inch tall edge over a less expensive 3-inch edge. It can make a perfectly straight path or a curved path with no breaks. Because it is so thin, dark colors such as black and brown blend in well. Unfinished steel edging will gradually rust which is a lovely affect as well.
Of course this comes at a price. It’s not cheap and shipping can cost more than the edging itself. I was all set to order this edging until I found out it would cost about $150 (more than the cost of the edging) to get to my house. Fortunately it turns out that Lowe’s has the same edging in a slightly shorter size so I can drive to store and get it.
Even though it’s not cheap, at least when compared to plastic edging (no, no, no) or bender board, it’s still on par with or less than any kind of stone treatment. And it’s certainly easier and faster to install, all of which makes using metal edging a big DO for me.
11 Responses
👍❤
I also wish I could have a beer or just lunch with you and pick your brains on all things gardening! I love your YouTube channel and have bought the Niwaki sharpening products just because of your advice! Thanks for this pathway advice; I was considering plastic edging and landscape fabric and now I’m eliminating the fabric and going with the metal edging.
I’m so excited about my new garden path that I think I’ll lead my husband right down it when I’m finished. 💗💗💗
My daughter bought my parents house that was built in 1970. There is black plastic everywhere!!! UGGGHHH. It’s horrible. The soil is in horrible condition. I simply say as she is cursing (not at her grandparents) that that was the thing to do back then. Worst ever. You should make garden t-shirts with your Friends saying!!! The only time I used landscape fabric was in a raised vegetable bed. The weeds grew so much underneath it pushed up the dang fabric!!!
Put the landscape fabric (permeable membrane) down first, then the crushed stone (sub base) then compact. Decorative aggregate last.
Thank you for your thoughtful post about paths. Another great reason to NOT use Landscape fabric is that worms can’t help aerate your soil. I almost used some & my husband said, think about the poor worms…haha. He won & I’m glad. I didn’t realize about violets and we unfortunately have some of those in the lawn which would have surely gotten tangled in the fabric. Thanks also for the tip on width & edging! Your garden looks beautiful!
I can hear your intonation in your writing and wish I could have a beer with you. Funny and practical points in my kind of beginner language. Thank you.
Wendy from Squamish British Columbia, Canada.
I too have made the landscape fabric error – you are right "friends don't let friends use landscape fabric!"
Good tip about the use of curves. I have an area that I want to place a path through and I may have been adding a curve just to have a curve, when straight makes more sense!
I've watched someone in our neighborhood put fabric down where she's putting the planting beds! I think you are right on on all points. Love metal edging and wish we could have afforded to use more of it.
Agreed on landscape fabric. The previous owner of our property used it everywhere! After who knows how many years we had to dig enough of it up to be able to tie it to the tractor and pull it out from @ 3" of soil. Of course it would rip and the digging would start again. I still find rather large pieces on occasion and I haven't started on the north facing foundation beds on the side of the house. It's back-breaking work to get it out, so DON'T do it.
This is all great information. Many years ago I read an article in a magazine about a garden I dearly loved to look at. It had these skinny paths all through it. I loved the way you felt enveloped in the garden however as I read on the owner of the garden said that he wished he had made his paths so much wider. Easier to turn around a wheelbarrow, easier to walk through especially with friends and or visitors. I too learned the hard way about that horrible landscape fabric.