This post is a paid partnership with Lowe’s Home Improvement, but all words, opinions and the recipe for the perfect s’more for non-marshmallow lovers are my own.
If Mother Nature is feeling generous we’ll enjoy a long autumn with a few excellent Indian summer days mixed in for good measure. I know I spend a fair amount of time griping about fall, but my real problem isn’t with fall, it’s with what comes after.
Frankly, the best thing about fall is that we actually have a little more time to enjoy it than we do in the middle of the go-go-go of summer.
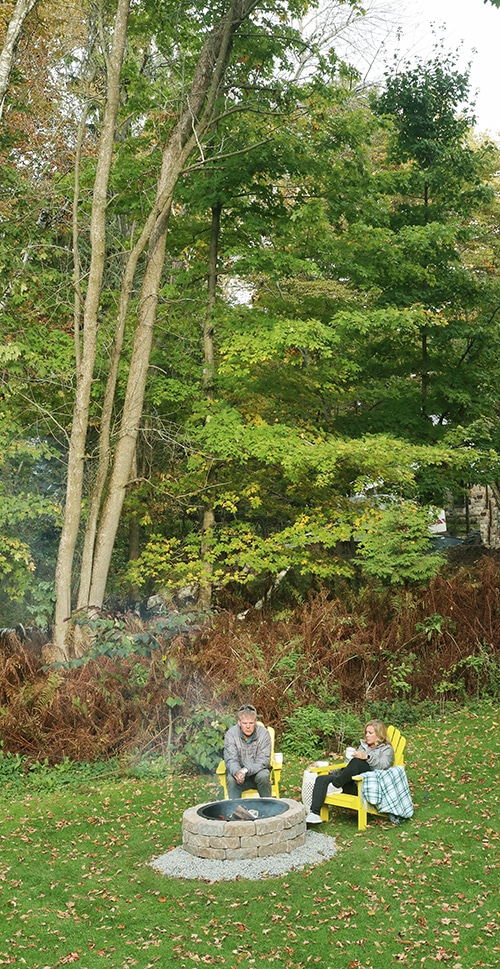
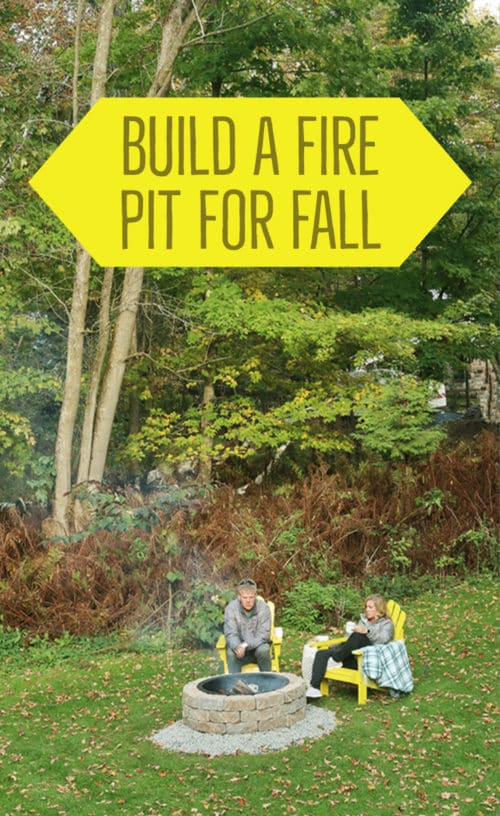
There is a certain charm to a fire, especially in fall, so I think we’ll get a lot of use out of our latest outdoor DIY project. What I didn’t foresee was that it would be one of the easiest projects we’ve done in a long time.
In case you haven’t noticed, I have a tendency to make projects just a tad more complicated than they need to be (case in point: a certain vegetable garden project), so it was a refreshing change to find a fire pit kit that would do the job rather than having to come up with our own design.
The concrete fire pit kit was delivered to our house on a pallet and we thought we had everything we needed to assemble it. The italics will clue you in that we didn’t, in fact, have everything we need, so I’m going to warn you now that we improvised a bit.
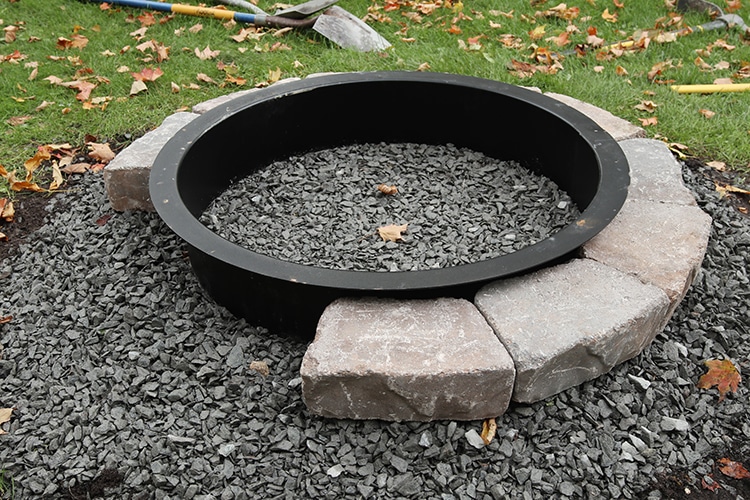
The directions tell you to start with a cutting a circle of your grass out and laying down paver base. Turns out we were improvising from the get-go because I forgot to pick up paver base. We did, however, have a driveway full of stone chips for the vegetable garden, so we used that to create a sturdy base for the fire pit stones. We tamped and tamped until those suckers were locked together tightly and not going anywhere.

We also made the base larger than the fire pit because we didn’t want to have to worry about mowing right up to the pit.
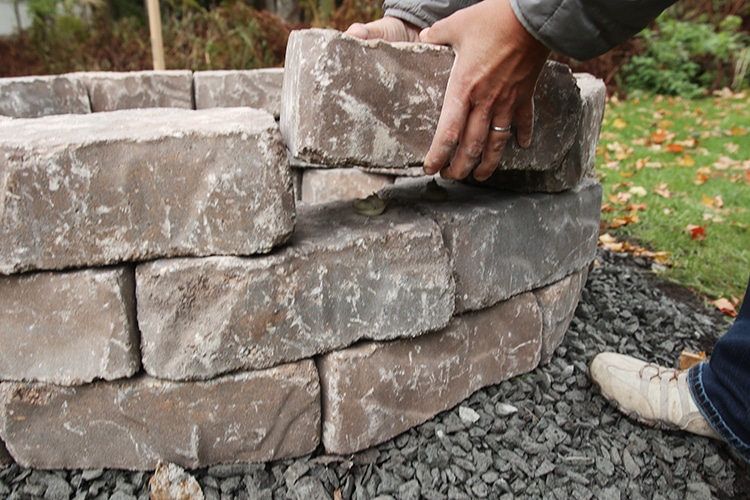
The reviews on the Lowes.com site were quite helpful in modifying our already modified approach to construction as well. At least one review recommended checking every layer with the interior steel ring in place before setting anything permanently, so we started by laying the first row of stones out around the ring. From there we lifted the ring and went back and leveled each individual stone and the entire circle.
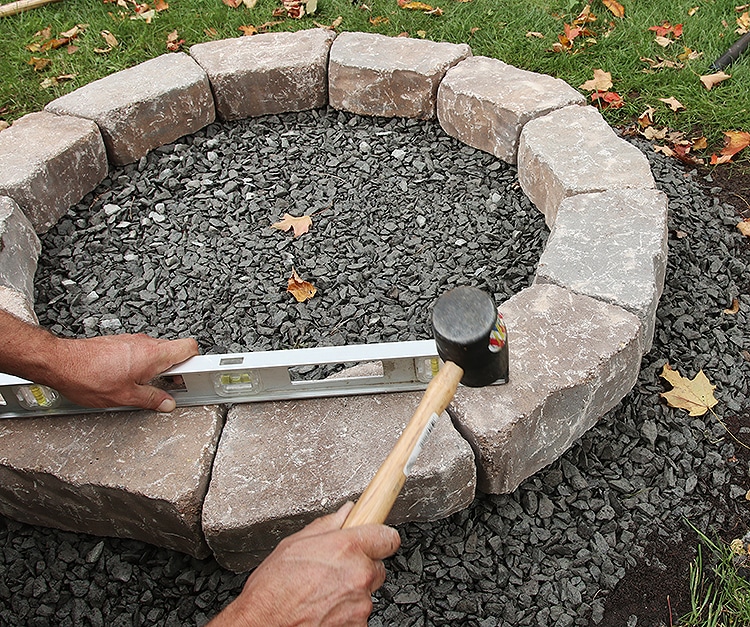
Like so many other projects, we spent probably 70% of the time of this project on the base and the first course of stone. Get those two things right and the rest goes very quickly.
The next two rows of stones used the same process: Set them out on top of the previous row, being sure to center them over the joints, check the layout with the steel ring in place, then go back and permanently set the stones.
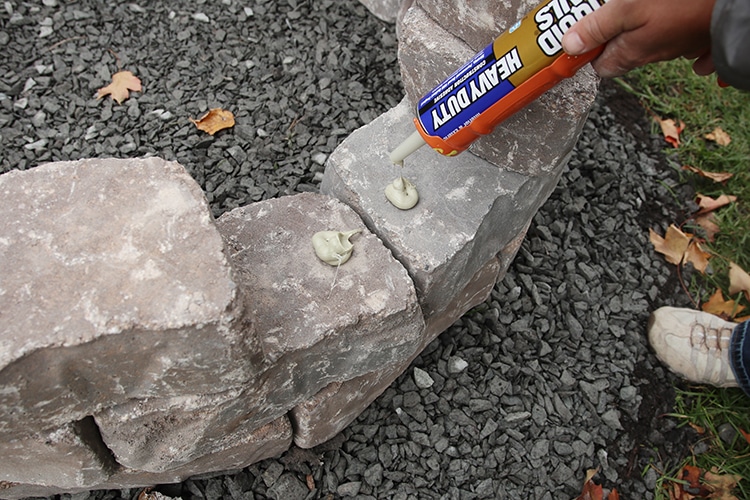
We used a heavy-duty construction adhesive labeled for use on concrete and put a blob on each side of the joint of the previous row then set the stone on top of it, giving it a little wiggle and a push. We did the stones one by one, so we knew it would all fit when it was stuck together.
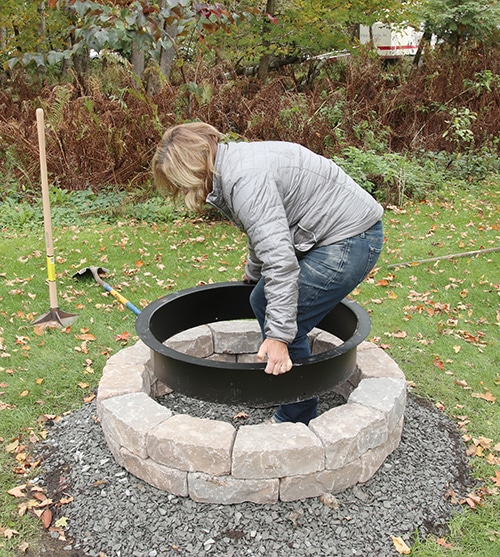
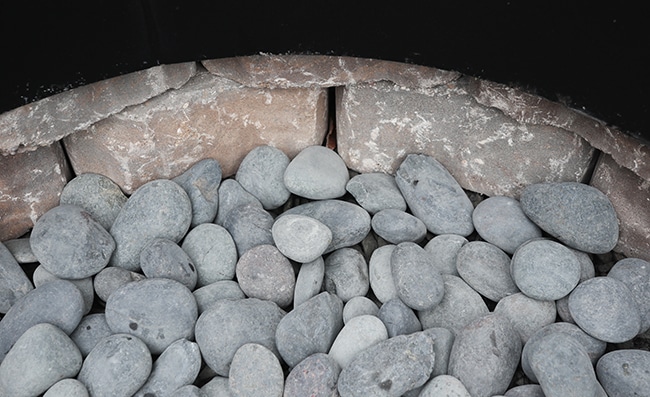
After the third row we set the steel ring on top and filled the bottom with black beach pebbles. The kit recommended lava rocks, but I thought the beach pebbles would look nicer (I’m such a rebel).
And then it was fire time. I wish I would have timed how long it took to build the fire pit but it couldn’t have been more than a couple hours, which was a great reminder of how nice it is to find a simple solution to a project (someone please remind me of this next time I’m cooking up a new project).
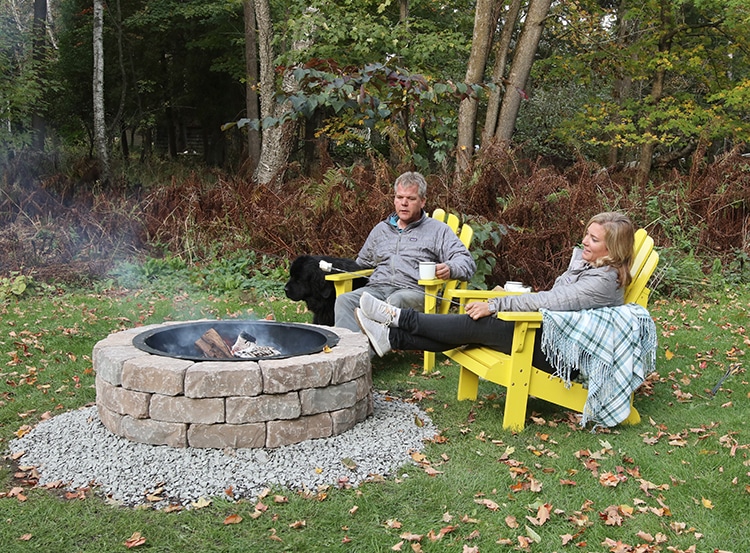
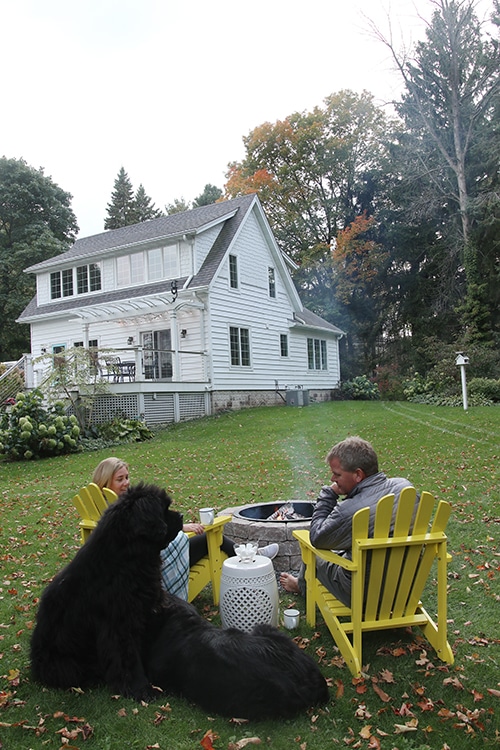
I can’t tell you how wonderful it was to come back a bit later to a warm fire and a chance to just sit back and relax outside. And then came the s’mores.
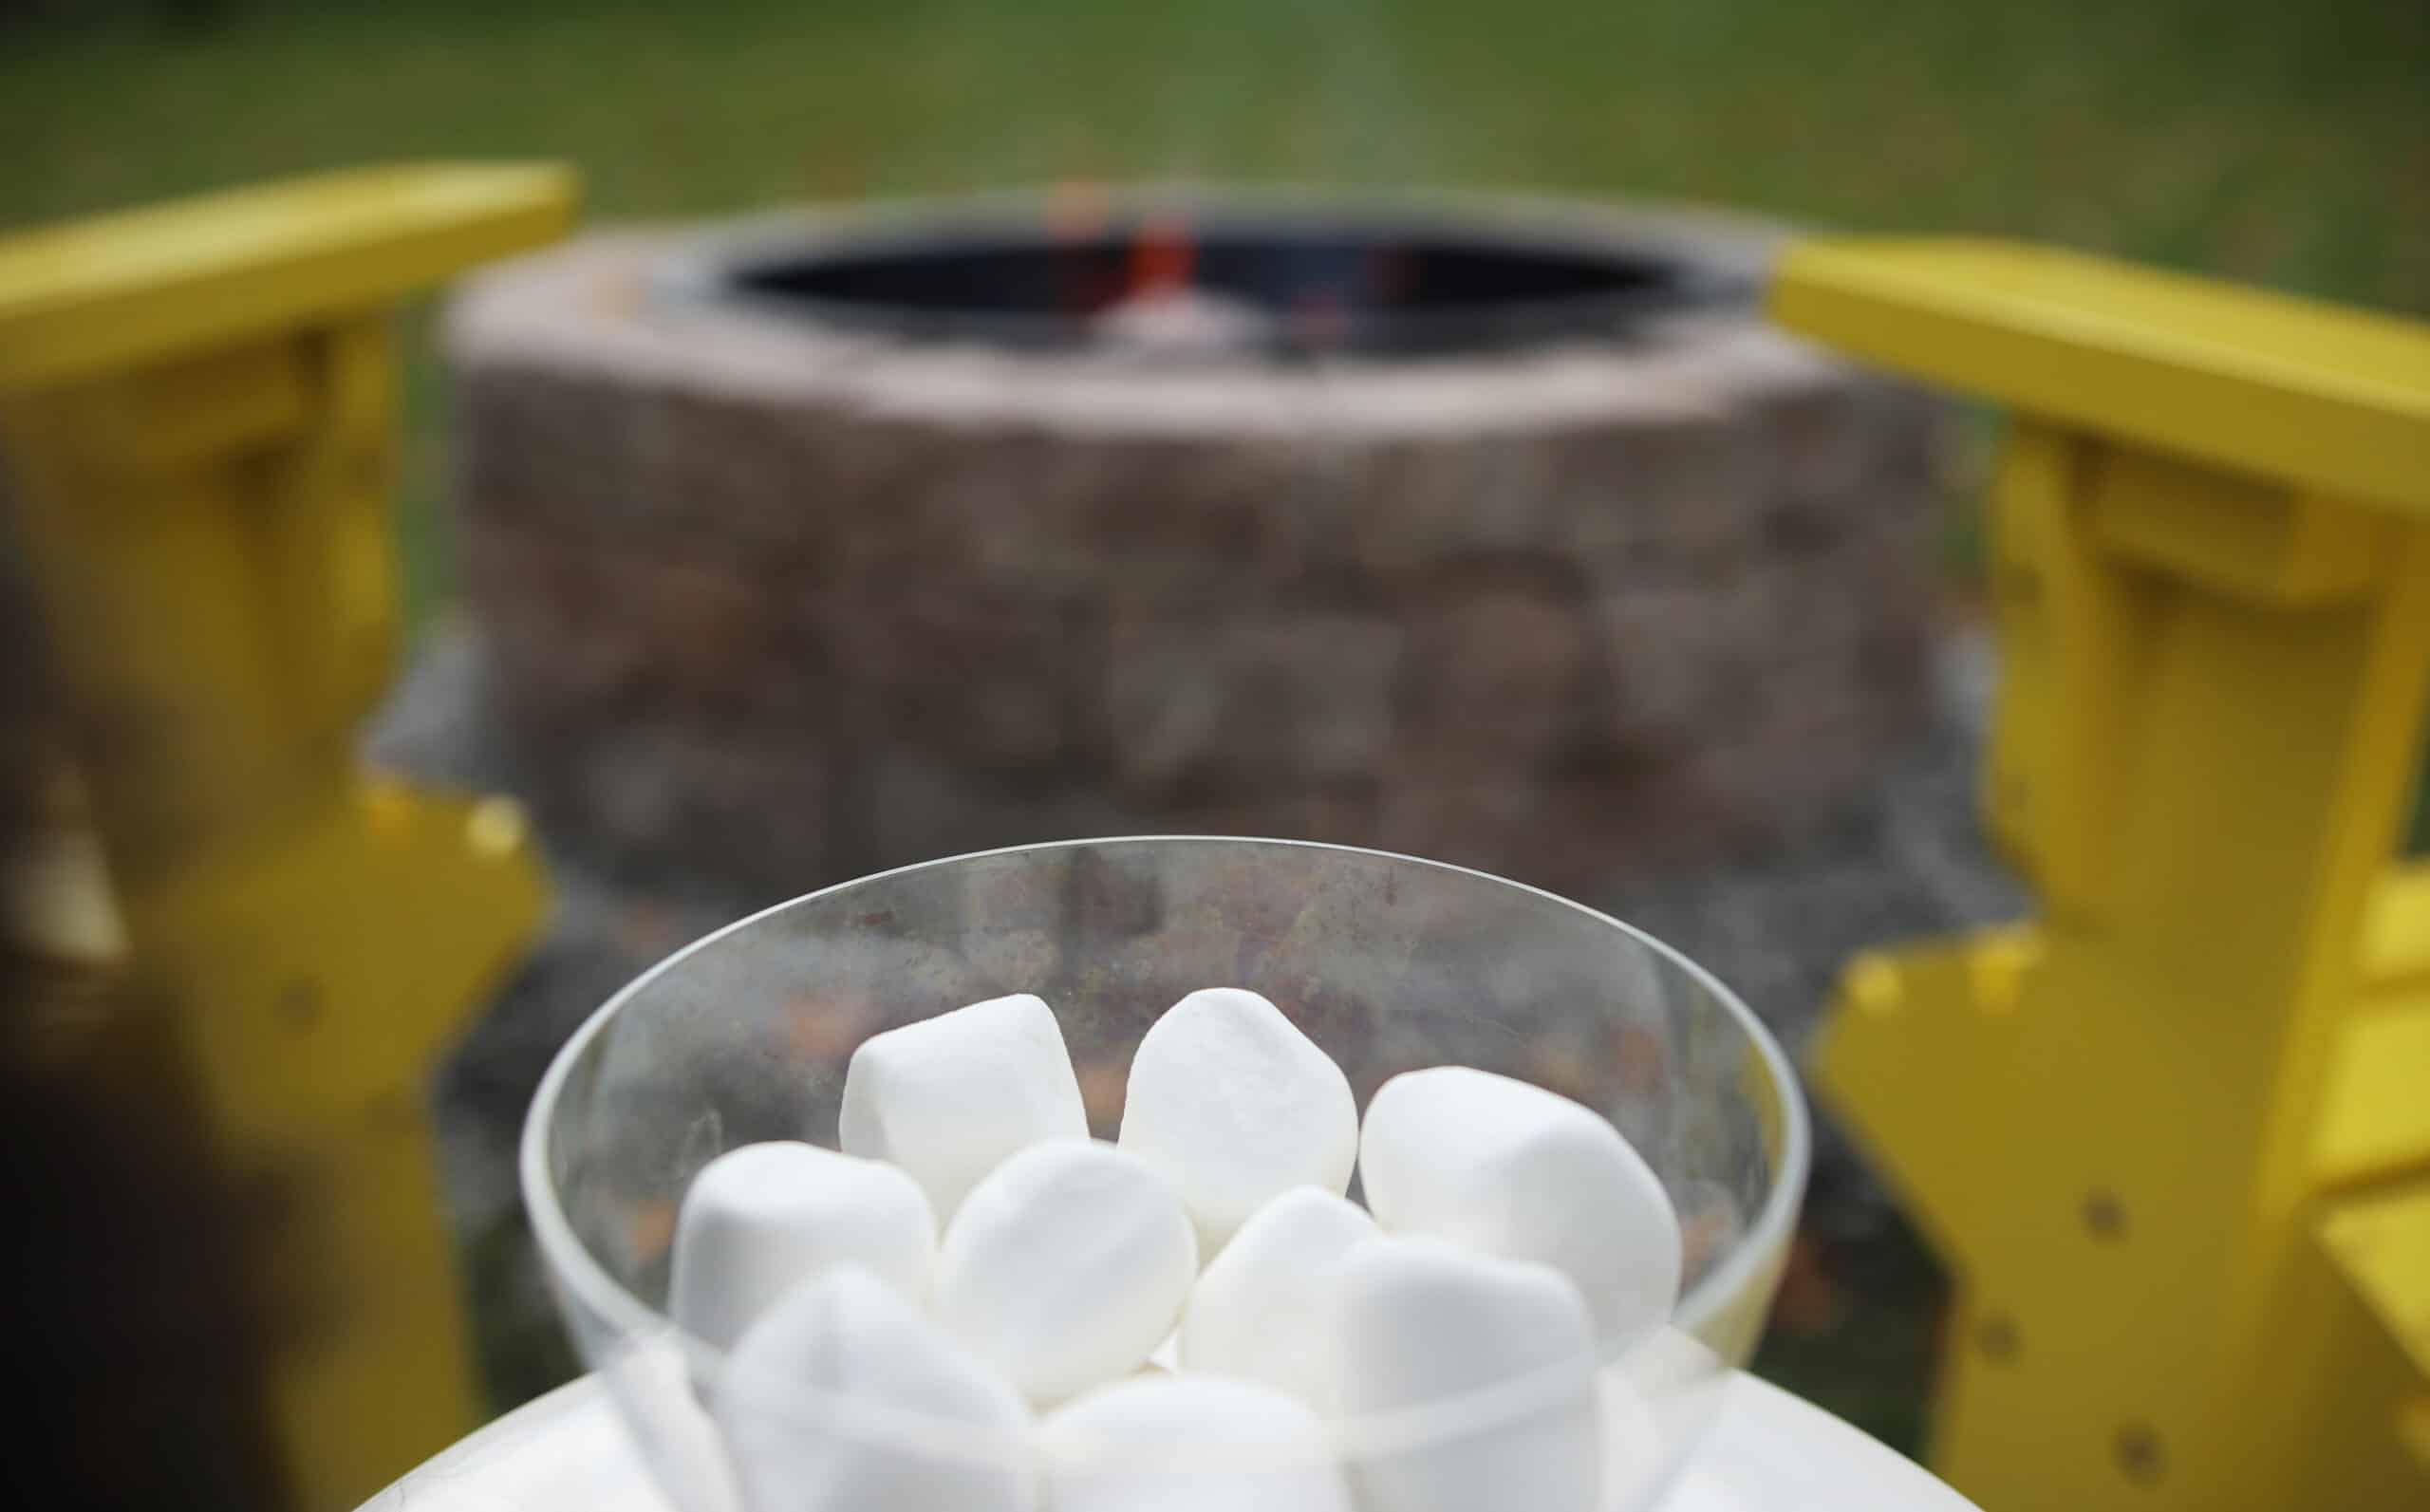
I have a secret: I hate marshmallows, which pretty much means I don’t care for s’mores, but Mr. Much More Patient does not share this view. In fact, when we figured out we didn’t have paver base we opted against a trip to the store, but he had no problem making a run for s’mores ingredients.
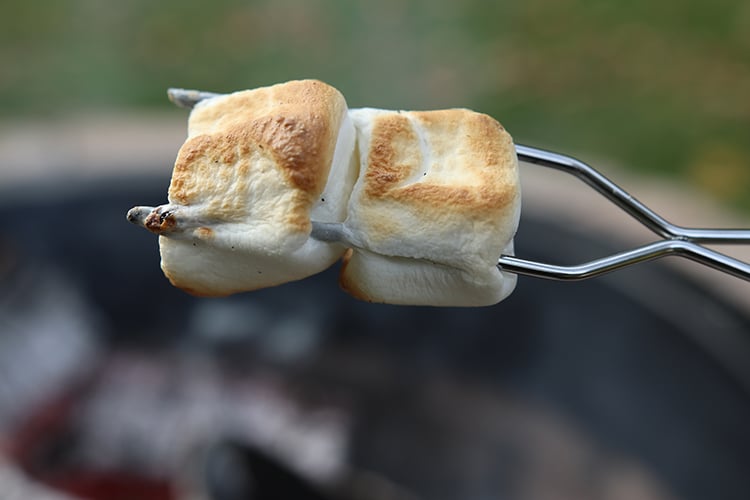
Although I don’t like to eat marshmallows, I love roasting them and I pride myself on getting that perfect golden brown crust on them.
Everyone knows how to make a s’more, but I present to you this recipe for s’mores for people who don’t like marshmallows.
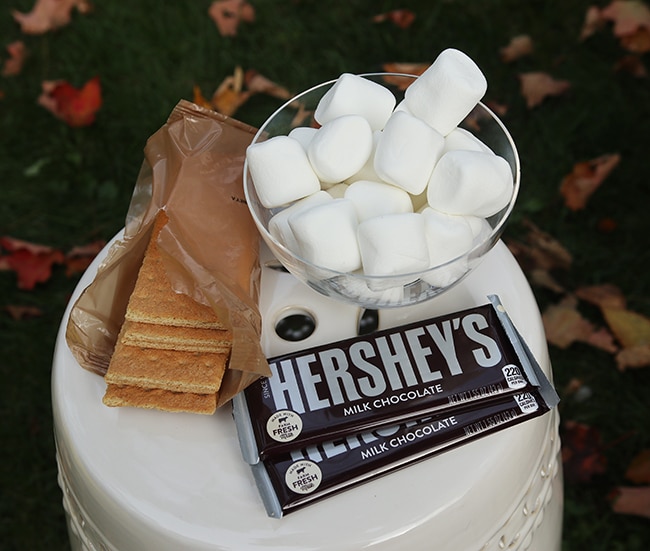
- Marshmallows
- Hershey’s chocolate bars
- Graham crackers
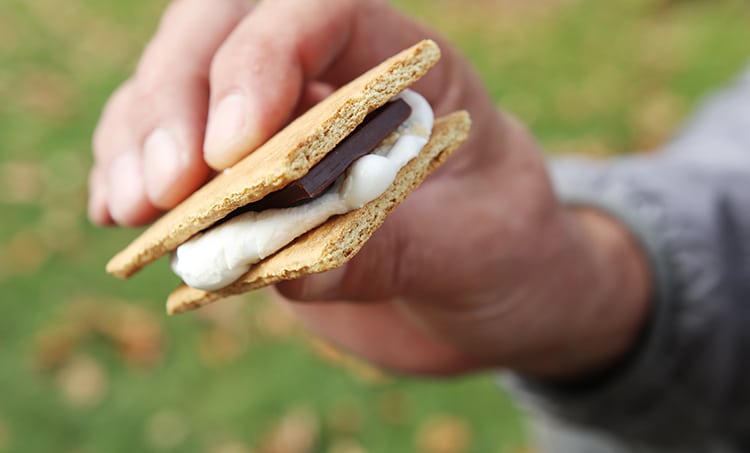
Roast marshmallows to a perfect golden brown, taking care not to let them flame up or, worse yet, fall off your marshmallow roasting device. When the marshmallows are perfect, hand them to someone who likes marshmallows. Then eat the graham crackers and chocolate by themselves while sipping something hot.
With luck and our new fire pit there will be plenty of opportunity to perfect my marshmallow roasting skills yet this fall.
Shop this post:
- Concrete fire pit kit
- Paver base
- Construction adhesive
- Beach pebbles
- Adirondack chairs
- Garden stool (good as a table or a seat)
- Cozy plaid throw
- Stainless marshmallow-roasting skewers
4 Responses
Hi Erin, I’m wondering your thoughts on the fire pit now that you’ve used it for a season. Are you happy with it? Would you say the quality is good? We are seriously thinking of installing one of these this summer. Any follow up comments you have would be appreciated. Thanks!
Yes, we’ve been really happy with it! No problems with it at all.
Of course you realize you are now going to have to make that deck flower border sweep around the other side of the house sine that is the view from the fire pit. Project looks great and anything that only takes a couple of hours is well worth doing. I can barely think of any projects that take that little time.
And lordy I need more of those projects! I forgot how nice it feels to just be DONE with something and to be done with it quickly is amazingly satisfying. Frankly, it was a good lesson to stop complicating everything. And that area behind there was supposed to be my new shrub border that I dreamed up last year and didn’t really do much about. It doesn’t help that shrubs are such an investment. A worthwhile one, to be sure, but hard to plant an entire border of them in one year and not go broke.