I have to apologize, you guys. My disorganized method of managing photos has struck again. I kick myself for this. I work with professional photographers at work every day and I know that they all have a method for cataloging every photo they download, so why I never started doing the same thing is a bit of a mystery.
I’ve been trying to write this post for well over a month now (the photos prove that) but I’ve been hunting for all the in-progress photos I dutifully took along the way so I could do a true tutorial. Well, I give up. I absolutely cannot find those photos on my computer or my external hard drive.
So, unfortunately you’re going to have to live with just an after photo in this tutorial and trust me on the rest. I hereby promise to do a better job keeping track of my photos. Or better yet, finish projects in a more timely fashion so I don’t lose them to begin with.
When we did the kitchen renovation, I couldn’t wait to clean up the wall where the refrigerator was and part of that was creating the look of a built-in fridge that was just a regular standalone fridge.
Before there was this sort of strange half wall that didn’t quite cover the fridge, so about a foot of the side of it stuck out. I hated the look but I loved the fact that it gave me a place to hang the stuff one needs to hang on their fridge: pictures of our nephews and niece, save-the-dates for upcoming events, the magnet your plumber gives you that comes in handy when a toilet is blowing up, that kind of stuff.
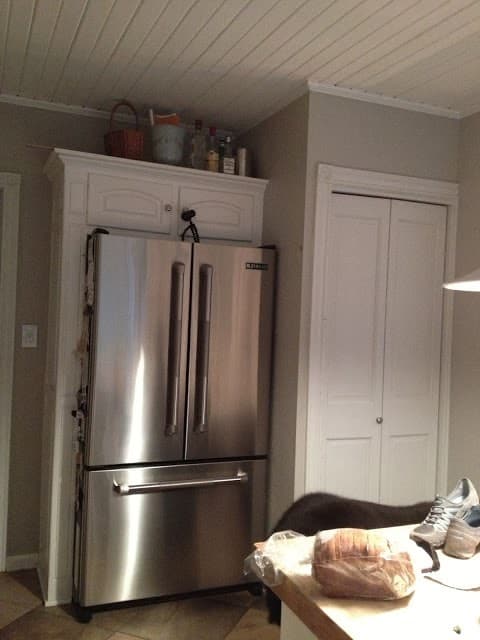 |
| The fridge wall before. You can see that even the counter-depth fridge stuck out from the cabinet surround, which was ugly, but gave us a little room on the side of the fridge to stick things. |
As much as I loved the new look, I missed that spot.
I didn’t want to hang something just out in the kitchen. As much as I try, those types of spaces always end up cluttered and my goal for the kitchen has been to keep clutter to a minimum. I don’t mind a little clutter in my life, but I love a clutter-free, almost sparse kitchen and creating that was one of the goals for the kitchen.
 |
| After, the fridge had a nice built-in look and the pantry didn’t jut out into the room oddly, but I had nowhere to stick things that used to hang on the side of the fridge. |
So I looked to the inside of the pantry door. And of course, I wanted it all: both a surface to write on and something magnetic to stick stuff on.

I started with a piece of galvanized sheet metal. You want to look for this in the plumber’s section of your big box store as its intended purpose is to put behind pipes when soldering so you don’t light the wall on fire. This is what it looks like.
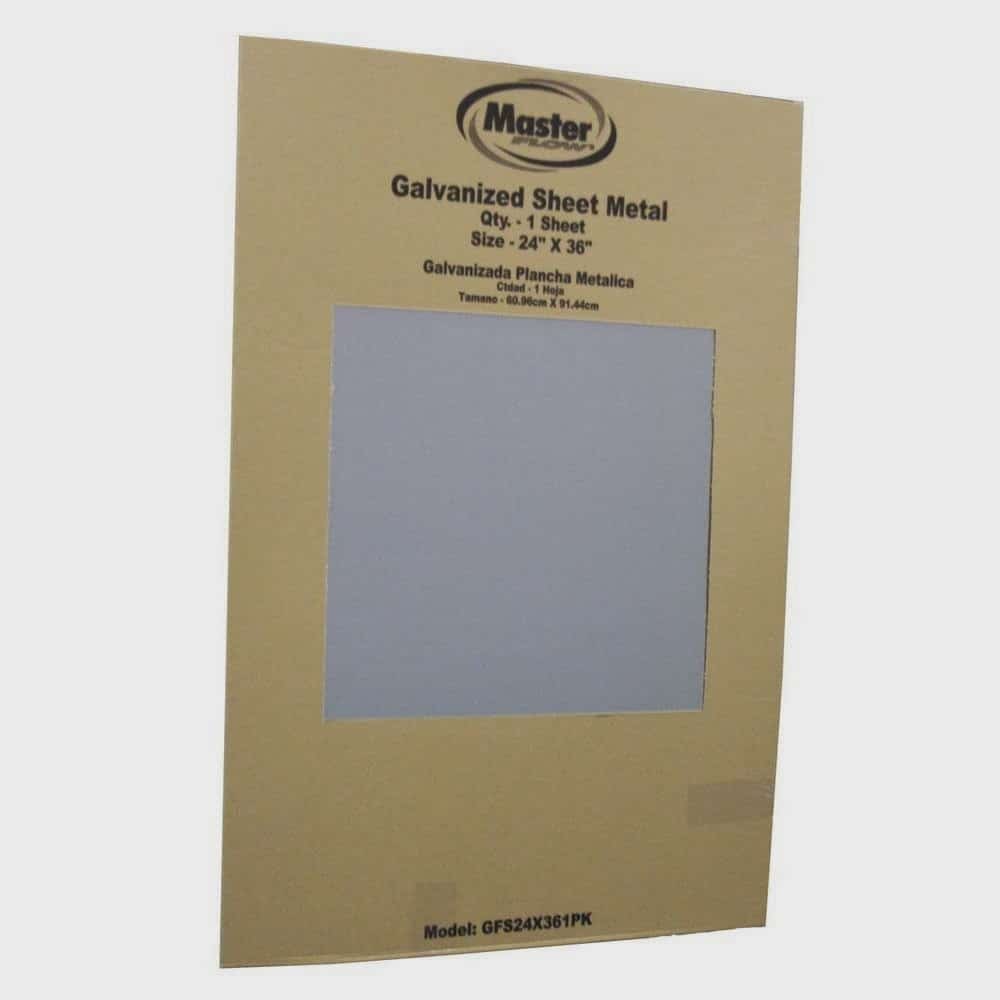
It cost me about $9. You can buy other metal that will do the job, but it’s usually much more expensive and if you’re covering it anyway, you don’t need to get fancy.
I cut it to size using tin snips. I’m not going to tell you to wear gloves when you do this because a.) you already know that and b.) you won’t anyway. And yes, I cut myself doing this.
After that I mounted it on what Home Depot calls a “project panel.” It’s only 1/8-inch thick but it provides enough rigidity to keep the metal from flopping around without adding too much weight or bulk. I used contact cement for this.
Then I painted it with two or three coats of chalkboard paint. Although the can suggested that chalkboard paint should be rolled, I had the best results when I brushed it on.
The hardest part of the whole project was creating a frame. Since this was done on the cheap, I certainly didn’t want to have to go out and get a custom-made frame for this odd shaped thing, but my homemade attempts at creating a frame were, um, less than successful. Finally I went to my handy stash of balsa wood strips (last used for this project) and cut them to size. No miter joint here, just a regular old butt joint. I used a good amount of wood glue in the joint, wrapped in waxed paper (to keep the glue from attaching itself to the support pieces), used a piece of scrap wood on either side to stabilize it, and then clamped it for several hours. (Boy, a picture of that process sure would be nice, wouldn’t it?)
Anyway, by the time the glue dried I had a very light and relatively delicate frame. I gave it a little sanding and quite paint job then glued it right onto the chalkboard, overlapping the frame onto the board by about a half inch on each side.

Then I used some 3M vecro mounting strips to attach the whole thing to the inside of the pantry door. I used the strips on the backer board, rather than the frame, which is purely decorative. By cutting the backerboard and metal sheet the same size as the inset panel, the whole thing sat flush to the door, with the frame just extending about a quarter inch.
I’m happy to report that the board fulfills both its chalkboard and magnetic functions perfectly (that little pad of paper on the bottom is on a magnetic clip), and I love that it can be out of sight when I don’t need it but it’s easy to get to when I want to.
Now I just need to work on my chalkboard art (not to mention my Happy New Year message).
One Response
well at least you take pictures of your work in progress. I don't even do that. Oh, sure, I start every project with that in mind. Usually forget the "before" shot and then don't have anything but the "after".
All that aside, it's a terrific idea and the frame was ingenious. Love it!