The hardscaping continues in the back yard. I didn’t really want to take on all these hardscaping (read: moving lots of stone) projects at the same time, but it only made sense to order all the material at once and, well, you can’t have 10 tons of stone sitting in your driveway for very long.
Since we have a sloped back yard, I decided to do a tiered garden off the deck with a small retaining wall. Anyone who reads this blog knows where the inspiration for this came from: the lovely gardens at the Hotel Iroquois on Mackinac Island that I talked about here and here.
The difference between building the path and building this mini retaining wall is that while I’ve laid small flagstone paths before and have a pretty good idea how to do it, I have never built a wall and have very little idea how to do it. I’m happy there will be garden beds in front of the wall so technically it shouldn’t really be used for anything other than looks and retaining dirt. No one should really be sitting or standing on it, and that makes me feel better because I’m not sure it’s the most stable wall ever built. Humpty Dumpty beware.
Anyway, here’s the basic process I followed.
1. After figuring out where I wanted the wall and laying it out (by the way, in my typical fashion of second guessing everything, I’m not sure I’d put the wall in the same place again but I just really needed to get this project done and I didn’t think it through as much as I probably should have) I dug a trench where I wanted the wall, about 8 to 10 inches deep.
2. I filled the trench with the same road base material I used on the path. The tricky part was leveling this base as much as possible. Then I tamped it all down.


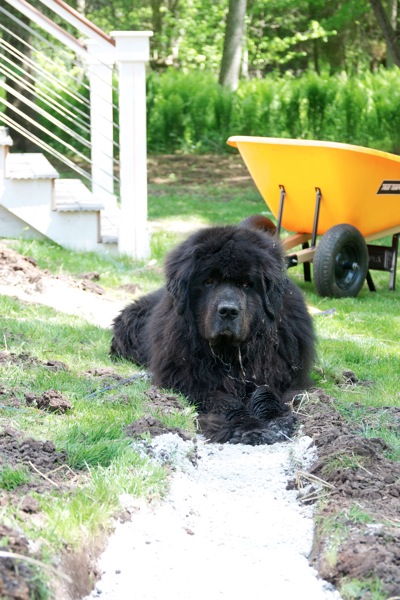
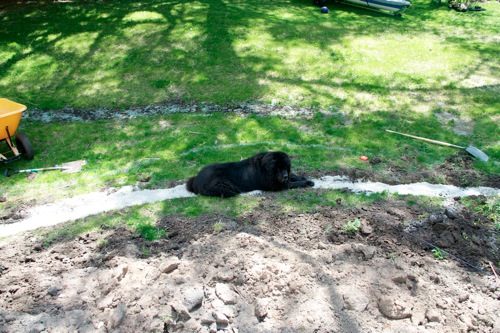
When I said I tamped down the base in the trench I was referring to using an actual tamper but Hudson seemed to think he could do a better job. How a 145-pound dog manages to lay down in a 10-inch wide trench I do not know, but he was not interested in moving (second photo is the view from the deck).
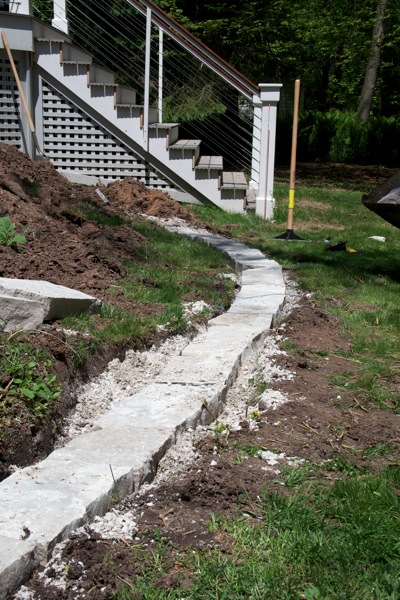
3. Since I was using natural stone rather than a man-made block, laying the first row was difficult and time consuming. I wanted to make sure it was as level as possible, which was tricky when the stones varied in thickness as much as 2 to 3 inches.

Laying the first course was the most time consuming part of the project because I wanted to get it at least close to level.
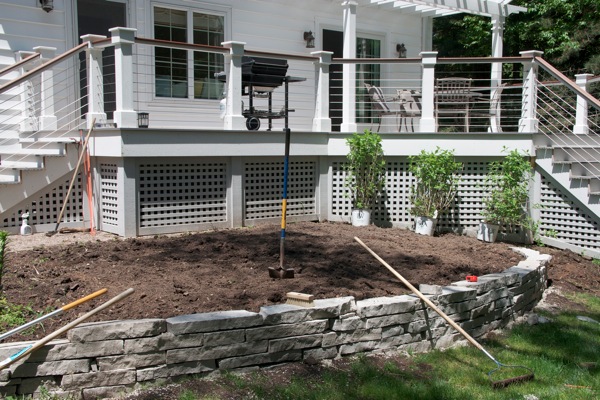
4. After the first row was laid I just started added courses. The process went pretty quickly at this point. I just tapered the wall at the ends as necessary and went as high as needed to created a garden bed level with the patio.
5. I backfilled the wall with the road base about three-quarters of the way up the wall, and then used dirt. We filled in the whole area with all the dirt we dug out for the path so fortunately we didn’t have to bring in any additional soil.

There’s a lot of stuff laying around and a shovel standing in for a tree, but you get the idea of what the completed wall looks like. There will be garden in front of it where you see grass in this photo.
Overall, I’m happy with the look but right now it requires a little squinting to really imagine it because I still need to dig the garden on the “lawn side” of the wall, not to mention plant it (although much of the planting will be done next year as I’m running out of funds and energy). Unfortunately, I also have to build a small version of the wall on the opposite side of the garden to contain a very mounded corner of the garden.
Oh and the time on this one? About 90 minutes of digging one day and then the majority of the following day to touch up the trench and build the wall, but I was flying solo on this one. It’s pretty damn amazing what you can accomplish when you REALLY want to get the pile of stone in your driveway moved.
What would you like to know? Search, or jump to categories below.