I’m doing all the painting the back room / office, which has been taking up a considerable amount of the time I normally spend gazing at seed catalogs. Fortunately, I’ve powered through the majority of it and in the process developed a pretty good method for painting wood ceiling planks.
Having painted the wood ceilings in the kitchen (they were pickled pink when we moved in), I can assure you that if you have any choose in the matter at all, you want to paint ceiling planks before they are installed. The money you will save on massages or chiropractor bills is worth it.
Our contractor bought these to match the wood ceilings in the kitchen and hallway. They are two 4-inch planks with a V-groove in the middle with a tongue and groove. When you put them up they look like individual planks. When you turn the boards over, they are plain, 8-inch-wide planks, so they can be used in that configuration as well. In the bedrooms upstairs we went with 5- or 6-inch individual tongue-and-groove boards, which I actually prefer, but I wanted to match the existing ceilings downstairs. The tags on them called them “carsiding,” so look for that if you can’t find them by searching for planks.
Be selective about choosing boards. There are a few turkeys in the bunch the contractor brought over that hopefully he can cut the bad bits off of. The big thing to look for is a large knot in the tongue, because if (when) that falls out, there’s nothing under it. A few of the boards have a decided hook in them as well and you want to try to avoid that for obvious reasons.
If you’re planning to paint your planks, the main thing you have to be worried about is the knots. If you don’t prep your planks properly (say that three times fast), the knots will bleed through and you’ll be repainting in six months. This happened on our professionally painted boards upstairs and it was a pain, so do what you can to prevent it.
The first step is to fill all the knots. This is my favorite wood filler now. It doesn’t harden up in the can like others and it works on interior and exterior applications. It also dries in 30 minutes which is very helpful. I just use a plastic putty knife to smooth it on any knots, dings or scratches.
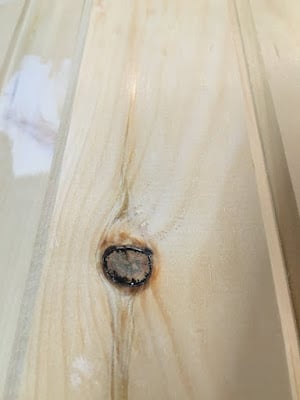 |
| Look for baddies like this and fill them with putty. |
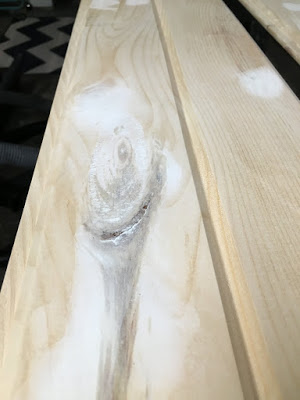 |
| Here’s a knot that has been sanded and filled, but I went back and filled it again because there were still a few indentations. |
When it’s dry, I sand the entire face of the board. It’s important to get all the “mill glaze” off the of the boards as well as smooth out the wood filler. I only sand the faces of the planks and don’t bother with the v-groove or tongue. I use the random orbital sander (the most used power tool in the house) with 150-grit sandpaper, because that’s what I had. I would have used 180-grit if I had it, but either will do.
When the boards are sanded, I vacuum off as much dust as I can and follow up with a damp rag. This is when I fill any dings or holes that I missed filling or that didn’t get fully filled the first time. Then I go back and sand those by hand.
I use a 4-inch foam roller and a brush for the priming step, which is the most important. It is imperative that you use a stain blocking primer that specifically says it seals knots. I like Zinnsser products and used the new BIN latex stainblocker primer (I try to use latex when I can just for ease of cleanup). It’s not cheap—$30 a gallon—but completely worth it.
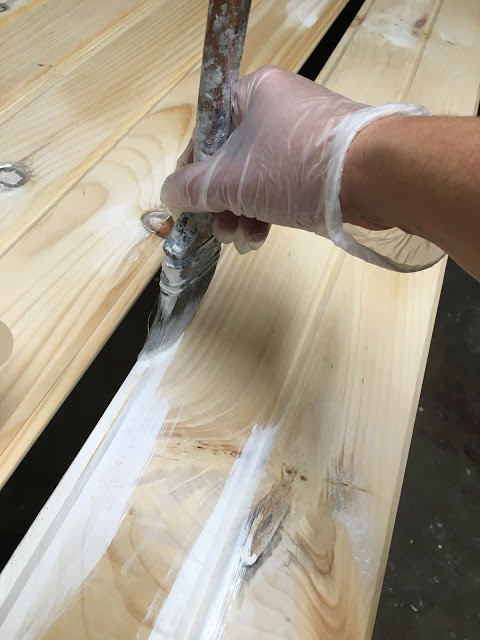 |
| After filling the knots and sanding, prime the tongue and the groove with a brush, then follow up with a mini roller on the flats, tipping off the primer with a brush. |
Start with a brush in the V-groove and on the tongue, then follow up with the roller on each board. This goes very quickly and you can move fast. Then follow up with the brush and “tip” the primer, just smoothing everything out and making sure the edges are covered. You want to pay special attention to the tongue and the outside groove and make sure you don’t have runs or puddles in these areas because that will make them difficult to mount.
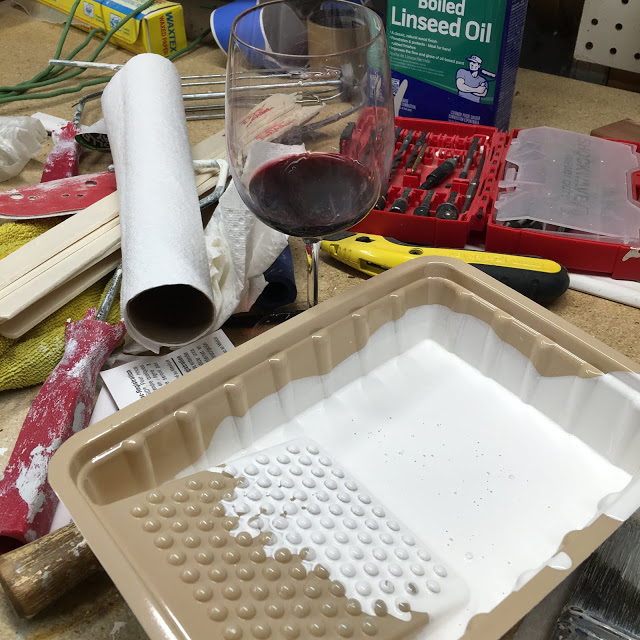 |
| Our workbench is a mess, but I recommend a glass of wine with your paint tray. |
Wait for the primer to dry—usually about an hour—and then do it all over again. Two coats of primer may sound excessive, but remember, the goal here is to seal those knots. I don’t sand in between primer coats, and if there is a particularly dark knot that I can still see through two coats of primer, sometimes I go back and just touch that up. Better to be safe than sorry.
Next use 220-grit sandpaper on a sanding block to give everything a quick rub down. You’re just trying to smooth out the primer, not remove it, so a quick sanding generally suffices. I also sand the groove at this stage. Again, follow up with a good dust removal process.
I prefer to paint wood ceilings with semigloss paint. It’s the only time, other than occasionally when painting furniture, that I use a gloss shinier than satin. I originally painted the kitchen ceiling in satin and didn’t care for it and had to go back and do it with semigloss.
I like doing the finish coat with a brush. It takes a little longer than rolling it on, but I feel like I have more control over the paint with a brush vs. brushing the groove, following up with the roller and then tipping the paint. Work quickly and, when the paint is still wet, just lightly run your brush over the entire plank from one end to the other without stopping. This will even out any areas where the brush may have stopped.
Let them dry and they are ready to mount. I’ll let the professionals handle that, and I’ll be back with a mini tutorial on what happens next when that’s finished.


3 Responses
The wine glass on the work bench helped a lot. Great advice overall!
I have been painting my house for the past few years. But, I never painted a ceiling before. So, when I came across this article on how to paint wood ceiling plank in steps and with pictures it was like a gift from heaven. It has helped me out so much that now i am able to do this without any hassle at all and also learn something new every time i go through it
Big job!!! No wonder there's wine! I can't wait to see the result!