I didn’t bother to look up the history of the kissing ball, but I imagine it goes something like this: Mistletoe is ugly but people still need an excuse to kiss, so someone invented a ball covered in greens, called it a kissing ball and people started smooching under it. Works for me.
Anyway, I recently took a class on how to make a kissing ball. Other than a few small tricks that make your life a little easier, this is the biggest no-brainer project ever.

Here’s what you’ll need:
- 4-inch oasis floral foam, really well saturated (overnight or all day).
- A chopstick, sharpened pencil, skewer or something else long and pokey.
- A 12-inch chenille pipe cleaner, preferably green.
- A bit of string, anything will do.
- A 1-inch piece of a twig, or a cut from the previously mentioned poking device.
- A selection of greens.
- A length of pretty ribbon.
I think it’s probably easiest to prep everything first, so start by preparing all your greens. You want them cut into about 4-inch lengths, with the end of the “stem” part (the part you’ll be sticking into the oasis) clean of needles for at least a half-inch. For the balls we made, we used white pine, port orford cedar and seeded eucalyptus. You can use anything, including flowers. Boxwood would be great and if you really want to guarantee some kisses you could also use mistletoe.
Then take your soaked foam ball (work over a sink or something because this bit is messy) and find the seam and think of it as the equator on a globe. Take your chopstick or pokey thing and stick it through the ball from the north pole to the south pole. If you’re using a skinny tool, you may have to wiggle it a little to get a big enough hole.
Then take your chenille pipe cleaner and stick it through the hole. At the bottom of the ball, take your inch-long piece of twig or a cut from your poking device, and wrap a bit of the pipe cleaner around it to create an anchor. Hole up your ball by the other end of the pipe cleaner to make sure it’s secure.
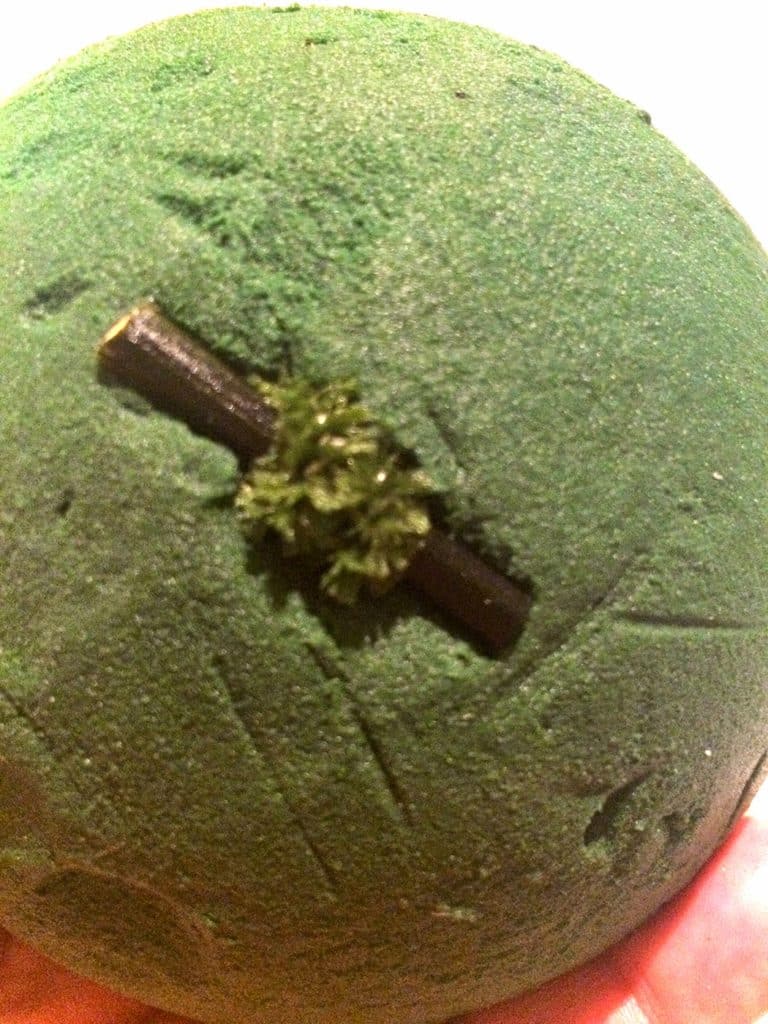
On the top of the ball, create a small loop, maybe an inch or so, and twist the rest of the pipe cleaner around the base of the loop.

Take about 8 inches of string and just tie a loop into the small pipe cleaner loop. You’ll be cutting this off later so it doesn’t have to be fancy; it’s just so you don’t lose track of the pipe cleaner loop when all the greens are in the ball.
The rest is easy. Starting at the top, stick in your prepared greens. Because we were using several kinds of greens, we started with the white pine as the base, spacing them out about 3/4-inch. Work around the ball, rather on one side, to keep it uniform, and cover the whole ball. Don’t forget the bottom.
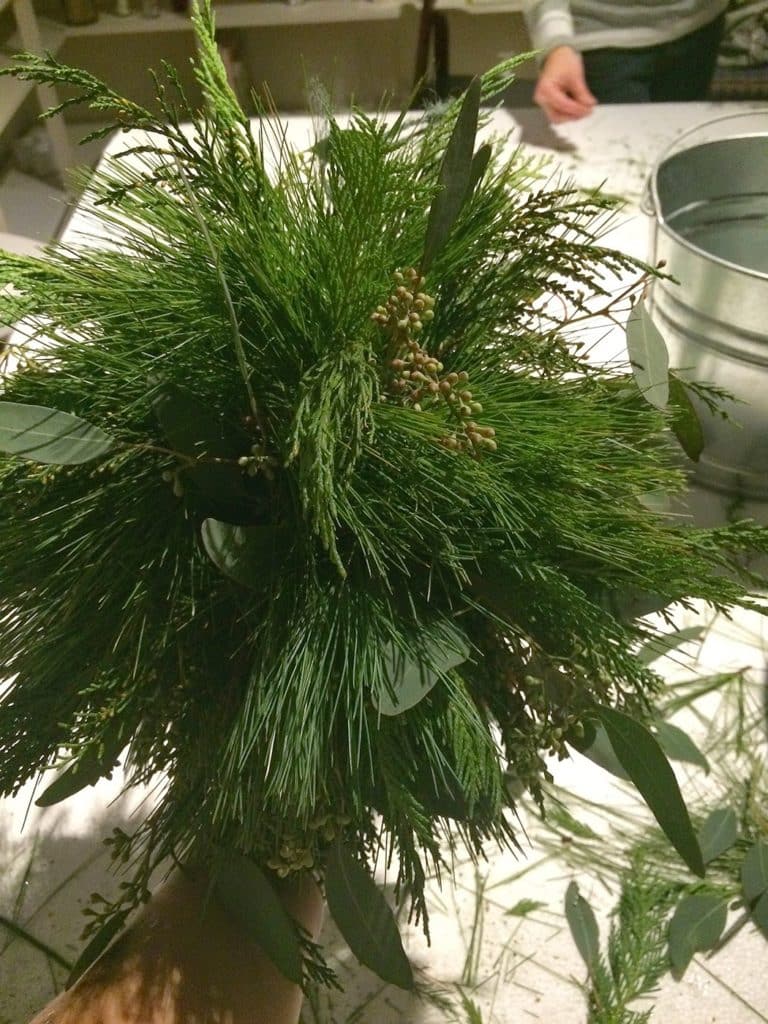
Then go back and start filling in with the other greens in the spaces you left between the first group of greens. You don’t need to cover every last bit of the ball, because you won’t see the oasis once it’s hanging, but you do want it full. If some extra long greens sneak in there, just trim them off.
We also added a few gold-dipped greens to the very top, but you could also put pinecones or ornaments up there too.
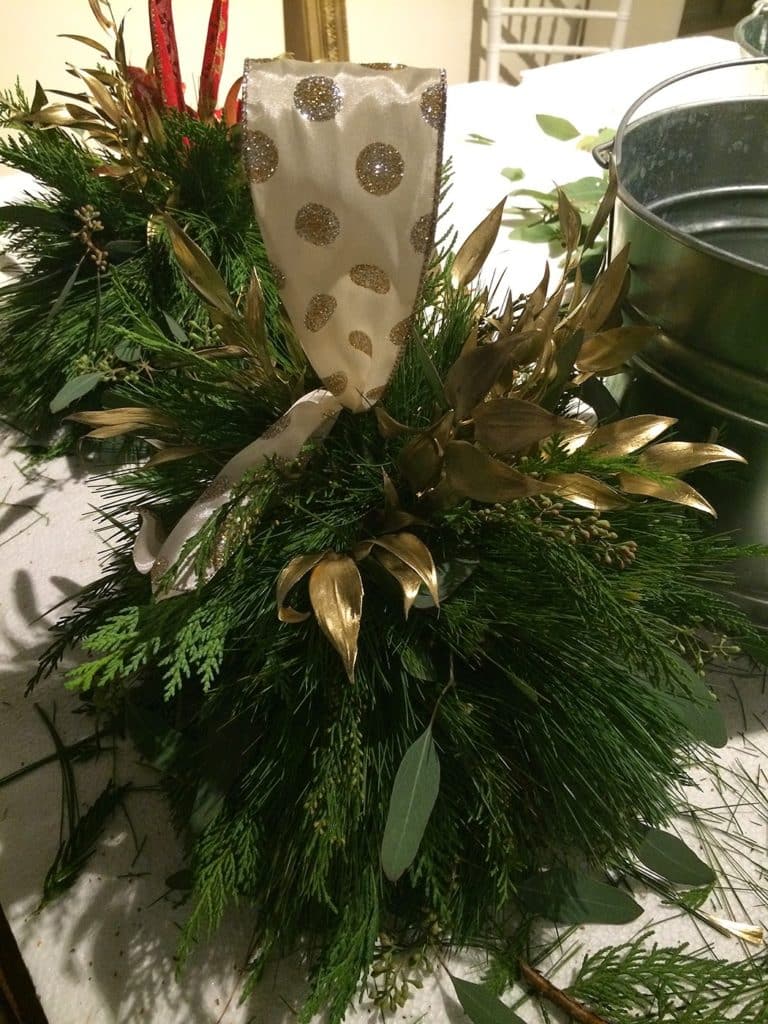
When you’re finished, find your pipe cleaner loop and string a piece of pretty ribbon through it, tying it into a loop (as long as you like) with 3-4 inch ends on either side of a square knot. Work the knot under the loop, cut off the piece of string you used as a place holder earlier, and you are finished.
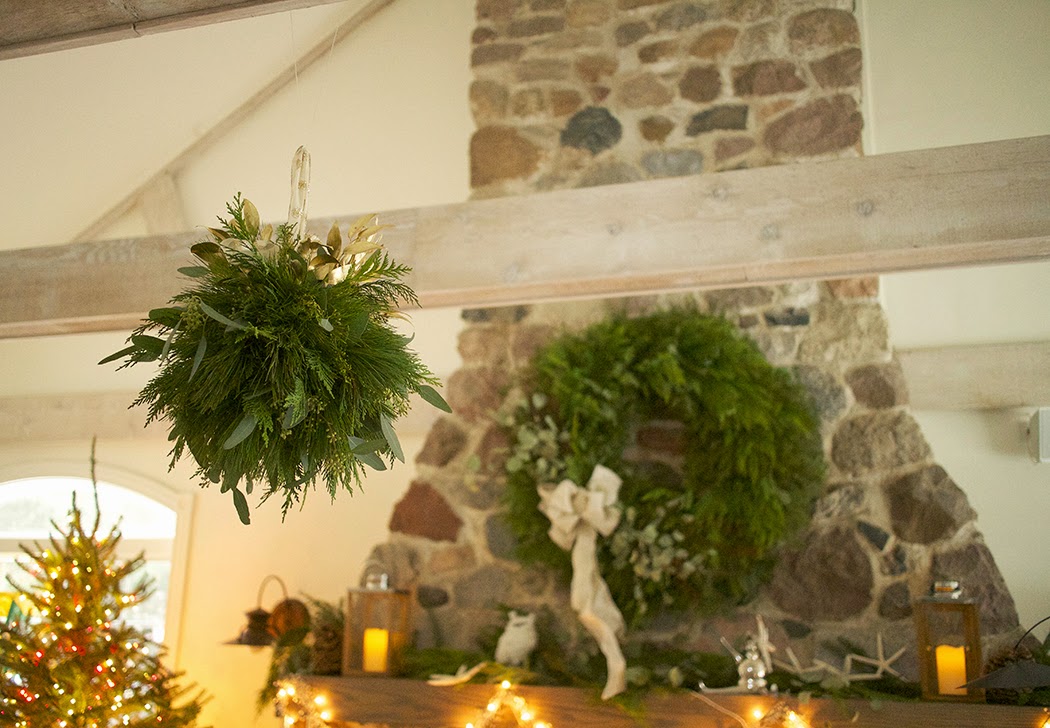
Easy, right? There’s no reason not to have a reason to smooch now. You’re welcome.
4 Responses
How many pieces of greenery did you use ?
Kisses to you. Thanks
Just read my comment – no, I don't hang the kissing ball all year round!
We always have a kissing ball in our house – don't know why, but it works as I always get kissed under it. Have been since I was about 3 years old.
But I've never had a real one. What a great project!