When Mr. Much More Patient proposed to me, the ring came in a perfectly wrapped box (done at the jewelry store) that sat flat on the table. After we got through the whole “Yes!” bit, I went back and examined that wrapping, which was done without tape, just a perfectly cut square of paper and that beautiful red ribbon. I couldn’t for the life of me figure out how they got ribbon on all four sides of the box without the annoying bump caused by the criss-cross on the boom, so I studied it until I figured it out. And I’ve been tying ribbon like that ever since.
This is particularly good for small packages and large ribbons, all of which look silly sitting catty whampus with that big lump under them. Once you get the hang of it, I guarantee you’ll like how your packages look much more than the old way.
I should note, I picked the worst possible paper to do this with. Gold foil does not photograph well. Sorry about that.
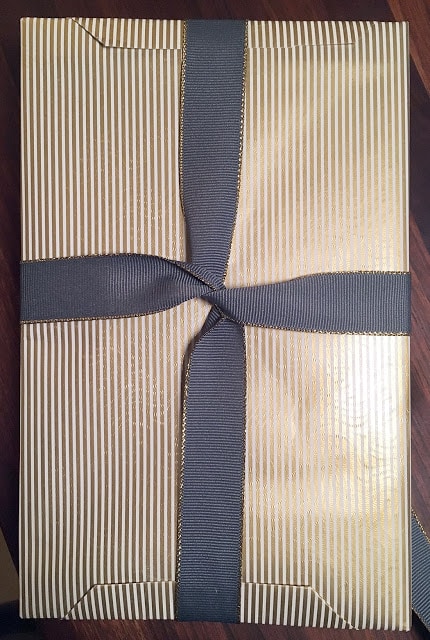
So here’s the problem with the old way. Gifts never sit right because of the crossing ribbon in the back.
And here’s what the back looks like.
To tie it so you don’t have those problems, you want to start with the box in the opposite orientation that you will want the bow to lay. I want the bow to lay horizontal on this box, so I’m working with it in a vertical orientation.
With the ribbon still attached to the roll, measure out roughly how long you will want half of the bow and tail to be. In the photo below, my finger is at the mid-point and the ribbon below it is what I’ve allotted for that side of the bow and tail.
Wrap the other end of the ribbon (the part still attached to the roll) around the underside of the box and bring it back to the middle in the front. At the midpoint, twist the two ribbon ends a half twist so they cross over each other and end up perpendicular to the ribbon already wrapped around the box.
Wrap the end still attached to the roll around the underside of the box and bring it back to the middle. At this point you will have ribbon wrapped around each side of the box and you will be able to cut the ribbon to the same length as the original tail you measured. Here’s were it gets a little tricky. Maintaining tension on the twist, slide the just-cut end of the ribbon (in the photo below it’s the ribbon coming from the right side of the box), under the ribbon on the top of the box.
Once you pull that snug, tie a simple overhand knot with the other ribbon tail. Everything will be held nicely in place at this point.
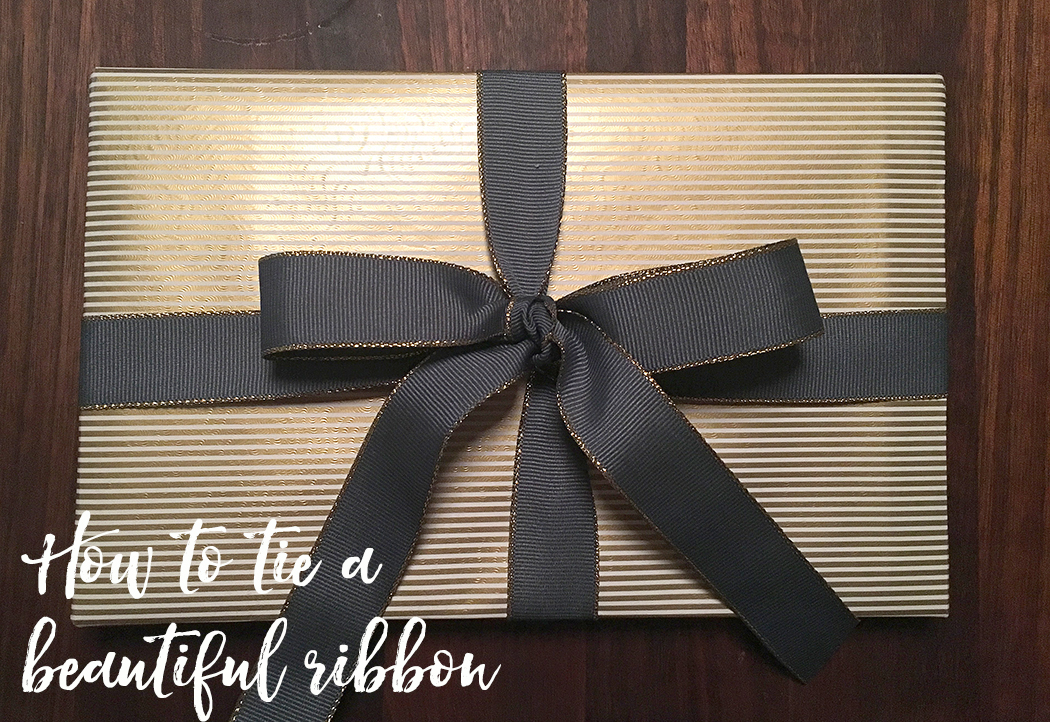
Now you’ll tie the bow. If you learned to tie your shoes using the “bunny ears” method, that’s what you want to do here. For those not from the bunny ears school of shoe tying, you want to make loops with each hand, like I’m doing with my left hand below. When you have two loops, take the entire loop in your right hand over the left-hand loop and through, then gently pull tight. As you pull, you’ll notice the bow wants to twist a bit. It will lay nice and flat laying one direction (in this case that will be horizontally). Don’t fight it because it will never lay right.
When you flip it over, you’ll see that the back is as lovely as the front and that the box will sit flat.
Flip it over, trim your tails to the desired length and you’re all done. Voila!


2 Responses
Hmm, why didn't it occur to me there might be another way. Now I need to see if there are any packages left that need wrapping so I can practice.
Good job.