Since I’ve done almost no decorating this year, haven’t wrapped a single gift or baked a single cookie (yet), I’m lacking in the holiday post department. But that’s doesn’t mean I don’t have a little gift for you. Because I do: An awesome idea for a super cool, great looking and inexpensive floor.
 |
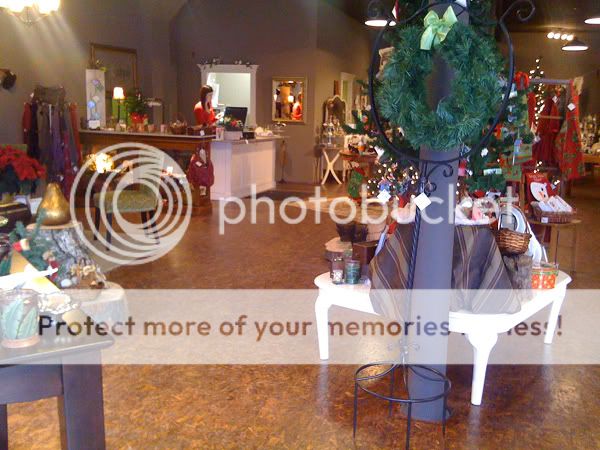
This floor can be found in a great new shop that recently opened in my hometown. It’s full of super cute stuff and it’s just a lovely space. But what caught my eye from the beginning was the really cool floor. And that’s when I took a closer look and realized it was …
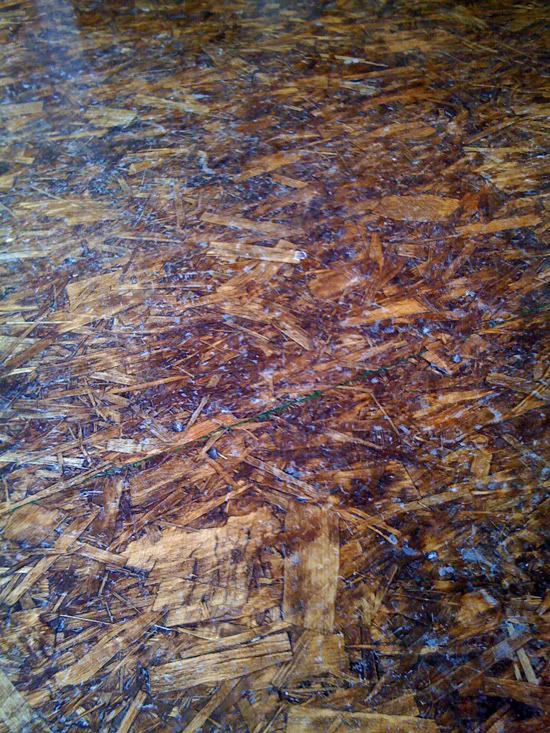
Oriented Strand Board (kind of like plywood, but made with small wood strips all mushed together with wax and resin).
I know, can you believe it?
One of the owners told me the story: As they were fixing up the space (which had been an antiques store, appliance store and a bunch of other things in its past life) they realized it would be very expensive and time-consuming to try to rip up the layers of flooring to get to the original wood floor in the old building. Looking for an inexpensive solution for this large space, they came up with the idea to use OSB. They figured they had little to use: If it didn’t work, well then they had a great subfloor all set for whatever they decided to do on top of it.
 |
| The only way you can spot the seam in this photo is because some of the green paint that comes on the edges of sheets of OSB is left. If it weren’t there I bet you’d never spot it. |
They set the OSB sheets down on the floor and kept the joints super tight (I can’t remember if they offset the seams or not, to be honest but I think you could do whatever you wanted), and nailed them down as you would with any subfloor. The trick is to line the joints up really carefully to keep them tight. I think if you wanted to get really picky about it you could use wood filler or caulk to fill them but really, the OSB is so busy that it hides a lot of evils.
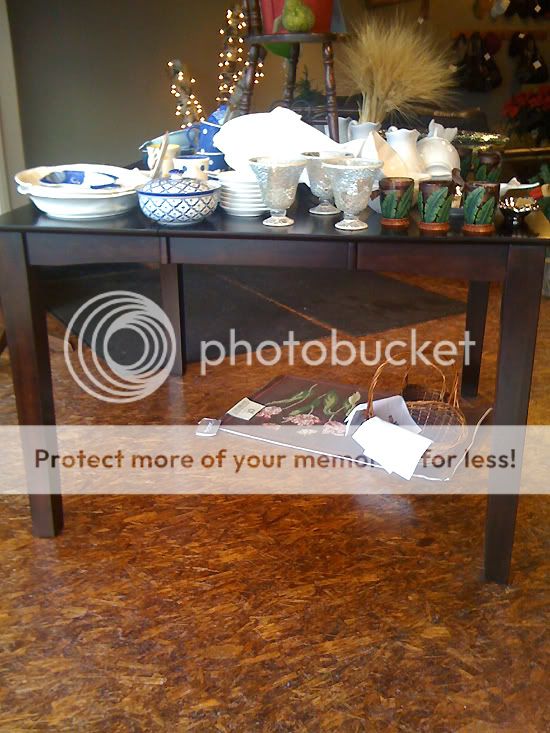
Then they rented a floor sander and sanded it all twice: With 30-grit and then 60-grit sandpaper. Then they applied stain just like you would with any wood floor. What I love about the floor is how the stain sticks to different orientations of the strands in different densities. Then they followed it all up with three coats of polyurethane.
 |
I think this floor is brilliant. It looks great and was inexpensive. And in the midst of this beautiful store, with it’s charming displays, fun products and wonderful windows, wanna guess what I’m told gets the most reaction? You guessed it: The floors.
What do you think? Would you ever try something like this in your house? I’m wondering if you could do something like this below grade because I think this could be a perfect flooring solution for the finished part of our basement.
P.S. Sorry for the cell phone pictures on these. I thought it would be too weird to take the camera in the store and start snapping photos of the floor.
What would you like to know?
Categories Here
Ads Here
Ads Here