I am basking in the glow of a finished hallway, folks. After a weekend of painting and a few finishing touches, the hallway is looking so much better.
It was a weekend of many projects (I hope to show you the others soon), but I felt like I was running from one thing to the next. At one point I had four paintbrushes drying in the sink. The priority, though, was the hallway. Sometimes you just need to finish something up to cross it off the list, you know?
You would think a 6-foot hallway wouldn’t take long to spruce up, wouldn’t you? But with five doors and six doorways there was so much trim to be painted. And trim takes a long time to paint.
But let’s get to the fun part. Here’s what it looked like when all this started.
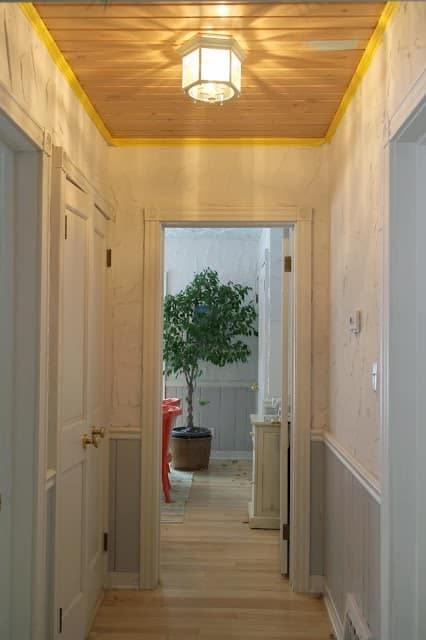
And here’s what it looks like now.
Here’s what went into it, in the (somewhat nonsensical) order we did it in:
- Sanded and painted the wood plant ceiling.
- Replaced the light.
- Sanded the texture off the walls.
- Sanded all the trim.
- Removed the closet doors to paint them in the basement.
- Did a final scraping on the walls to get the areas the sander missed.
- Primed the trim and wainscotting.
- Painted the wainscotting (Benjamin Moore Gray Husky).
- Moved and replaced the thermostat.
- Skim coated the walls.
- Primed and painted the walls (BM Mascarpone in matte finish).
- Painted the trim (BM Mascarpone in satin finish).
- Hung up a piece of art, sat back and gave myself a big high five.

I wouldn’t mind installing some beefier crown molding like we have in the kitchen, but I’m still smarting from our epic
crown molding failure and I’m not ready to go down that road again. Replacing the doorknobs is also on the agenda, but all in due time. I have the glass doorknobs from my grandmother’s house but retrofitting pre-drilled doors with antique door hardware is remarkably difficult, not to mention expensive. We did replace the kitchen doorknob with one of the antique knobs. When we redid the upstairs we put in reproductions and I’d love all the doorknobs in the house to match someday.
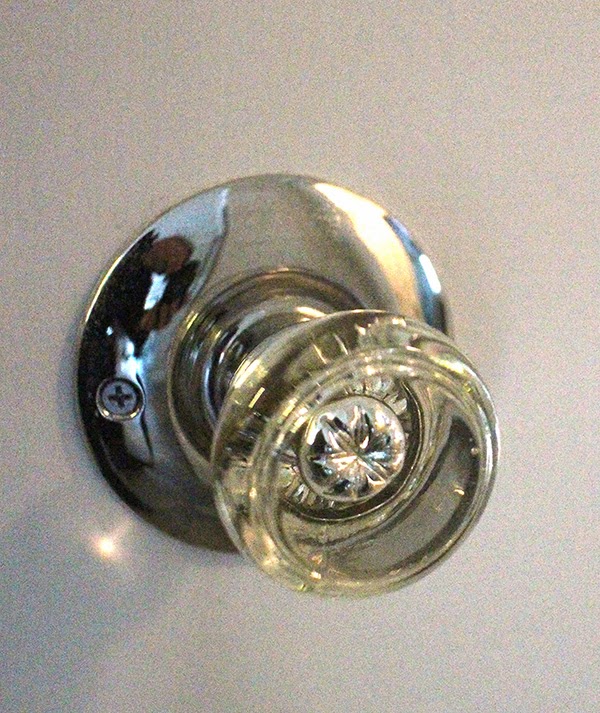 |
| Antique glass knob on the kitchen door. (Can you see me taking the picture?) |
But those are minor details. For now I’m just enjoying the “new” hallway. In fact, I’m finding excuses to linger there a little bit. Perhaps the biggest compliment came from Mr. Much More Patient who, when he came home to find the hallway finished, said, “I should never doubt you.” Aw, thanks honey. Wait, what?


5 Responses
That hallway has come a long way! I like that you are trying to find a way to put the vintage/antique doorknobs in your doors. I have a couple from our old 1920s house that I would like to find a way to use in our new one…but I haven't figured that out yet so I'm curious to see if you find a solution!
Hi Elizabeth. We actually did make the antique doorknob work on the kitchen but it required buying a lot of parts from House of Antique Hardware. We had to buy a new spindle and latch assembly plus a really large (and not entirely attractive) rosette to cover the big pre-drilled hole. All in all I think we spent about $35 on parts, so you have to be pretty dedicated to re-using those old doorknobs.
Backhanded compliment! At least you backed it up – I am most likely to start a project, hit some sort of ridiculous snafu and then be on the smirking end of the Engineer. It looks fabulous, lady – I love that knob.
Its amazing how much work these small spaces create. But so worth the effort because it looks wonderful. I love the new light fixture!!
Your hard work sure paid off and now you have a beautiful hallway. I love your doorknob; little details like that make me happy!!