First off, thanks for all the thoughtful comments on the
ugly bathroom post. You guys all had great ideas for further improvements in there on the cheap and I’ll definitely be putting some of them to good use.
OK, time to fess up. Who has ever “fixed” something with the secret hope that you actually make it worse and you have to fix it for real?
I have never done this consciously, but I will admit that there have been times when I’ve not been too upset that my DIY fail ended up being what I really wanted in the first place.
Remember the wall sanding operation that I took on in the hallway to get rid of the hideous texture a few weeks ago? Well, that’s still going on (the last phase of chipping and smoothing before skim coating can begin) but one small improvement has taken place that I am very excited about.
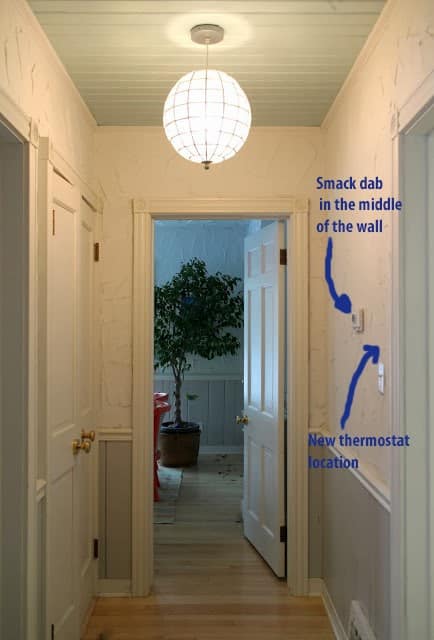
The thermostat was, for some reason, put smack dab in the middle of the one large wall in that hallway. It has irritated me to no end because I always thought that would be the perfect place to hang a nice-sized piece of art.
So I asked Mr. Much More Patient, who handles all DIY projects related to electricity in our house, if he could please move over a bit. I’d love to offer you a tutorial on how he did that but here’s how it would read:
- Go to Home Depot and buy a big spool of some plastic-coated wire. The brown one.
- Drill a small hole above the light switch (with the knowledge that the switch must be attached to a stud so therefore there’s a stud there).
- Remove the vent cover and peer up into the wall with a flashlight, noting that previous owners used 2-inch long nails to fasten the wainscotting to the wall and rarely hit a stud.
- Try to feed wire down the hole you just drilled and get frustrated when it gets caught on the electrical line until clever wife (that’s me) suggests using a wire hanger to reach in there and grab it.
- Feed wire down the side of the vent to the basement.
- Then do something in the basement for awhile that I presume involves hooking up wires to the furnace but I don’t really know.
Anyway, in the process of moving the location of the thermostat he opened up the old one and about 14 pounds of drywall dust poured out. As it turns out, drywall dust is not good for devices with wires. Cleaning that thing out ended up killing it.
Because like much of the rest of the country it’s freezing here, having a non-functioning thermostat is not an option, Mr. MMP had to run to the hardware store for the cheapest thermostat he could find and I had to get on the computer and order up something we’ve been wanting for awhile: a Nest thermostat.
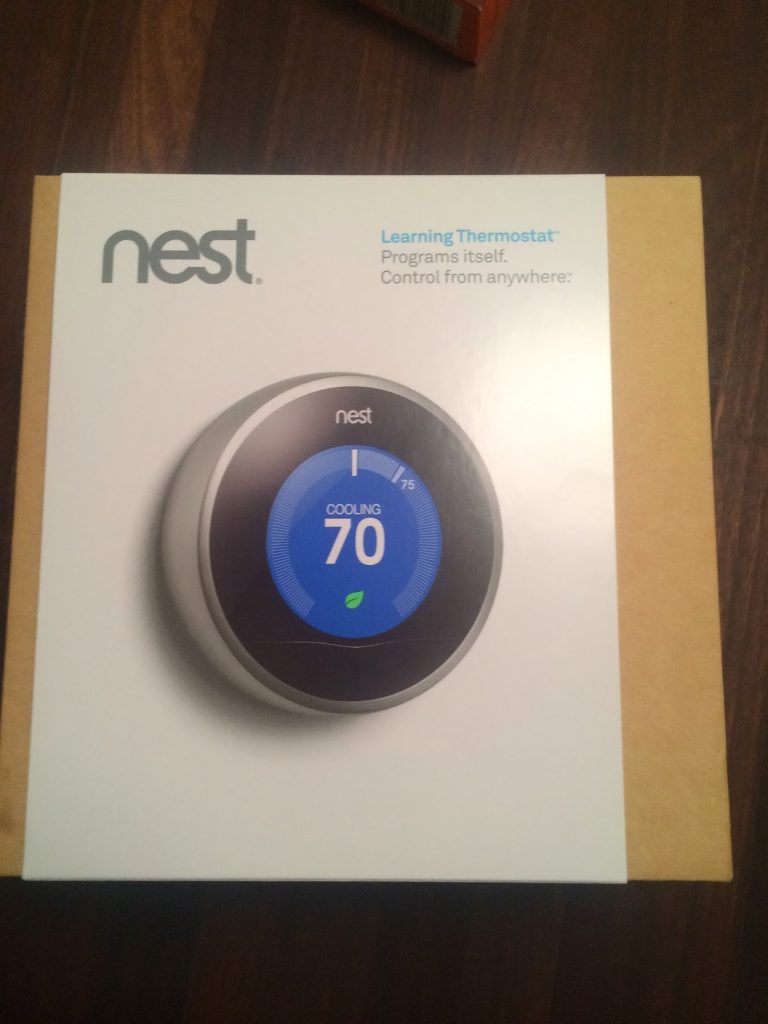 |
| Poor little Nest thermostat having to live in it’s box for another week or so. |
The Nest appeals to the gadget geek in me but it’s also supposed to help you save quite a bit on your heating and cooling bills. The reviewer on Engadget tracked his bill over a year with the Nest and said he saved $70 even though he had already been using a programmable thermostat.
The Nest arrived the other day but Mr. MMP said we’re not allowed to put it up until we’re done skim coating the wall. So for the time being the cheapie is up in the old place but the wires are all run for the new location.
Speaking of the wall, here’s a peek at what it is looking like now. I actually took this picture (complete with hideous sconce) for the bathroom post the other day, but it’s a good look at the hallway on the right, juxtaposed with the wall texture in the bathroom, which is what we removed in the hallway. The new location of the thermostat is over that light switch.
You’ll notice that I’ve painted the wainscotting, and we’ve finished scraping and sanding down the walls, so this weekend I’ll start the skim-coating.
One more thing: I’m sure a bunch of you are bound to point out that it is not a good idea to have the thermostat directly over a vent. I agree. Since that vent is quite large (those old-fashioned vents are actually one of the more charming features in our house), it’s actually under the original thermostat location too, and there’s really no where else to put it. Also, we keep that vent closed most of the time anyway (we don’t really need to heat our hallway). It’s not perfect, but it’ll work.
So yeah, I may have accidentally broken the old thermostat by not protecting it when I was sanding, but in the end I’m going to have the thermostat I wanted in the place I wanted. Tell me that’s not a win.