After a lot of talking about planting window boxes, the weather finally (if briefly) improved enough to actually do it. This year I aimed for a slightly more restrained color palette (blue/purple, lime green and a touch of orange) and fewer plants. In the past I’ve jammed so many plants in the window box that I think they had a hard time reaching their potential.
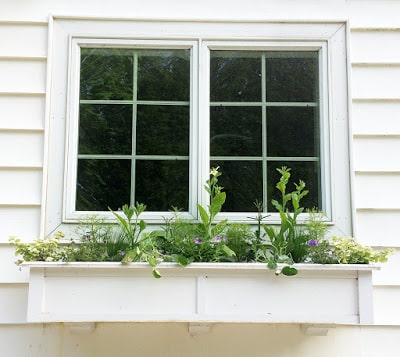 |
| It doesn’t look like much right now but in a few weeks it should be full of color and filled out. |
It would be great to have mature plants to work with but that’s just not possible here, so there’s a fair amount of imagination required. Right after planting, the window box looks spartan and a little silly but in a few weeks it will be filled out.
Because of that, I made a sketch with colored pencils first to give me an idea of the overall look. That served as my roadmap for planting.
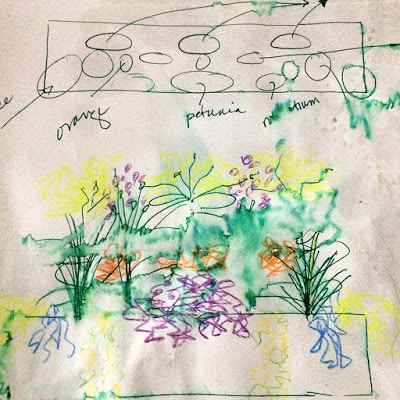 |
| My sketch is looking a bit worse for wear after being used while I planted the window box. It’s no Picasso, but it’s enough of a guide to get my thoughts on paper so I have a feel for what it will look like. |
I start with new potting mix in the window box every year, using a combination of Fafard 3B mix, Lucky Frog potting soil, a small amount of well-rotted manure (manure can be heavy and weight is a concern with window boxes), a little chicken grit for extra drainage and some Osmocote time-release fertilizer. I use organic fertilizers on everything I plant in the ground, but I use Osmocote in my planters because it’s hard for me to stay on top of regular feeding.
I fill the box about three-quarters of the way with soil, so I have to dig a little to put in plants, but I still have to top it off with more potting mix to fill the holes after planting. If I put any more soil than that in the box to start with, I end up with it going all over the place as I pull it aside to plant.
From there, it’s just a matter of filling in the plants. Here’s what I used:
- 3 Nicotiana alata lime (grown from seed)
- 2 Verbena bonareinsis Meteor Shower (Proven Winners variety due on the market next year that I’m very excited about; said to grow to 30 inches, perfect for containers)
- 2 Nassella tenuissima (Mexican feather grass)
- 2 Superbena Royale Chambray
- 2 Lemon Licorice Plant
- 2 Nasturtium ‘Yeti’ (grown from seed)
- 1 Supertunia Morning Glory Charm
- 4 Signet Marigold ‘Orange Gem’ (grown from seed)
The marigolds may get swapped out. I wanted a little touch of orange in the box, but not an overpowering amount and couldn’t decide between the signet marigolds, Calendula ‘Geisha Girl’ that I also grew from seed or a new Proven Winners Bidens variety (which I decided was too red for this use). If the marigolds don’t feel right in there, I’ll be happy to swap them out for something else.
I spent a lot of time talking about the importance of texture variety in window boxes the other day and I feel like I’ve got a good variety here with coarse texture provided by the nicotiana and nasturtium, medium texture with the licorice plant, supertunia and superbena, and fine texture from the Mexican feather grass, verbena bonareinsis and signet marigolds.
I made a time-lapse movie of planting. Let me tell you, it’s hard to get a good angle on a window box. I taped my phone to a stick and stuck it in the self-watering hole.
I’ll show you what it looks like in a few weeks and give you a peek at some of the other containers I planted this year.


4 Responses
This Window box looks like a great beginning. I love to see your sketches. I do this sometimes. Usually I use words no drawings unless I do a macro. Can't wait to see them filled out.
Can't wait to see how your window box fills out! I'm always so boring and plant only one kind of flower, but your boxes and pots are an inspiration — thanks for sharing your plan with us. -Beth
Funny, I was just looking at mine thinking how sparse they looked too. Glad I'm not the only one. Your window boxes are always so imaginative. Can't wait to see this one!
Very impressed that you actually did a sketch first!