I remember when I got this table. After my grandmother died, a lot of the furniture from her house was shifted to the family cottage and some of the furniture from the cottage was up for grabs. One of the items was an old Pottery Barn side table that converted to a game table. It had baked in the sun so the veneer was faded and peeling off in many places.
I grabbed it from the junk pile because I figured it could be a fun piece to experiment on. It could only get better.

Normally this is where I’d show you a photo of the hideous before. And I’m 90% sure I have one. Somewhere. But since I never name my photos, finding it would take a really long time and (insert more excuses here).
I glued down the peeling veneer with some wood glue and sanded the whole thing. Then I stained the top just to bring back the wood color.
I downloaded a quatrefoil pattern off the Internet and transferred it to heavy duty vinyl sticker material. I can’t tell you where to get this. I got a piece from a co-worker who makes vinyl decals. After transferring the pattern I painstakingly cut it out using an exacto knife.
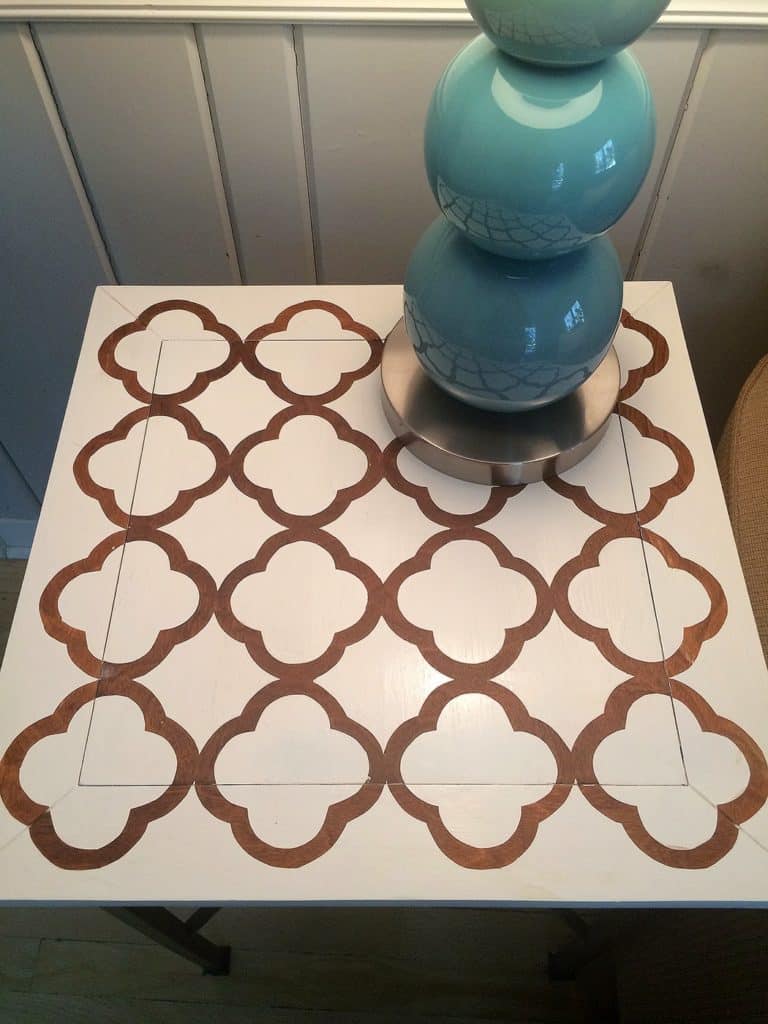
When the pattern was cut out, I very carefully started peeling the backing off the part I cut out, since that’s the bit I wanted to remain stained, not painted. It took some time to position it properly. The key here was to only peel back about an inch of backing, get that situated on top the table correctly and then slowly peel away the rest of the backing while smoothing down the sticker. It was a little hairy and it would be very difficult with a very intricate pattern, but it worked out fine.
A good sticky primer was the next step, and I used it on the entire table, going right over the top of the vinyl sticker. This was followed by a light sanding and a coat of high gloss paint (Benjamin Moore Aura, which is what I use for most projects).
When the final paint coat was dry to the touch but not completely dry, I peeled off the sticker. In order to keep it from flopping on the painted bits, I cut away the sticker as I pulled it off. In some places it pulled up the edge of the paint a little but I could go back and fix that later.
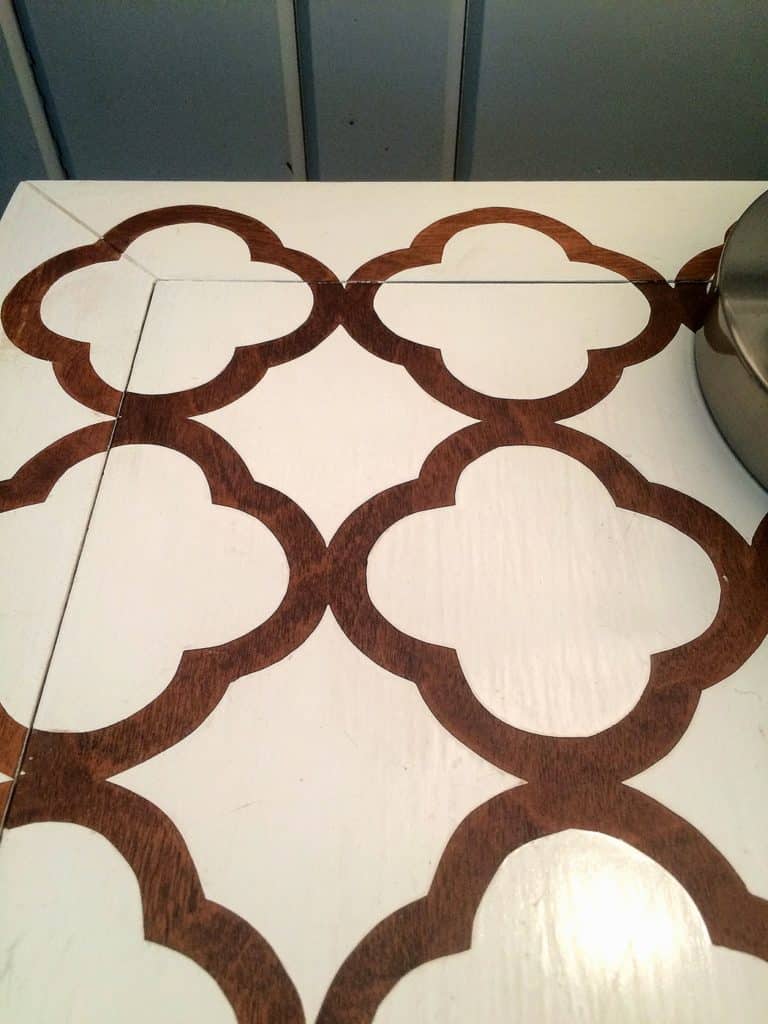
The only problem was that the paint left a rather noticeable edge where it met the now-exposed wood. So I used 400-grit sandpaper to very carefully knock down the edges. Then I went back and touched up the paint with an artist paintbrush.
All of that left the wood stain looking a little less rich than I had hoped, so I went back with cotton swabs and just touched up the stain, blotting with paper towel as I went.
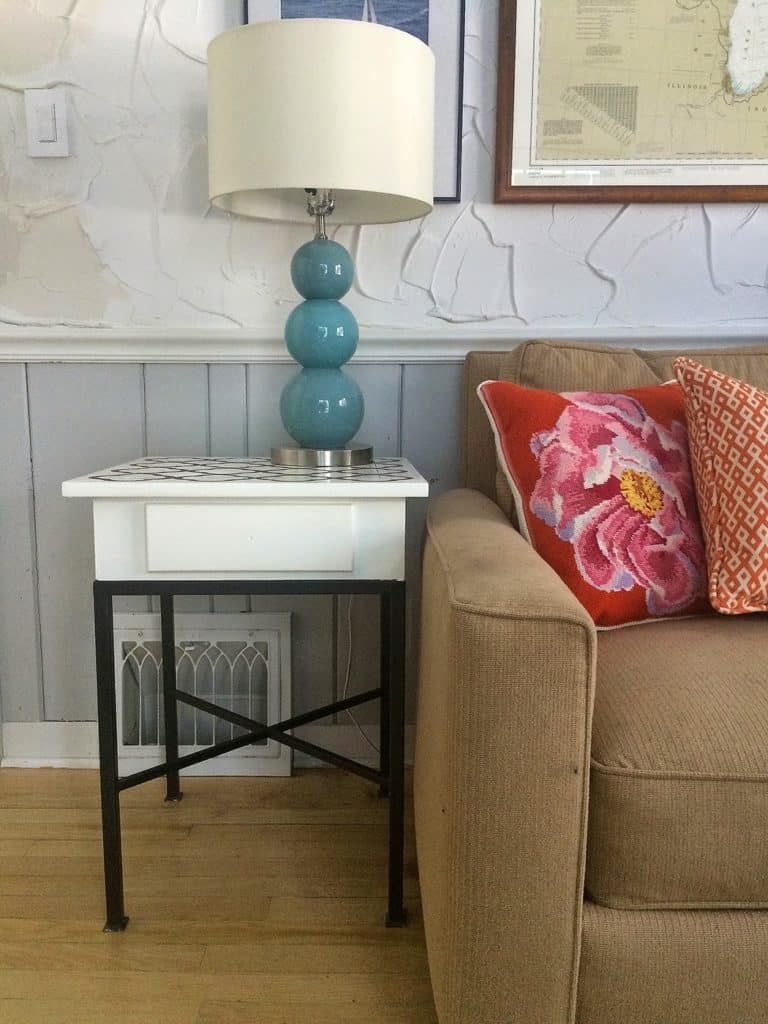 |
| You gotta love pictures that show off all your sins. This is in the room where we still haven’t dealt with the horrible wall texture. On the left side of the photo you can see where I was testing paint samples. That was at least four years ago. With the new table, the art is poorly hung. But hey … new table, right? |
I think this is a look that was probably very in about three years ago and maybe isn’t so much anymore, but I like it nonetheless. The drawer still needs a knob but I’m looking for the right one. The table is also probably a tad on the small side for the loveseat it is by, but it replaced a table twice the size and half the height that was there that did nothing but attract clutter, so I’m appreciating the more refined look.
And if nothing else, it is one more forgotten project officially checked off the list.
3 Responses
Check out all the unusual knobs they have on Anthropologie. You might find a quatrefoil pattern. I am surprised it only took three years; that sounds like a lot of painstaking work.
At first, I thought you had painted the brown. I love how you reversed things and let the stain show through. I can't imagine how long it took you to get that stencil in place. I've never had much luck transferring sticky vinyl.
Love this look – I don't think it's dated at all!!
I like what you did! I have the same table and it could use and update! The pattern is a nice touch.