I can think of nothing that makes Mr. Much More Patient happier than when I declutter something. Even if he took a rather active role in the original cluttering. He actually congratulates me when I fill up garbage cans or have him load up boxes to be taken to Goodwill. So when it came to getting a birthday gift for a notoriously difficult to shop for husband, I thought that sprucing up the “workshop” area of the basement would be well received.
The problems here were many, but mostly, that half of the basement (the unfinished side) became a bit of a dumping ground. I had half-finished projects laying around, stuff we thought we would use again but didn’t gathered dust, tools never seemed to be returned to their rightful place and a fine layer of sawdust seemed to cover everything
For the last couple of weeks I’ve been working on the organizational issues while he’s been away on weekends. I threw out three jumbo garbage cans of broken or useless stuff. I came up with a large box of things to sell or donate. I finished two projects that had been languishing for more than a year (it’s like purgatory for DIY projects down there).
To give you an idea of just how bad it was down there, I did all of that and he never even noticed, despite being in that room every day.
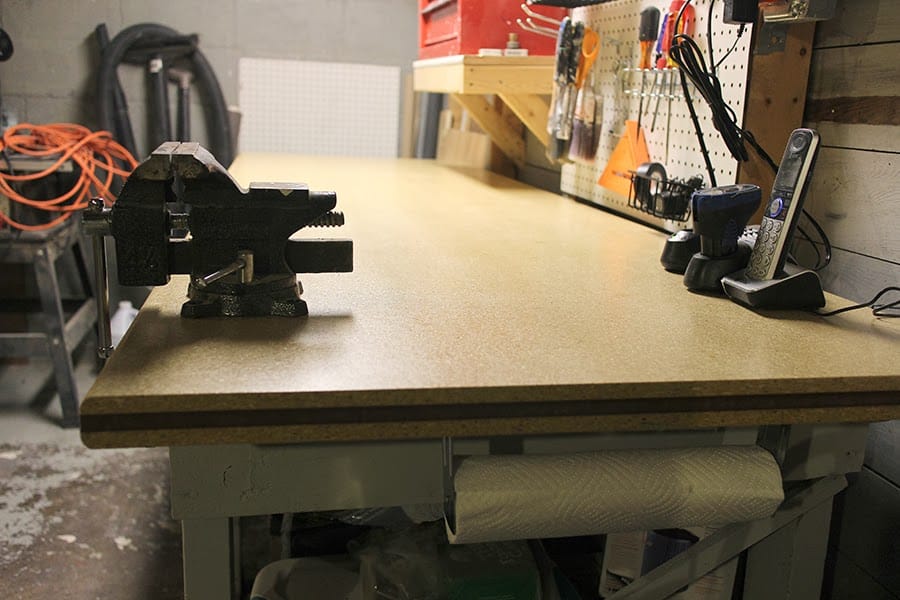
The most obvious change, other than creating floor space where a person could actually work on something without having to step over or around something else, came at the workbench.
The workbench came with the house and was clearly cobbled together with a bunch of scrap wood. But it’s very sturdy and we like it because it reminds us of the workbenches we’d see in our grandparents’ houses when we were kids.
But the top of the workbench was awful. It was a bunch of tongue-and-groove boards nailed to the workbench framework and topped with a leftover piece of vinyl flooring. And that piece of vinyl was ripped up, paint splattered (whoever could be responsible for that?) and generally unattractive. It wasn’t the kind of workspace that made you want to keep it clean.
Here’s what it looked like before (by the way, iPhones do not like taking photos in basements):
So with the help of my brother and my nephew, we pried off the old top and replaced it with a brand new composite wood top (I got the top from Uline which is a business supply company; you need an account to order from them but pretty much anyone can set up an account). The top doesn’t fit perfectly; it’s actually a little long, but we just allowed for a bit of overhang and now we actually gained a little more work area.
I also painted the workbench itself. I didn’t fuss about it much, just cleaned it off and slapped on some paint I had leftover from one project or another.
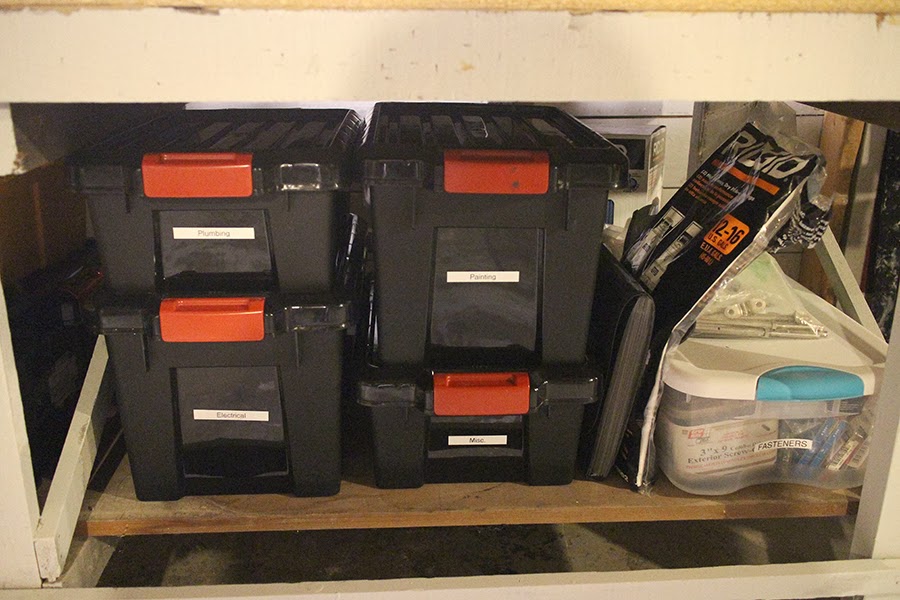
Then I set to work organizing all the stuff underneath it. There are so many times when we need a part that we know we have somewhere but can’t find it so we buy a new one. By separating everything into bins I kept it all corralled and then labeled them all so we know exactly where to look for something for a specific project. It’s not exactly brain surgery, but it’s better than anything we’ve done before in this area.
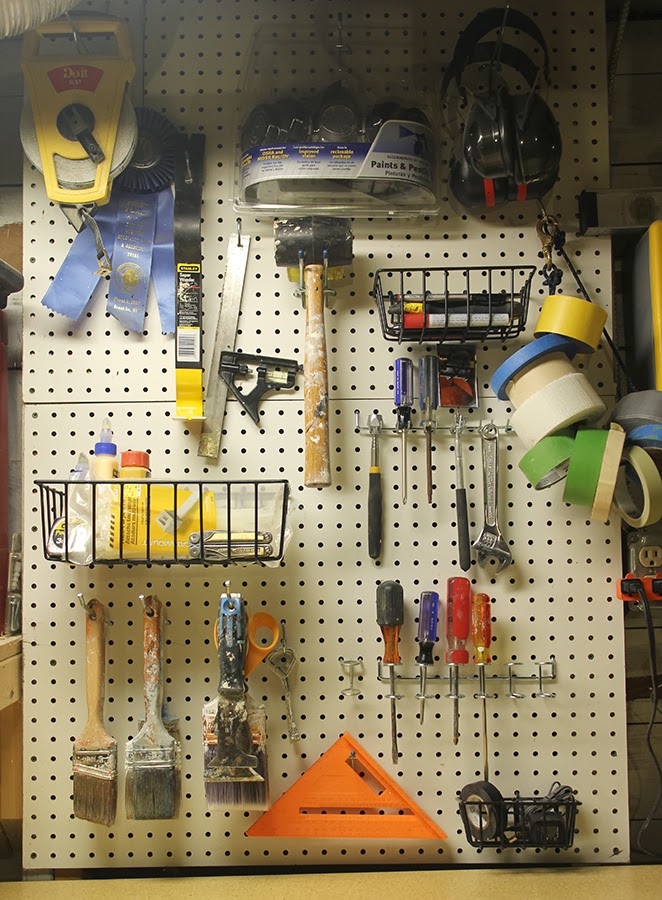
I also organized the peg board behind the workbench to keep the stuff we use the most out of the toolbox and at arm’s reach. There are some great unique ideas for how to use pegboard on the Internet. One that I incorporated was the string to hang all the rolls of tape on. It has a big clip on the end to make it even easier.
Most of the power tools live in the wood shelving that used to be in our pantry. So does the magnetic dartboard. Because you never know when you need that.
It was a race to get everything finished before Mr. MMP got home, but I got it all finished and even had time to wash the floor. It is so nice having space to actually work down there and better yet, Mr. MMP is thrilled with it.